15
X SECTION 3 (CONTINUED) / SECTION 3 (SUITE) / SECCIÓN 3 (CONTINUACIÓN)
TOOLS AND HARDWARE REQUIRED / OUTILS ET QUINCAILLERIE REQUIS / INSTRUMENTAL Y HERRAJE REQUERIDOS
ABD (x2)
3.3
ABI (x2)
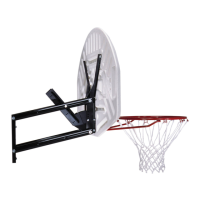
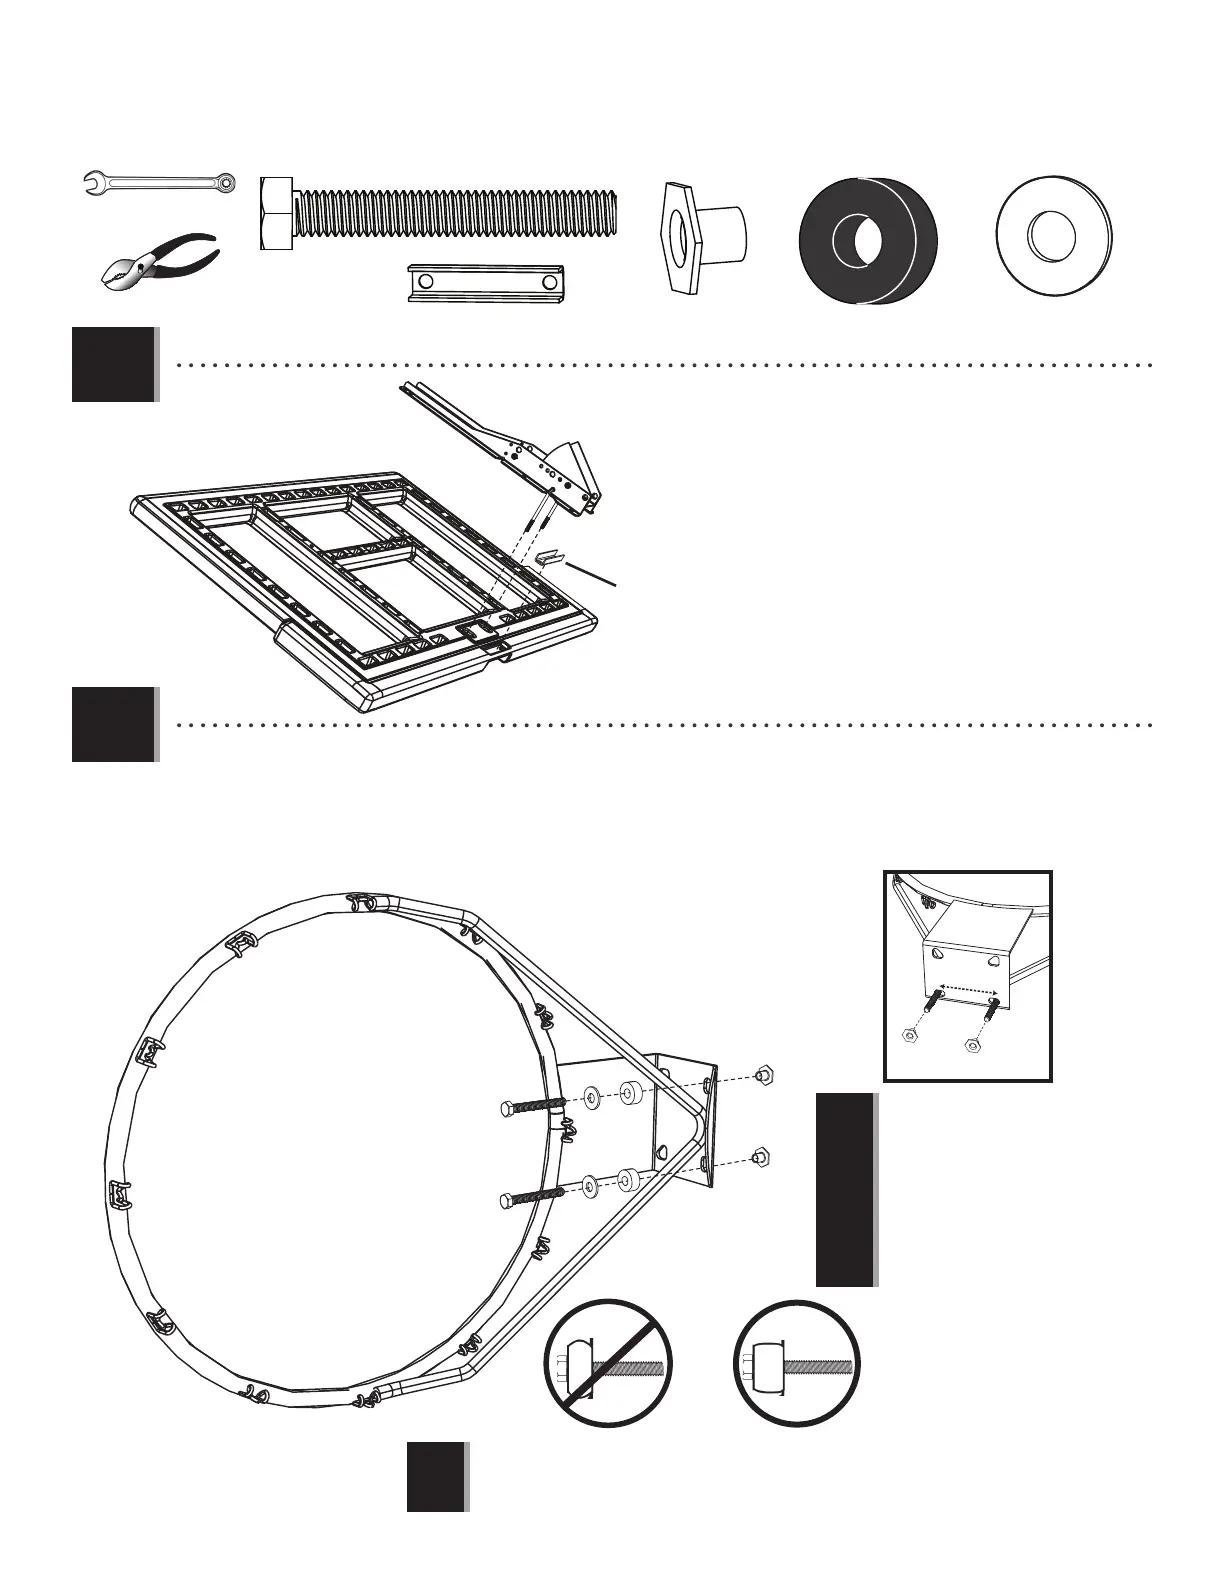
• Place the Backboard Bracket Assembly and Rim Support
Channel (AOX) to the Backboard (AJI) as shown.
• Mettez l’assemblage des supports du panneau et le canal
de support de l’anneau (AOX) au panneau (AJI) comme illustré.
• Coloque el ensamblaje de los soportes del tablero y
del canal de soporte del aro (AOX), al tablero (AJI) como se
muestra.
ABF
ABF
AAJ
ABI
ABD
ABF
ALX
ABI
ABI
AAJ
AAJ
ALX
ABF (x2)
AAJ (x2)
• Make sure that the Tap Bolts (ABI)
are positioned on the outside edge
of the holes as shown.
• Assurez-vous de positionner
les boulons (ABI) sur le bord
externedes trous comme illustré.
• Aseguúrese de ubicar los pernos
(ABI) en el borde externo de los
agujeros como se muestra.
• Do not overtighten the hardware so that the Rubber Washers bulge.
• Ne pas serrer excessivement les écrous en « T » pour que les écrous en caoutchouc se gonfl ent.
• No apriete demasiado las tuercas en «T» para que se sobresalgan las tuercas de goma.
!
!
ABI
ABD
ABF
AAJ
3.4
• Insert two Tap Bolts (ABI), two Washers (ABD), and two Rubber Washers (ABF) through the bottom holes in the back of the Rim (ALX)
as shown, and secure the hardware with two Hex T-Nuts (AAJ).
• Inséréz deux boulons (ABI) avec des rondelles (ABD) et des rondelles en caoutchouc (ABF) à travers les trous dans
l’anneau (ALX), et attachez-les bien à l’aide de deux écrous hexagonaux en « T » (AAJ).
• Inserte dos pernos (ABI) con rondanas (ABD) y las rondanas de goma (ABF) por los agujeros inferiores en el aro (ALX), y sujételos
con dos tuercas hexagonales en «T» (AAJ).
AJI
AOU
AOX
1/2” (13 mm) (x2)
(x1)
AOX (x1)