19
TOOLS AND HARDWARE REQUIRED / OUTILS ET QUINCAILLERIE REQUIS / HERRAMIENTAS Y HERRAJE REQUERIDOS
X SECTION 3 (CONTINUED) / SECTION 3 (SUITE) / SECCIÓN 3 (CONTINUACIÓN)
3.7
3.8
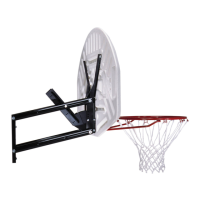
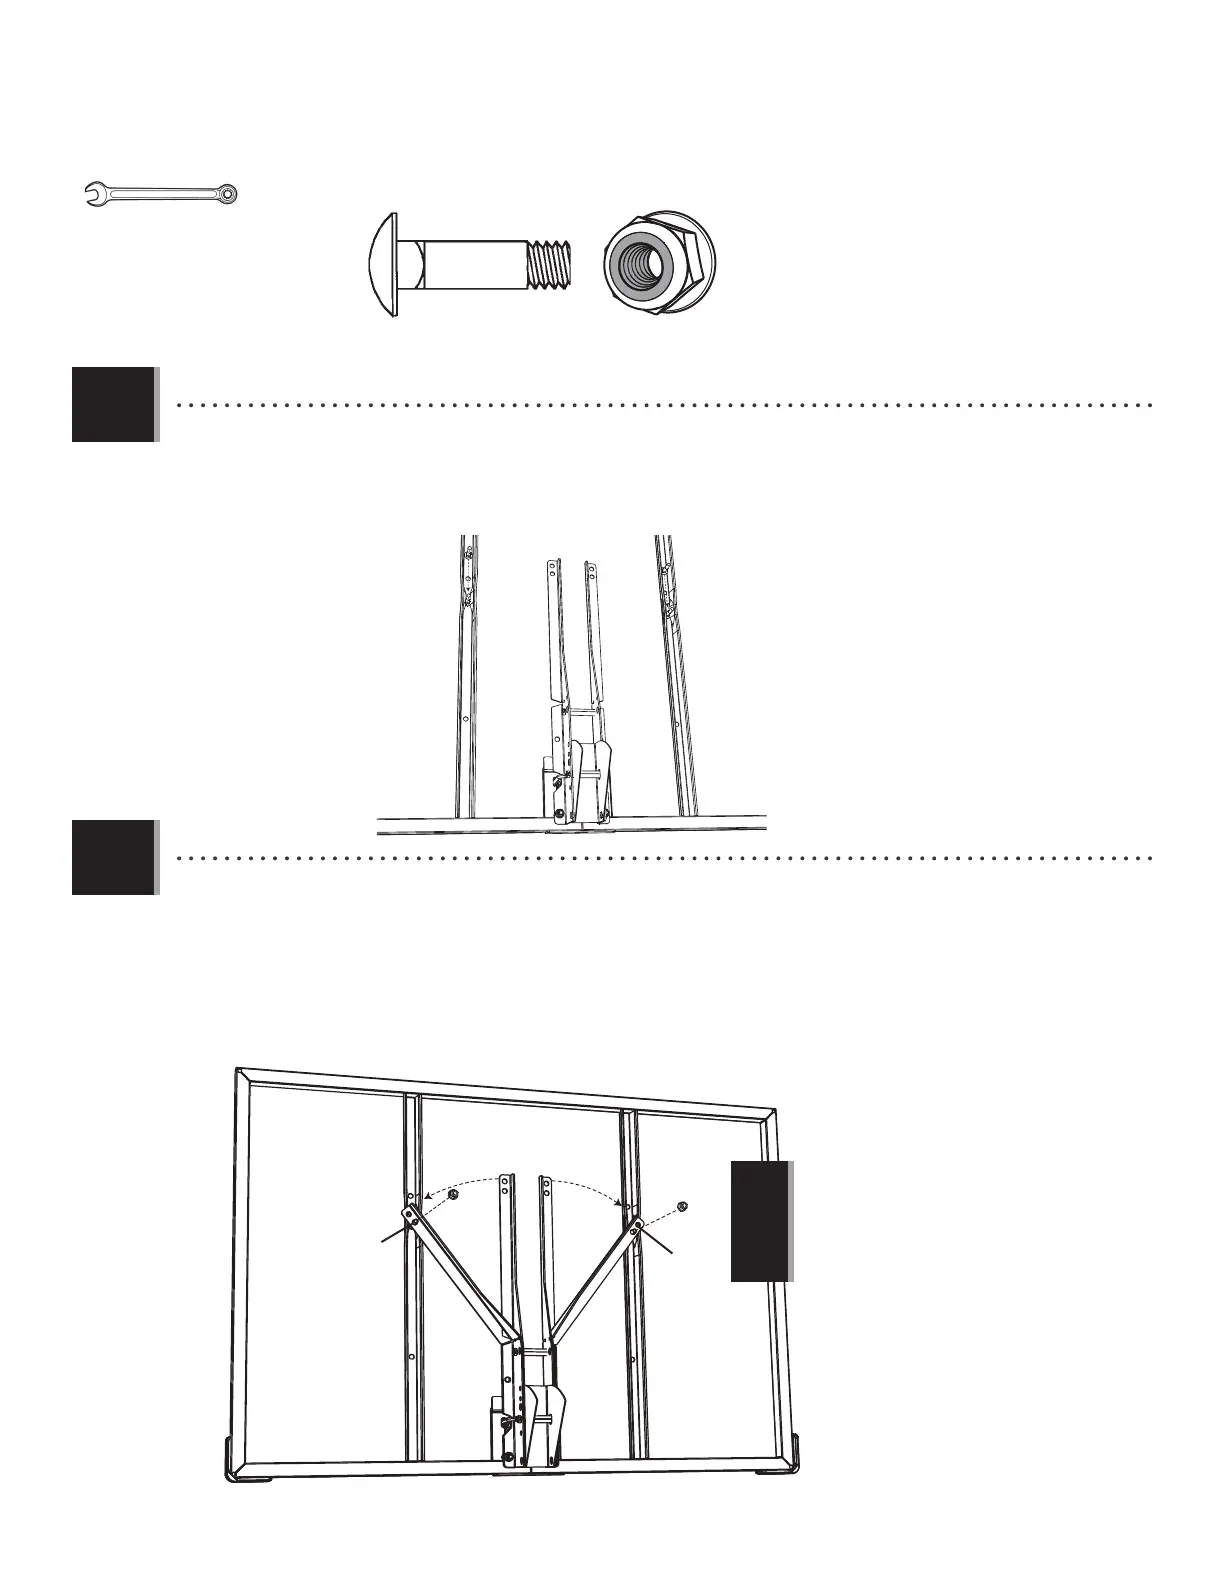
• Bend the Backboard Brackets outward by hand and gently lift them over the Carriage Bolts (ABC). Then securely
fasten the Backboard Brackets to the Backboard Channels with the hardware shown.
• Pliez manuellement les supports de panneau vers l’extérieur et soulevez-les doucement au-dessus des boulons
mécaniques (ABC). Attachez ensuite fermement les supports de panneau sur les voies de panneau à l’aide des
accessoires illustrés.
• Doble los soportes del tablero hacia afuera con la mano, levántelos con cuidado e insértelos en los pernos de cuello
cuadrado (ABC). Asegure ahora fi rmemente los soportes del tablero a los parantes del tablero con los elementos
mostrados.
• Slide a Carriage Bolt (ABC) into the crimped slot in each Backboard Channel as shown.
• Glissez un boulon mécanique (ABC) dans la fente cannelée de chaque voie de panneau, comme illustré.
• Deslice un perno de cuello cuadrado (ABC) en la ranura aplanada de cada parante del tablero en la forma
mostrada.
1/2"
ABC (x2)
ABK (x2)
ABC
ABC
ABK
ABK
ABC
ABC
• TIghten the Nylock Flange Nuts (ABK) until they are fl ush
with the ends of the Bolts.
• Serrez les ecrous à bride nylock (ABK) jusqu’à ce qu’ils
affl eurent avec les extrémités des boulons.
• Ajuste las tuercas nylock con pestaña (ABK) hasta que
queden a ras con los extremos de los bulones.
!