9
Tech Support: 1-800-268-1172
Installation Instructions
Step 1: Please read all safety instructions at the start of this
manual.
Step 2: Decide where you would like to add additional bass
to your LightSpeakers
®
and note the zone in which those
LightSpeakers
®
are located.
Step 3:
Attach the power cord to the back of your SubWoofer
and plug it into the nearest electrical outlet. Be certain the power
switch on the rear of your SubWoofer is set to the “OFF” position.
Step 4: Pairing your SubWoofer to the LightSpeaker
®
System.
Pairing is the process of “teaching” your transmitter to
recognize your SubWoofer as part of the LightSpeaker
®
system. It’s essential and only takes a couple of minutes.
A) Determine which zone your SubWoofer will be placed into
(See “Setting Up Zones” in your LightSpeaker
®
owner’s manual).
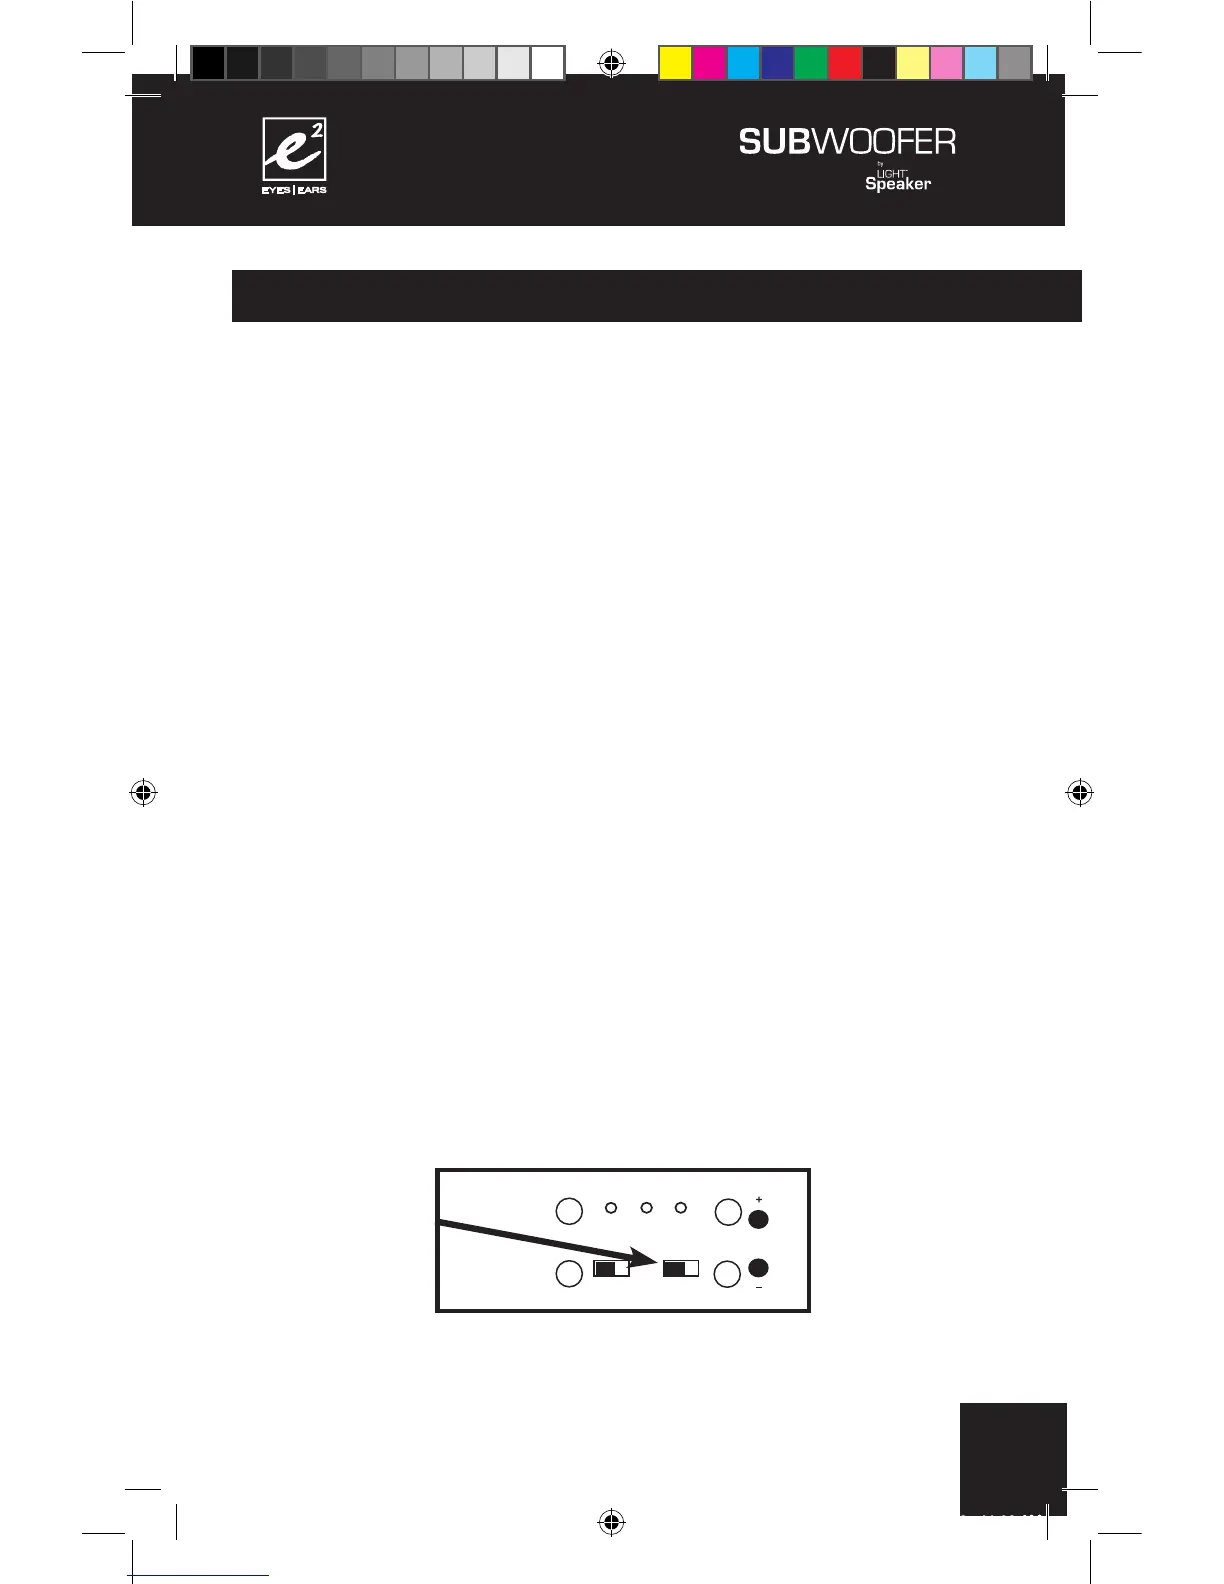
B) Set the zone switch on the back of your SubWoofer to either
Zone 1 or Zone 2 depending on which zone it is to be located in.
+
+
+
+
110 - 240 V AC 50/60Hz
CONFORMS TO
UL STD. 1993
CERTIFIED TO
CAN/CSA
STD. E968
CONFORMS
TO ANSI/UL
STD. 60065
CERTIFIED TO
CAN/CSA STD.
C22.2 No. 60065
CAUTION:
RISK OF ELECTRICAL SHOCK
USE IN DRY LOCATIONS ONLY
ATTENTION:
RISQUE DE CHOC ÉLECTRIQUE
Utiliser Seulement Dans des
Endroits Secs
SUBWOOFER 6.2.0
Model W 6.2.0
Designed in USA
Manufactured in China
XXXXXXX