Welcome: CONFIGURING SOUNDDIVER FOR 2.0
UP•9
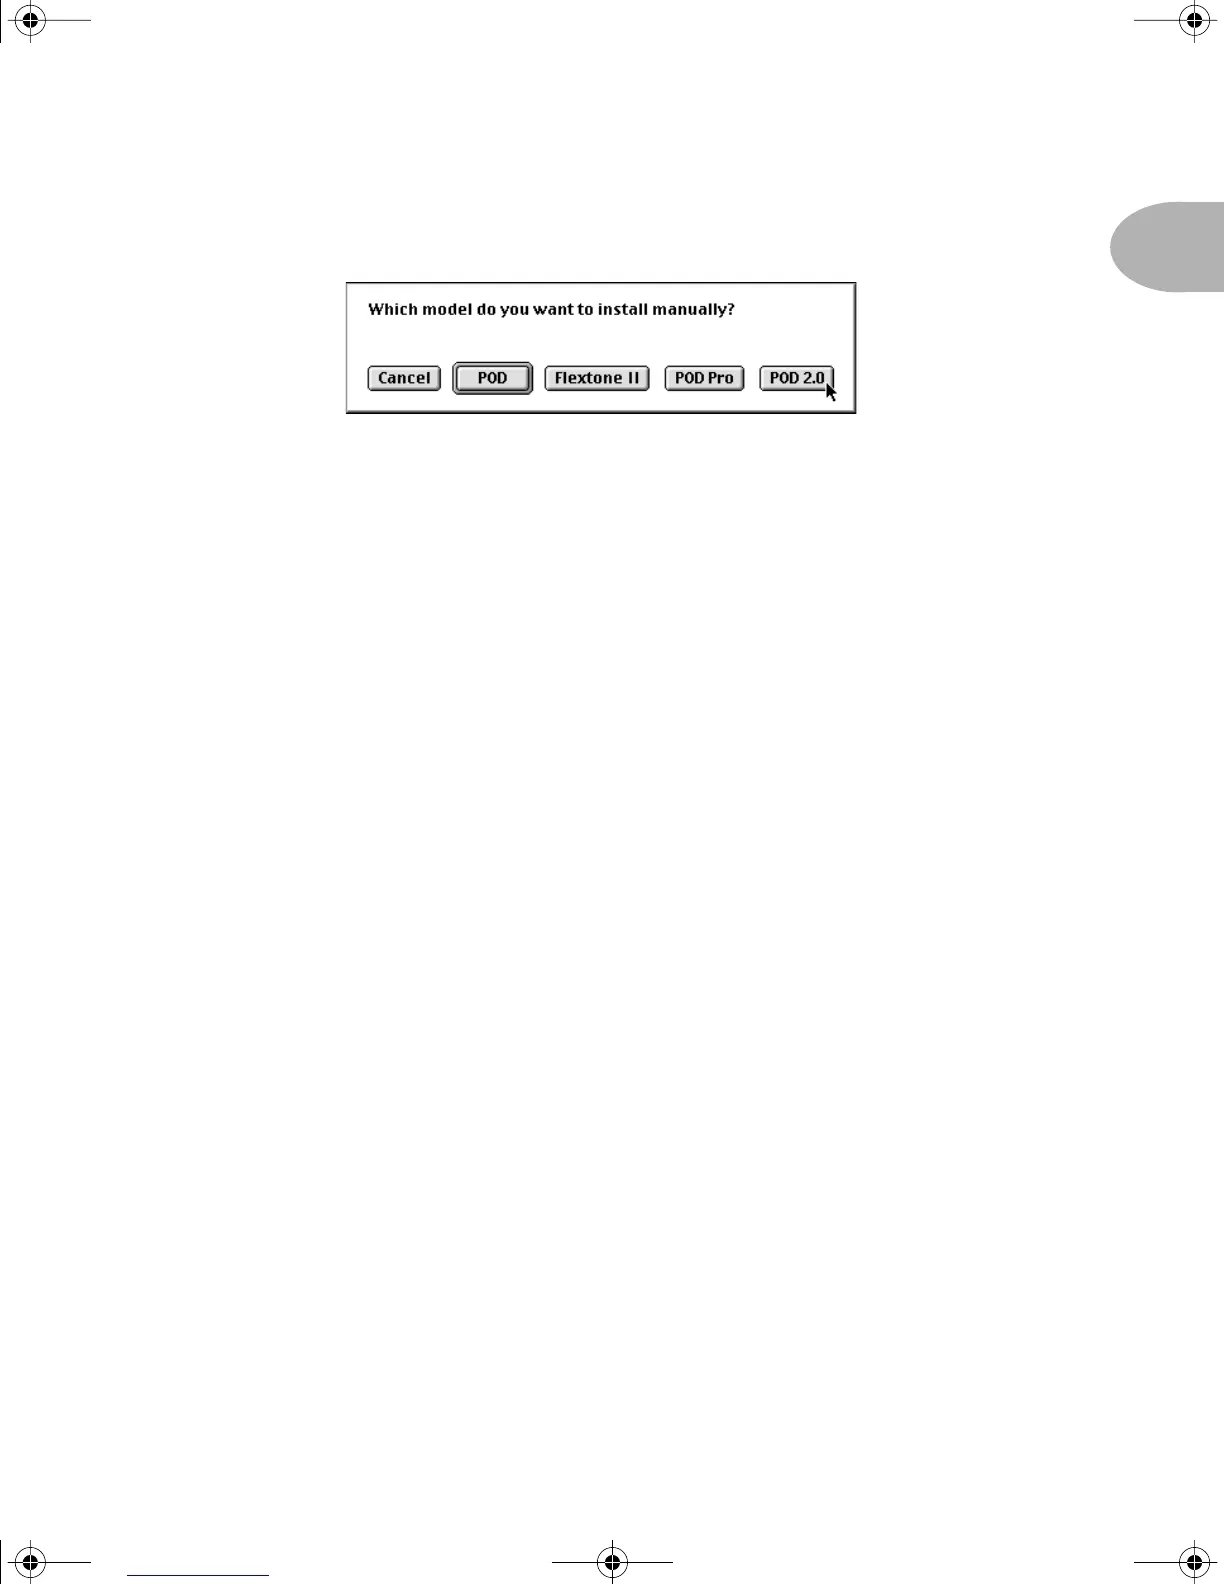
Step 3 - Now, before clicking on anything, hook your upgraded POD to the computer
and get it powered on with MIDI In and OUT connected, while the computer is still
displaying the dialogue box. Then click on the POD 2.0 button. The computer should
then look for your POD 2.0, and when it finds it, will give you a dialogue box asking if
you’d like to “Request Device’s Memories?” OK this dialogue, and SoundDiver sucks
all the sounds out of your Version 2.0 POD, and opens them in a window titled “POD
2.0”.
Step 4 - If there are any sounds that you created before the upgrade that you want to
put into your upgraded POD, you’re now ready to do it. Open the SoundDiver library
that has these sounds, and you can drag any of the sounds from the library window to
the window that shows the sounds currently in the POD. We suggest you make a
SoundDiver Library of the factory POD 2.0 sounds before you start changing them, in
case you ever want to get back to one of those factory sounds again. Page 3 of this
booklet, starting from Step 6, tells you how to save your POD 2.0 factory sounds to a
library.
POD 2.0 Upgrade Guide Page 9 Wednesday, June 21, 2000 9:20 PM
 Loading...
