EasyManua.ls Logo

Lithonia Lighting OLF 2SH 40K 120 User Manual

Lithonia Lighting OLF 2SH 40K 120
4 pages
To Next Page IconTo Next Page
Page #1 background imageLoading...
Page #1 background image
page 1
Protect yourself. Before installing, read the entire instructions carefully and save them for future reference.
Date installed:_____________
Failure to follow any of these instructions could void product warranties. For a complete list of product Terms and
Conditions, visit www.acuitybrands.com. Acuity Brands Lighting, Inc. assumes no responsibilities for claims arising out of
improper or careless installation or handling of its products.
INSTALLATION INSTRUCTIONS
UOLF_Rev 8/17/15
If further technical assistance is required, contact: Technical Support at: (800) 748-5070.
LED Security Floodlight
Model Number(s):
OLF 2RH 40K 120
OLF 2RH 40K 120 PE*
* PE denotes photocell option
Suitable for wall mount or eave mount.
Not suitable for ground mount installation.
Mounting Hardware Included
Silicone Sealant Required
Model Number(s):
OLF 2SH 40K 120
OLF 2SH 40K 120 PE*
Model Number(s):
OLF 3RH 40K 120
OLF 3RH 40K 120 PE*
Question and Answer IconNeed help?

Do you have a question about the Lithonia Lighting OLF 2SH 40K 120 and is the answer not in the manual?

Lithonia Lighting OLF 2SH 40K 120 Specifications

General IconGeneral
BrandLithonia Lighting
ModelOLF 2SH 40K 120
CategoryFlood Light
LanguageEnglish

Summary

LED Security Floodlight Installation

Important Safety Instructions

Risk of Electric Shock

Disconnect power before installation/servicing and verify voltage.

Risk of Injury

Wear protective gear and avoid direct eye exposure to the light source.

Risk of Burn

Allow fixture to cool before handling. Do not touch enclosure, lens or light source.

Risk of Fire

Keep combustible materials away from lamp/lens and avoid operation near them.

Risk of Product Damage

Handle components carefully to prevent damage, avoid improper ventilation.

FCC Compliance and Warranty

Equipment tested for Class B digital compliance and includes a 5-year limited warranty.

Installation Procedure

Fixture Packing List and Tools

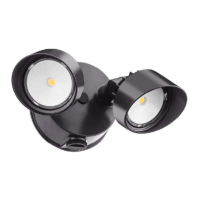
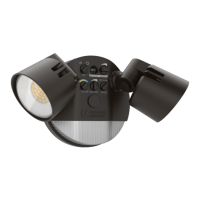
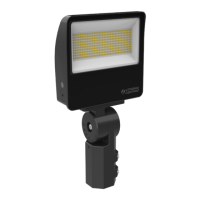
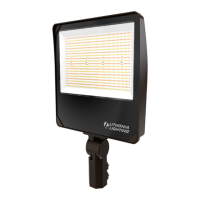
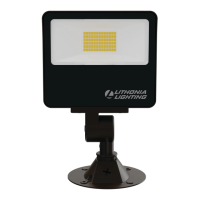
Check included components and gather required tools for installation.

Preparation and Mounting Steps

Steps for removing parts, turning off power, and physically mounting the fixture.

Wiring and Connection Steps

Instructions for making electrical connections for grounding and power supply.

Final Assembly and Sealing

Securing the fixture, aiming lamp heads, and applying sealant for weather protection.

Troubleshooting Guide

Basic Operation Checks

Verify power, wiring, and line voltage for basic fixture operation.

Photocontrol Functionality

Test photocontrol operation and diagnose light not coming on or cycling issues.

Maintenance and Warnings

Guidance on cleaning, user-serviceable parts, and avoiding abrasive materials.

Related product manuals