14
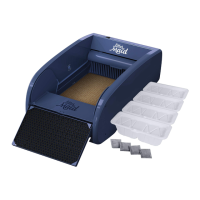
4. Lift the latches on both sides of unit (P). This will
separate the litter tray from the top housing.
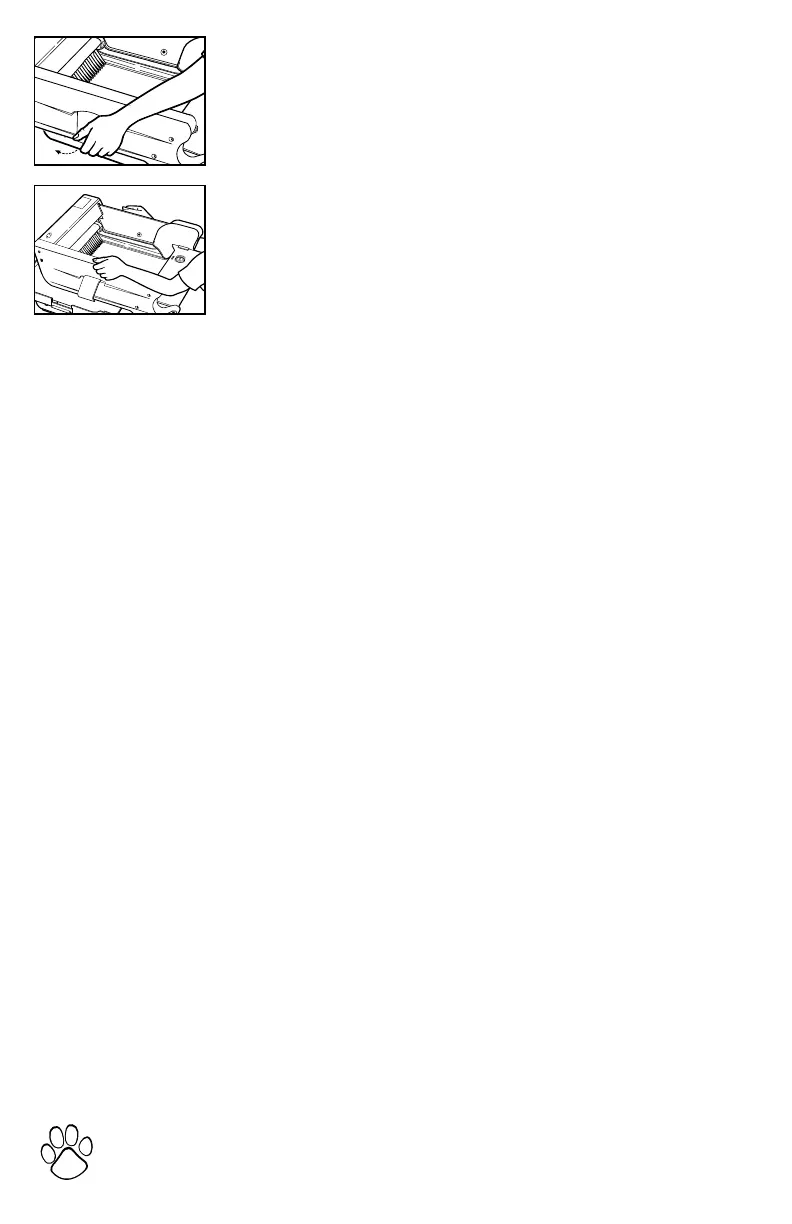
5. Lifting by the sides, move the top housing off and
away from the litter tray (Q).
Important: Do not lift the top housing by the latches.
6. Dispose of any used litter in the litter tray. To ensure
properdisposaloflitter,followmanufacturer's
instructions on litter package.
7. Wipethelittertraywithadampcloth.Iffurther
cleaning is necessary, the litter tray can be
fully immersed in water and washed with a mild
detergent.
8. Wipethetophousingwithacleancloth,payingclose
attention to the rake track rails on either side of
the top housing. If the rails have any litter caked on,
use a soft, damp cloth to to clean. Note: Keeping
these tracks clean will ensure the rake functions
properly.
Important: Do not soak or immerse top housing
in water.
9. Dry litter tray thoroughly before reassembling.
Tip: Before reassembling, you can spray the inside
of the litter tray surface with nonstick cooking spray
or silicone spray, and wipe with a soft, dry cloth. This
will help to prevent clumps from adhering to surface
of the tray.
10. Place the litter tray on a flat surface. Carefully lower
top housing onto the litter tray.
11. Lock the two latches by pressing lower part of each
latch firmly against tabs on the litter tray until each
latch clicks and locks into place.
REPLACING BATTERIES
Note: Battery power is not sufficient for the litter box to function regularly and
shouldonlybeusedduringapoweroutage–notasthemainpowersource.
1. Turn the on/off button off and unplug the unit.
2. Press back with your thumb to slide the battery compartment cover off
the top housing.
3. Replace the batteries with 8, new AA batteries.
Important: Do not mix old and new batteries. Do not mix alkaline and
carbon-zinc (standard) batteries. Do not use rechargeable type (Ni-Cad,
Ni-MH or Li-ion) batteries.
4. Slide the battery compartment cover back into place, making sure the AC
adapter outlet cover sticks out of the back of the unit.
5. Pressfirmlyuntilthecoversnapsintoplace–bothatthetopandback
notches of the cover.
MAX
MIN
P
MAX
MIN
Q
 Loading...