Do you have a question about the Little Tikes Cozy Coupe 173059M and is the answer not in the manual?
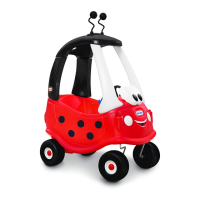
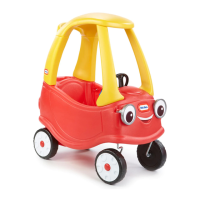
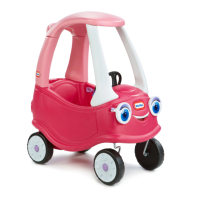
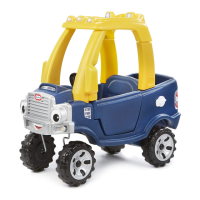
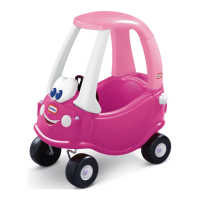
| Recommended Age | 18 months - 5 years |
|---|---|
| Material | Plastic |
| Color | Red/Yellow |
| Maximum Weight | 50 pounds |
| Manufacturer | Little Tikes |
| Model Number | 173059M |
| Batteries Required | No |
Assembly by an adult is mandatory for safety.
Contains small parts; a choking hazard. Keep away from children until assembled.
Do not use near pools, steps, hills, or inclines. Safety guidelines for operation.
Children must wear shoes during use for their protection.
This toy is designed for a single rider only.
The maximum weight capacity for the rider is 50 lbs (23 kg).
Recommended age range for use is 1.5 to 5 years.
Constant adult supervision is required during play.
Designed solely for outdoor, home use.
Wear safety glasses to protect eyes when using tools.
Avoid use or store indoors in extreme cold (below 0°F/-18°C) to prevent material damage.
Guide to identify and use included hardware components.
Install the tail lights (part N) into the Coupe body.
Insert the gas cap (part H) into its designated spot.
Secure eye base and attach eye components to the body.
Assemble and attach horn button, bellows, and collar to the steering wheel.
Attach steering clip to wheel and secure it through the dashboard and steering O-ring.
Attach the door latch to the door and then attach the door to the body.
Insert front roof pillars, ensuring correct alignment with the door knob.
Insert and secure rear roof pillars, ensuring correct orientation.
Hook front pillars to roof, rock roof into place, and push rear pillars flush.
Use fasteners to attach the rear roof assembly to the body.
Assemble rear axle with top hat and hammer into place.
Slide hubcap, wheel, and washer onto the rear axle and secure.
Flip coupe, place top hat and tool, and hammer top hat onto axle.
Slide washer, wheel, and hubcap onto the front axle.
Hammer top hat onto axle, repeat for right side, then attach front wheels and axles.
Insert and push bushings onto each axle. Ensure hubcaps face outward.
Insert and hammer axle caps onto the top of each axle.
Align slots and snap on the center caps.
Insert the ignition base into the left roof pillar.
Hammer the ignition base into the Coupe body.
Insert the key into the ignition base.
Apply decals to a clean, dry surface, removing air from under them.
Insert floorboard buttons into the floorboard and secure.
Details on the product's one-year warranty and coverage.