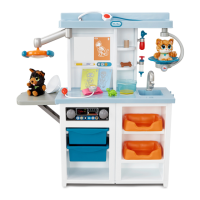
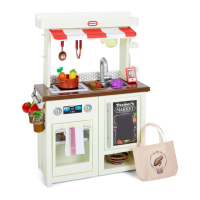
Do you have a question about the Little Tikes First Market Kitchen and is the answer not in the manual?
Key assembly tips and important preliminary information for user preparation.
Essential safety guidelines for adult assembly, choking hazards, and product use.
Guidelines for safe battery installation, handling, and potential leakage prevention.
Details on regulatory compliance and responsible environmental disposal of the product.
Identification of required tools, hardware, and all product parts.
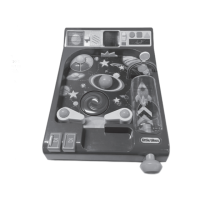
List and visual identification of all included accessories.
Adult-guided installation of batteries in the burner module.
Connecting front wall parts A and B with screws.
Attaching side panel J to the assembled front walls.
Attaching the bottom platform and installing the burner module into the countertop.
Snapping the sink into the countertop and securing the main countertop unit.
Installing the faucet and applying decals to the top back wall.
Assembling the canopy fasteners and attaching the canopy to the unit.
Fitting the top back wall and installing the top shelf onto the unit.
Using six 1/2-inch screws to secure the top shelf.
Inserting slide-on shelves and attaching the refrigerator door handle.
Applying the refrigerator door decal and attaching the refrigerator door.
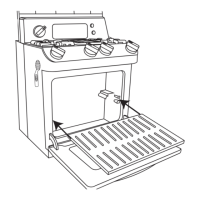
Installing the oven door and inserting the oven rack.
Attaching the control knobs and towel bars to the kitchen unit.
Inserting hole plugs into the side holes for a clean finish.
Applying the final decorative decals to complete the kitchen assembly.
| Brand | Little Tikes |
|---|---|
| Model | First Market Kitchen |
| Category | Toy |
| Language | English |