R
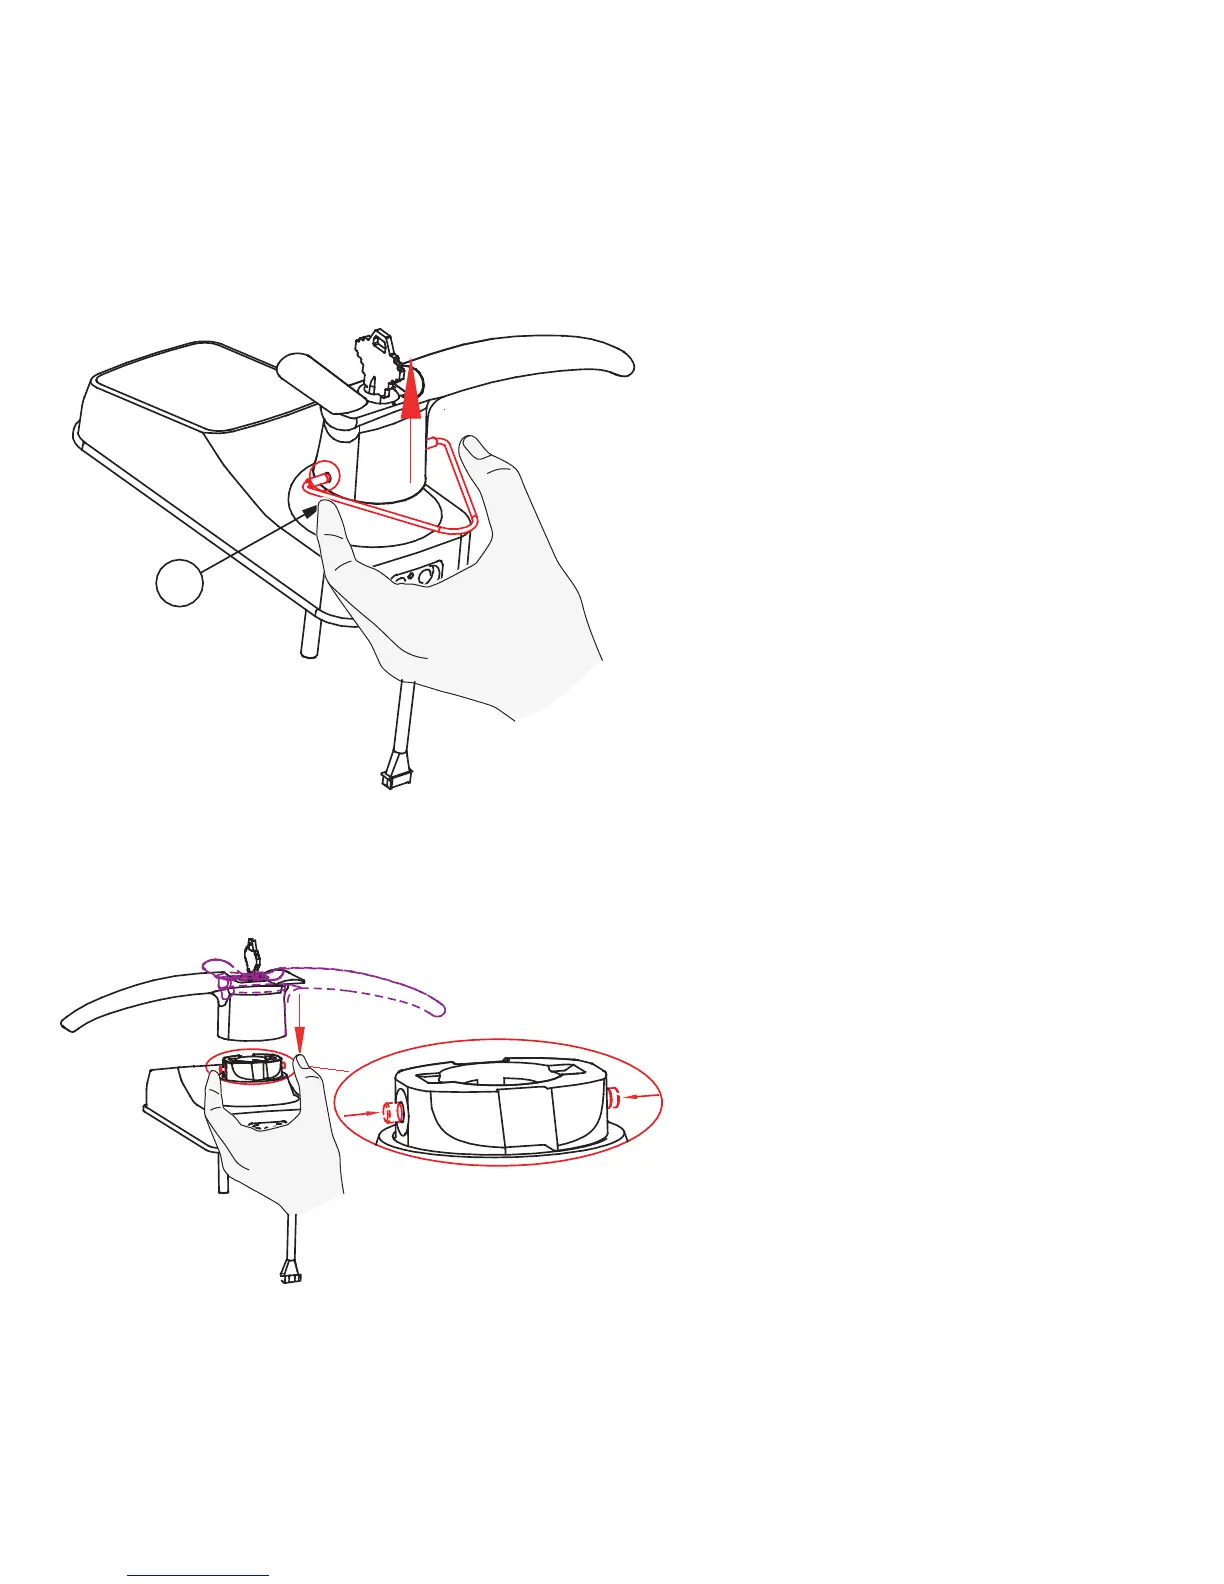
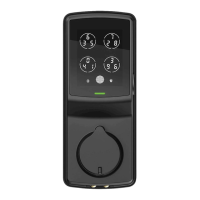
Use the provided Clamping tool
(R) to push in the two metal pins
at the base of the lock handle,
located at the 3 o’clock and 9
o’clock positions, and remove the
handle once the pins are
compressed.
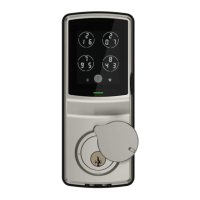
3.2
Rotate the handle 180 degrees to
the other side of the lock.
Using your fingers, press the two
pins located on the left and right
side of the the lock to insert the
handle back onto the lock.
3.3