1.2 ELECTRICAL CONNECTION
Connection to the electrical system must be done using the oven’s cable. Do not position
the cable on parts of the oven which get to a temperature above 50C room temperature
(top and sides); it’s recommended to use a plug which complies with the CEE regulations
in force. If the appliance is directly connected to the mains electricity supply or if the plug
is not accessible after installation, an omni polar cut-out device (with a contacts gap of at
least 3mm) must be fitted in an accessible area to the user.
Use the yellow-green cable for earthing. If the cable is not long enough, replace it with a
cable at least as thick as required in the chart.
The company does not accept any liability for accidents derived from faulty or inexistent
earthing.
2. MAINTENANCE
WARNING :
Prior to proceeding with any kind of maintenance or alteration be sure to disconnect
the oven from the electricity system, either by using the appropriate switch or by
unplugging the plug from the mains. In case some accessories and/or parts of the
oven need to be replaced, use replacement parts by Lofra only.
2.1 SUPPLY CABLE
In case replacement of the supply cable is needed; leave enough
cable length to facilitate maintenance; the earth cable (yellow-green)
must be at least 2cm longer than the other two.
This expedient ensures electrical safety in case the supply cable is
accidentally damaged. Refer to the chart for the cable’s specifications.
2.2 ACCESS TO THE ELECTRICAL COMPONENTS
In order to proceed with maintenance/replacement of the
electrical components situated at the back or on the upper
part of the oven (i.e. lamp holder, roasting jack, supply cable,
A.E. generator, resistances) remove the back or upper
protection panel, respectively, by unscrewing the screws that
fasten them to the sides.
In case maintenance/replacement is needed for the
components situated behind the dashboard (i.e. keypad,
programmer,…) remove the dashboard along with the upper panel; this is done by
removing the knobs and unscrewing the screws on the two sides of the dashboard. At
this point simultaneously pull the dashboard vertically and towards you.
To re-attach the panels/dashboard reverse the directions.
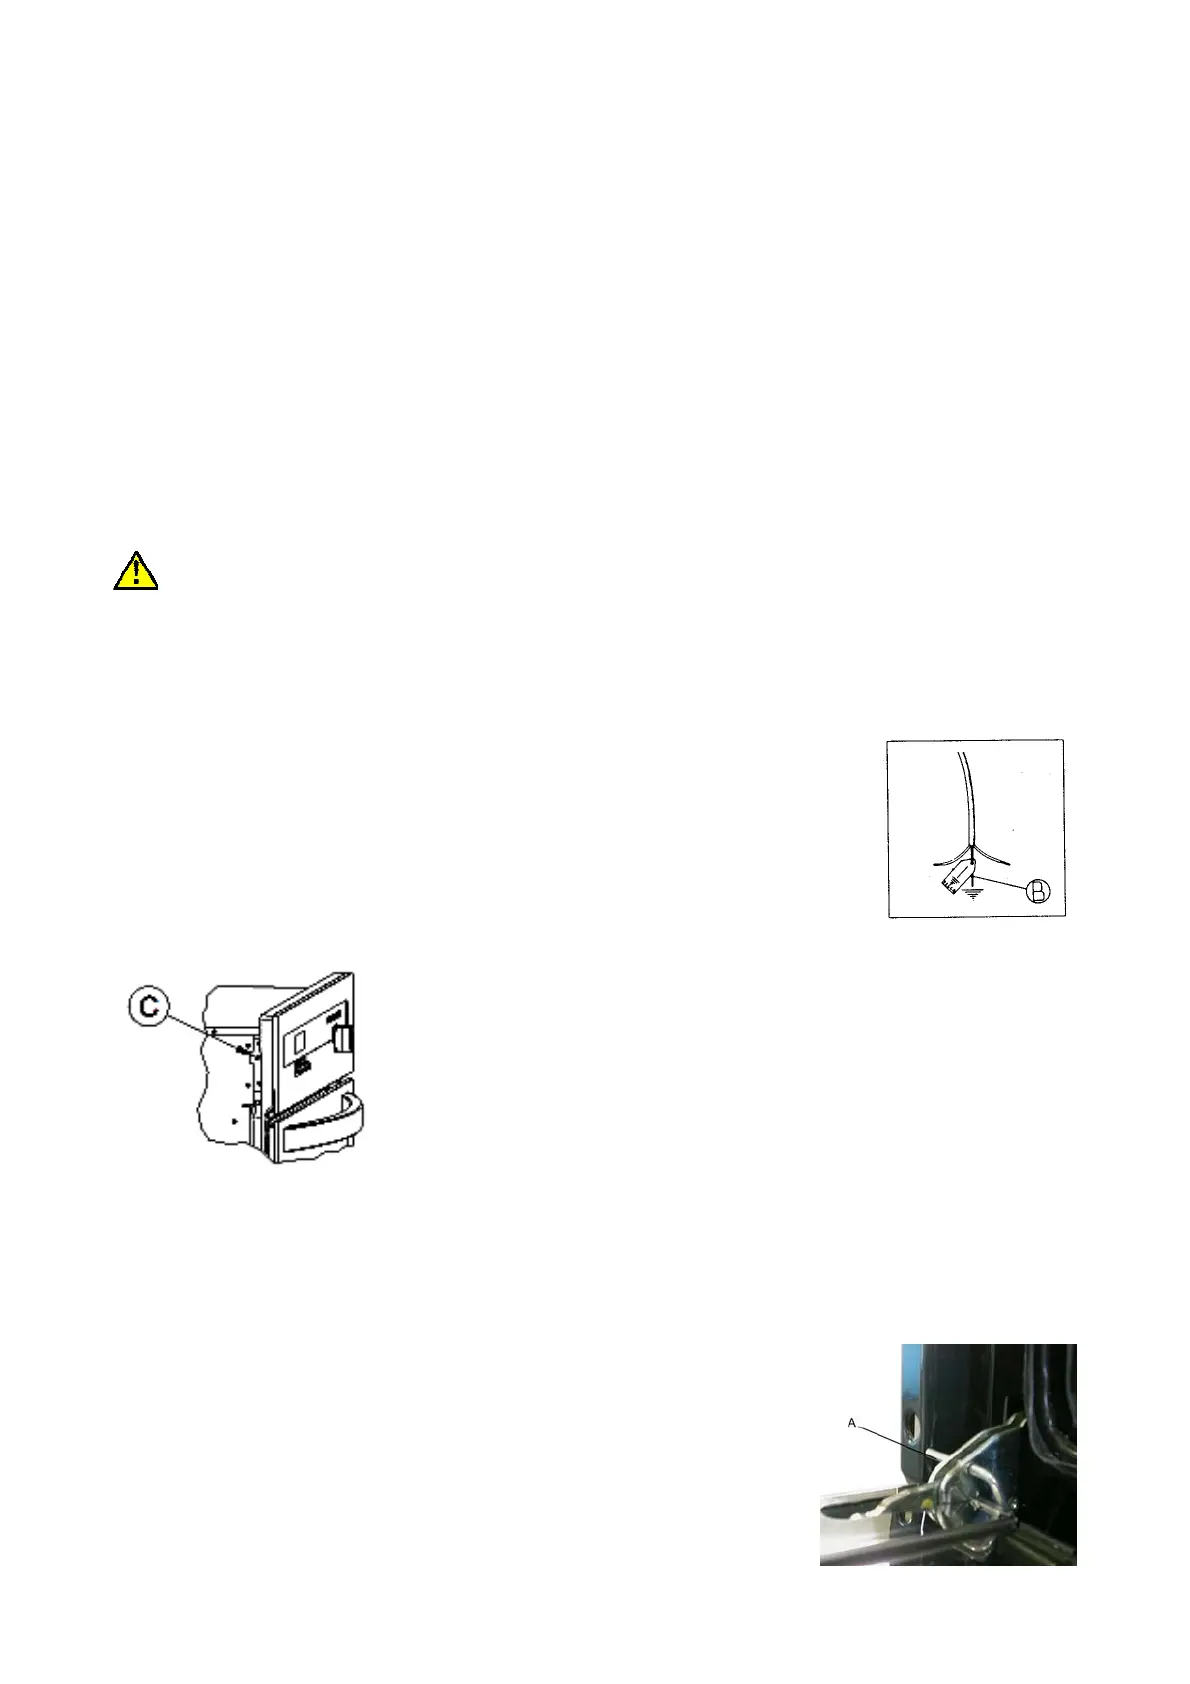
2.3 OVEN DOOR REMOVAL
Open completely the oven door, put in the apposite hinge hole a
pin block-movement of rotation (A) as indicated in the picture.
Catch the door at sides and close it slowly until You feel a sort of
 Loading...