6
Logan Graphic Products Inc., 1100 Brown Street, Wauconda, IL 60084 Toll Free 1 800 331 6232 www.logangraphic.com
Instruction Manual
Model F300-1
Studio Joiner
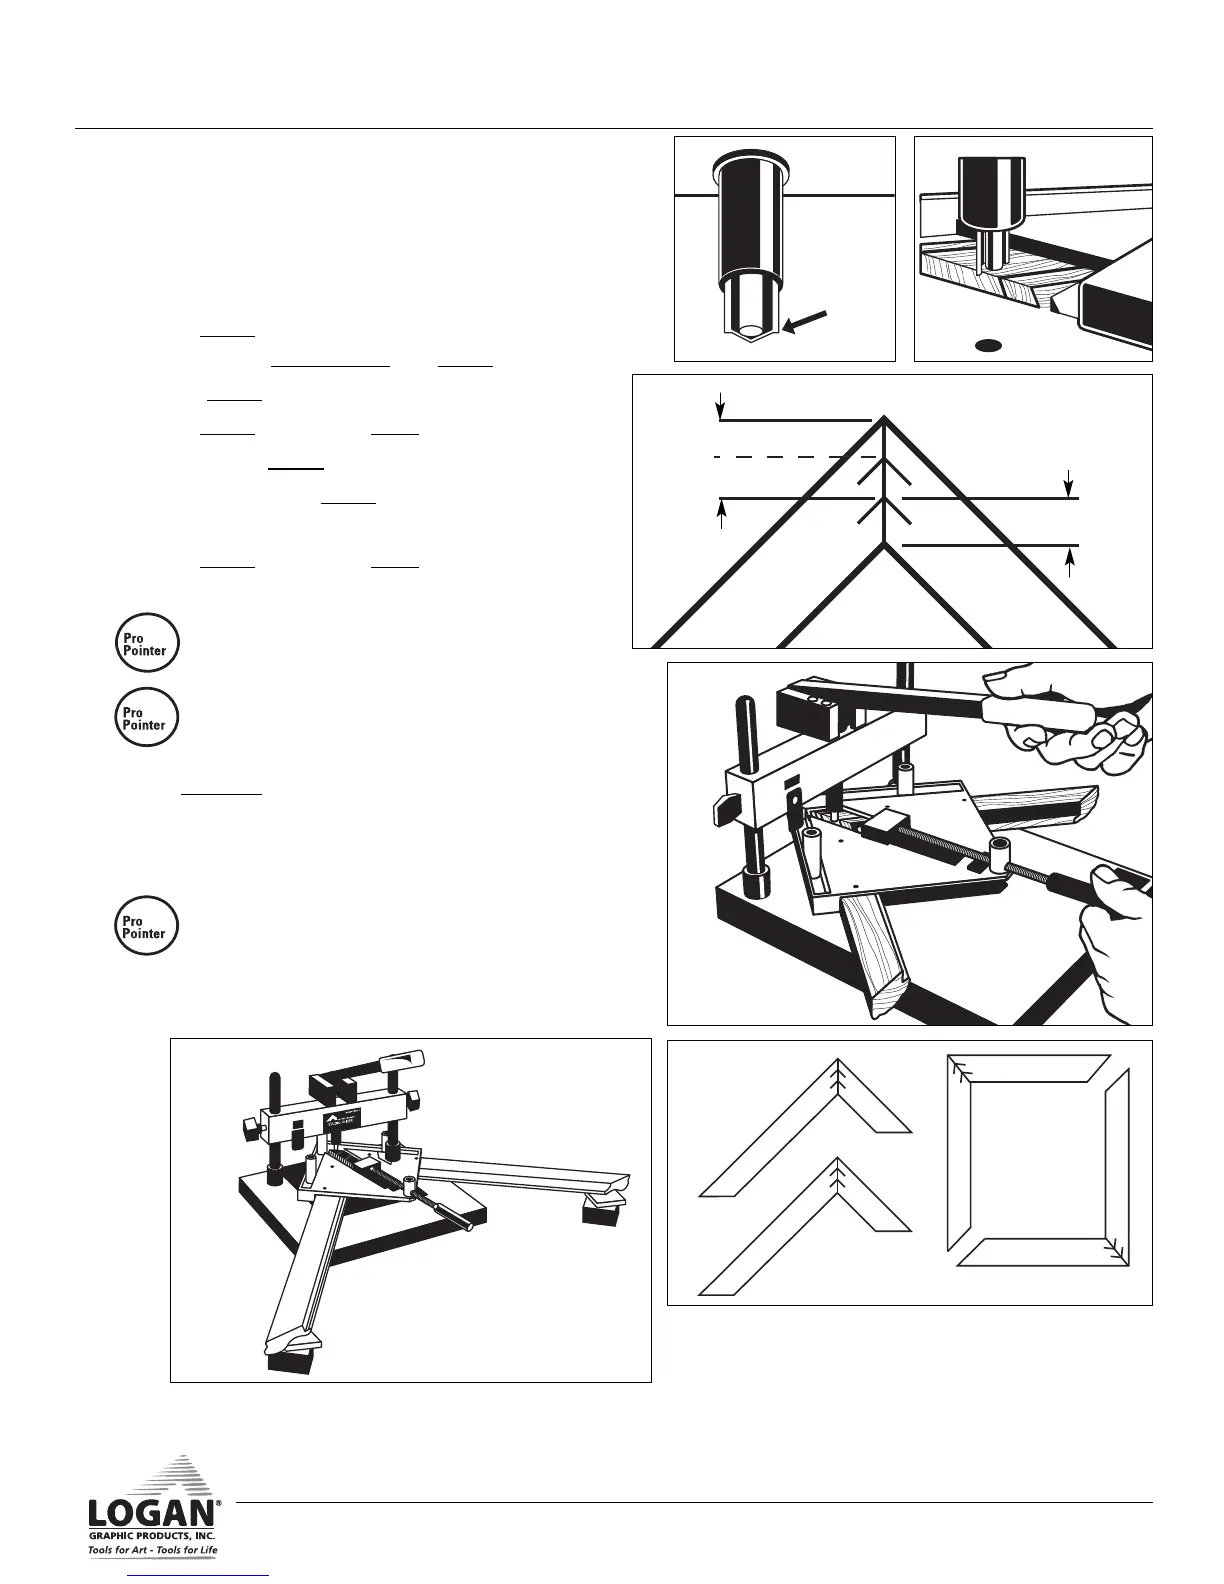
Fig. 18
Operation
A. Load V-Nail
1. Align V-nail around magnetic tip with beveled
sharp edge of nail facing down (Fig. 14).
B. Press V-Nail
1. Press V-nail into inside corner first. Slide vise
corner under magnetic tip and V-nail (Fig. 15).
2. Space V-nail 1/4” from inside corner (Fig. 16).
3. Press V-nail flush using lever (Fig. 17).
4. Load second V-nail.
5. Slide vise locating V-nail 1/2 distance between
first V-nail and outer corner (Fig. 16).
6. Press V-nail flush using lever.
7. Repeat on other corners to complete.
• Join sides of frames first. Then join halves
to finish (Fig. 18).
• Always put longer length in vise on right
hand side and shorter length on left hand
side .
8. The Levelers can be deployed to help stabilize
the moulding and or vise that extends past the
edge of the board to allow proper setting of
beam height (Fig. 19).
• The Studio Joiner can easily join poly-
styrene and Emafil plastic mouldings by
slowly but firmly pressing V-nails in. Note;
these will bend if pressed in too fast.
Fig. 16
1/2 Distance
First Nail
1/4” (5mm)
Second
Nail
L956NStudio Joiner manual R1_08.qxd:Studio Joiner 1_4_05.qxd 1/4/10 11:17 AM Page 7