Do you have a question about the Logik LDW45W15N and is the answer not in the manual?
Read instructions, keep ventilation clear, avoid heat sources, supervise children, keep cable away.
Hazardous to non-authorized personnel for repairs. Do not attempt self-repairs. Do not sit/stand on door.
Appliance must be earthed. Connect to appropriate outlet. Improper connection risks electric shock.
Lists main unit, cutlery basket, hoses, detergent spoon, measuring cup, condensation strip, salt funnel.
Select flat, firm, well-ventilated surface away from heat. Avoid extreme cold. Not for garage/outdoor.
Save removed parts. Ensure unit is unplugged/empty. Two people recommended for installation.
Fit strip to underside of worktop to protect from steam. Ensure surface is clean before attaching.
Position near water tap/drain. Ensure hoses are not kinked. Level unit using adjustable feet.
Connect to cold water mains using new hose. Check water pressure. Connect to mains socket.
Explains the double-walled hose system for safety and intervention upon hose breakage.
Do not bend drain hose. Use U-shaped holder. Connect to foul drains, not surface water. Height 40-100cm.
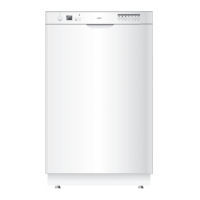
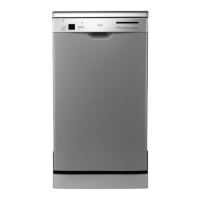
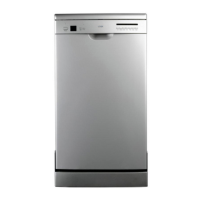
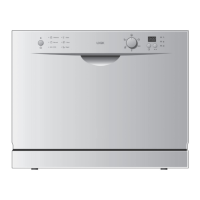
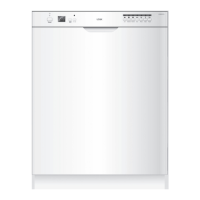
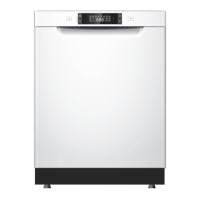
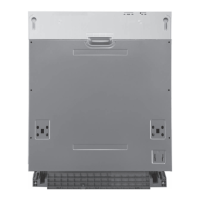
Identifies door handle, control panel on front; water inlet, drain hose, mains cable on rear.
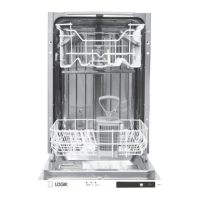
Details upper basket, salt reservoir, lower basket, detergent dispenser, cup rack, spray arms, filter.
Explains power, display, delay start, half load buttons, and program indicator lights.
Open door slightly to avoid spillage. Close securely. Avoid items like wood, crystal, certain plastics.
Fill detergent dispenser with powder or tablet. Use main wash and pre-wash chambers as needed.
Add rinse aid for drying. Adjust reservoir settings based on water hardness. Refill indicator explained.
Fill salt reservoir using funnel to reduce water hardness. Run rapid cycle after filling.
Set salt consumption based on water hardness using the indicator dial for optimal results.
Remove food residue. Do not overlap items. Ensure water access. Load securely, hollow items upside down.
Load cups, glasses, bowls. Adjust height for larger items. Raise cup rack for tall glasses.
Load upper basket with 9 settings. Load lower basket with plates, pots, pans. Lower hinged spikes for space.
Group cutlery in zones. Load knives/forks with handles up. Use covers for better results.
Connect power/water, load, add detergent, close door, press power, select programme.
Open door slightly, cancel existing program if needed, then select new one.
Clean door seals with damp cloth. Wipe control panel gently. Avoid spray cleaners.
Check and clean filters regularly under running water. Refit correctly to avoid blockages.
Clean spray arm jets regularly to remove food particles. Do not remove spray arms.
Repairs by qualified technicians only. Consult this section for common problems before calling service.
Check door closure, power connection, and unit switch. Ensure water tap is on.
Check water tap is on and water pressure is sufficient. Check flow meter and wiring.
Check for tank or hose leaks. Investigate float switch or PCB faults.
Indicates unit is overfilling. Shut off water, disconnect power, contact service.
Check anti-flooding system operation. Disconnect power/water, contact technician.
Rearrange items if spray arm knocks. Adjust rinse aid dosage if smearing occurs.
Check rinse aid level, load items correctly, leave items inside until audible sound.
Ensure enough salt, correct salt cap fitting, suitable detergent, and proper wash temperature.
Make unit unusable before disposal. Take to local collection point for WEEE recycling. Protect children.
Dispose of plastic wrappings and bags safely. Keep away from children.
| Type | Freestanding |
|---|---|
| Energy Rating | A+ |
| Capacity | 12 place settings |
| Noise Level | 49 dB |
| Dimensions (H x W x D) | 85 x 60 x 60 cm |
| Drying Efficiency Class | A |
| Wash Efficiency Class | A |
| Half Load Option | Yes |
| Water Consumption per Cycle | 12 liters |
| Delay Start | Yes |