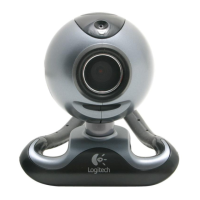
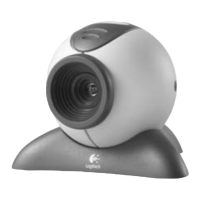
Logitech Reviewer’s Guide: QuickCam Pro 9000 and QuickCam Pro for Notebooks –
Page 9
Part 3: Installation and Use
3.1 Installation/Setup
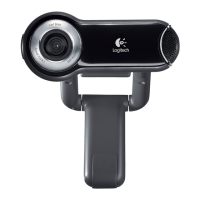
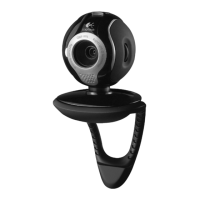
Installation of the QuickCam Pro 9000 and QuickCam Pro for Notebooks webcams is a
simple process, and takes just a few minutes. The user’s guide included in the product
provides clear step-by-step instructions. Here are a few additional suggestions for
reviewers:
• Position the QuickCam Pro 9000 or QuickCam Pro for Notebooks webcam at the
top-center of your monitor so that the camera lens is close to the video screen,
improving eye contact.
• For optimal performance, the built-in microphone should be approximately three
feet away from you.
• Bend the flexible monitor clip to secure the QuickCam Pro 9000 and QuickCam
Pro for Notebooks webcam to your monitor.
• Insert the supplied CD into an available drive and follow the on-screen
instructions.
• Do not connect the cameras until prompted to do so by the installation software.
• If the software installation process doesn’t start automatically, from the Windows
Start menu, select Run and type in D:\setup.exe. (Where D: is the drive letter of
your optical drive. If your optical drive is assigned to a different letter, substitute
that letter in the run command.)
• Be sure to complete the audio-tuning wizard that runs the first time you launch
the QuickCam software. This wizard helps you to adjust your speakers and
microphone for optimal audio performance.
3.2 Common Usage Scenarios/Examples
To fully appreciate the amazing image quality of the Logitech QuickCam Pro-series
webcams, please try these simple scenarios.
• Record a video clip or take a photo. Open QuickCapture and click Take Photo
or Record Video. Notice how clear and detailed the images are. Notice how rich
the colors are.
• E-mail a photo or a video clip. After you’ve recorded something, right-click on
an image in your gallery and send it to a friend or colleague. People can even
upload a clip to YouTube.
• Adjust the image size. With QuickCapture open, click the drop-down menu just
to the bottom right of the image. You can take up to eight-megapixel still photos
and HD video (at 960 by 720 pixels).
• To get the camera to perform at its best, your monitor resolution should be
at a minimum of 1280 by 1024 pixels. If you don’t do this, when you set
QuickCapture to use HD resolution or higher, you may see some image artifacts
on your screen.
To explore the many features of the Logitech QuickCam Pro 9000 and QuickCam Pro
for Notebooks webcam, launch the QuickCam software by clicking on the QuickCam
shortcut on the desktop (or in the system tray).