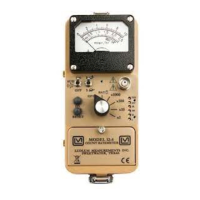
Model 3 Technical Manual Section 2
Ludlum Measurements, Inc. Page 2-2 April 2016
counterclockwise a quarter of a turn. Install two ˝D˝ size batteries in the
compartment.
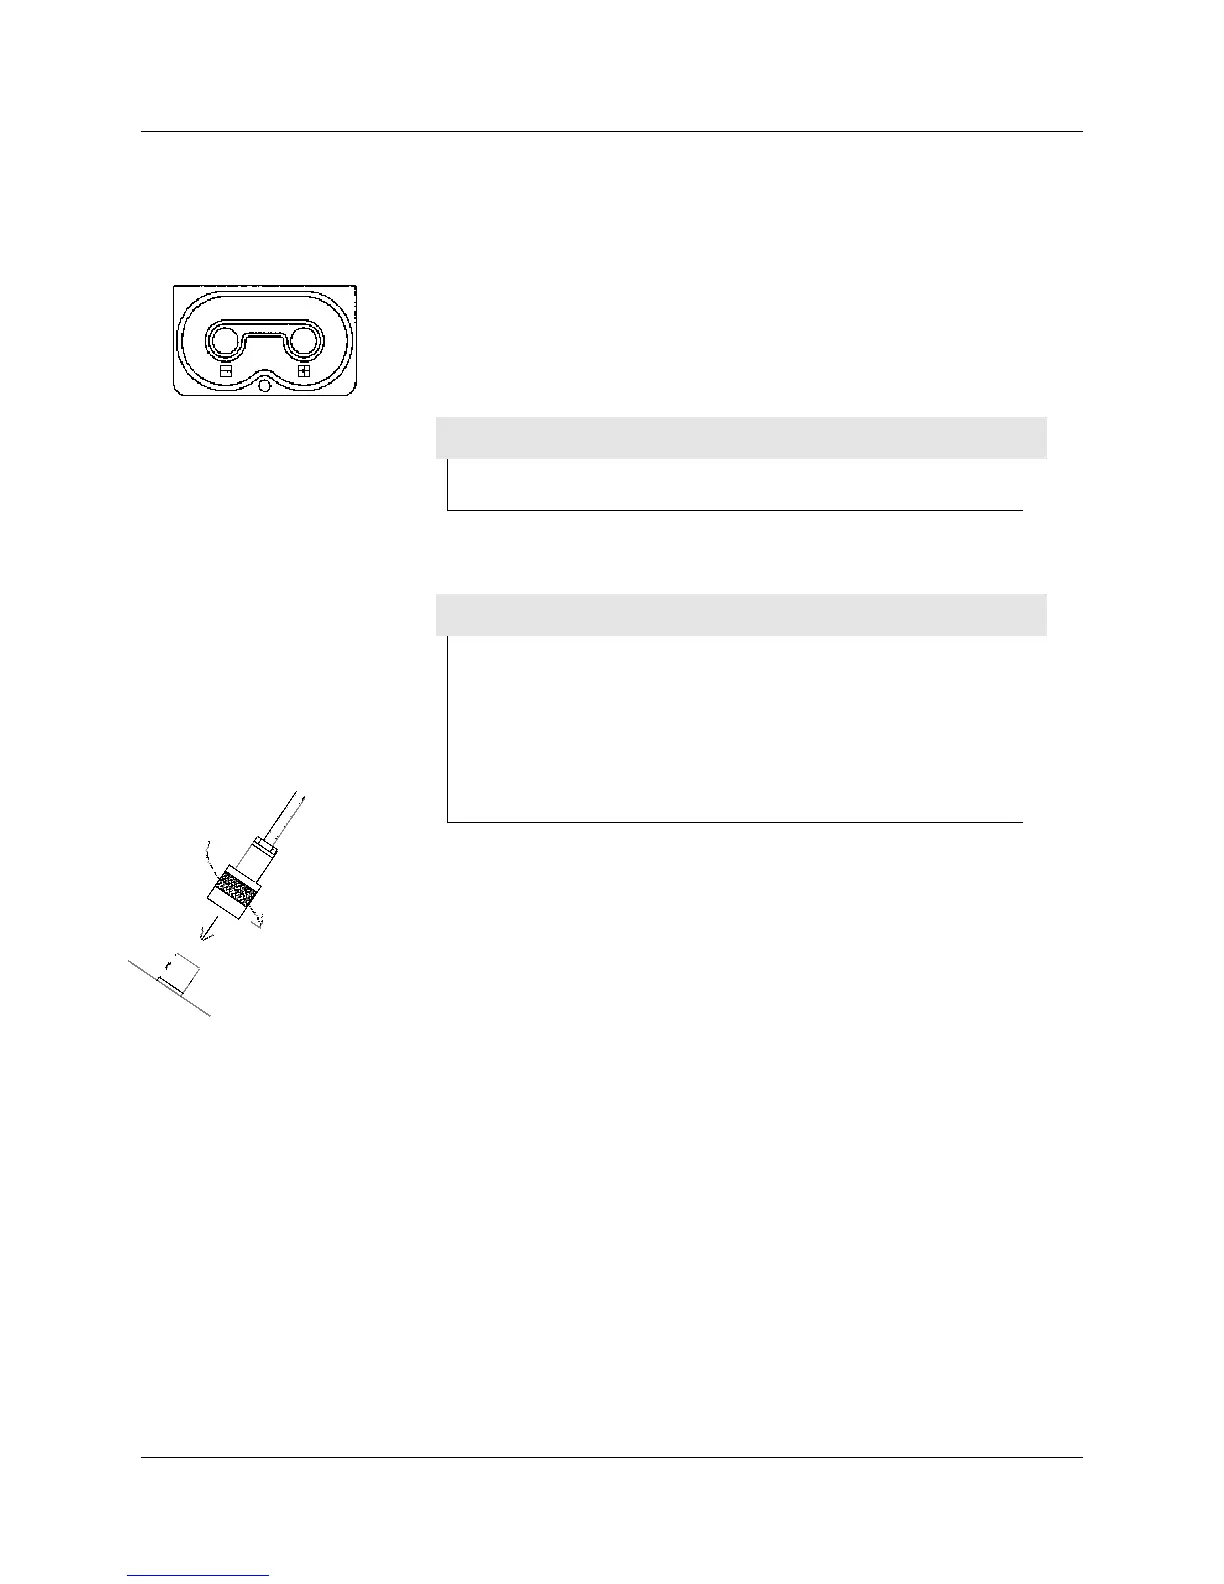
Note the (+) and (-) marks inside the battery door. Match the battery
polarity to these marks. Close the battery box lid, push down and turn the
quarter-turn thumb screw clockwise a quarter of a turn.
Note:
The center post of a “D” size battery is positive.
Connecting a Detector to the Instrument
Caution!
The detector operating voltage is supplied to the detector via
the detector input connector. A mild electric shock may
occur if you make contact with the center pin of the input
connector. Switch the Model 3 range selector switch to the
OFF position before connecting or disconnecting the cable or
detector.
Connect one end of a detector cable to the detector by firmly pushing the
connectors together while twisting clockwise a quarter of a turn. Repeat the
process in the same manner with the other end of the cable and the
instrument.
Battery Test
Check the batteries daily or prior to use, whichever is less frequent, to assure
proper operation of the instrument. Move the range multiplier switch to the
BAT position. Ensure that the meter needle deflects to the battery check
portion on the meter scale. If the meter does not respond, check to see if the
batteries have been correctly installed. Replace the batteries if necessary.
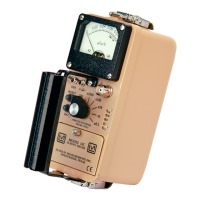
Instrument Test
After checking the batteries, turn the instrument range switch to the X100
position. Place the AUD ON-OFF switch in the ON position. Expose the
detector to a check source. The instrument speaker should emit “clicks”
relative to the rate of counts detected. The ˝AUD ON/OFF˝ switch will silence
the audible clicks if in the OFF position. In order to preserve battery life, it is
recommended to keep the AUD ON/OFF switch in the OFF position