19
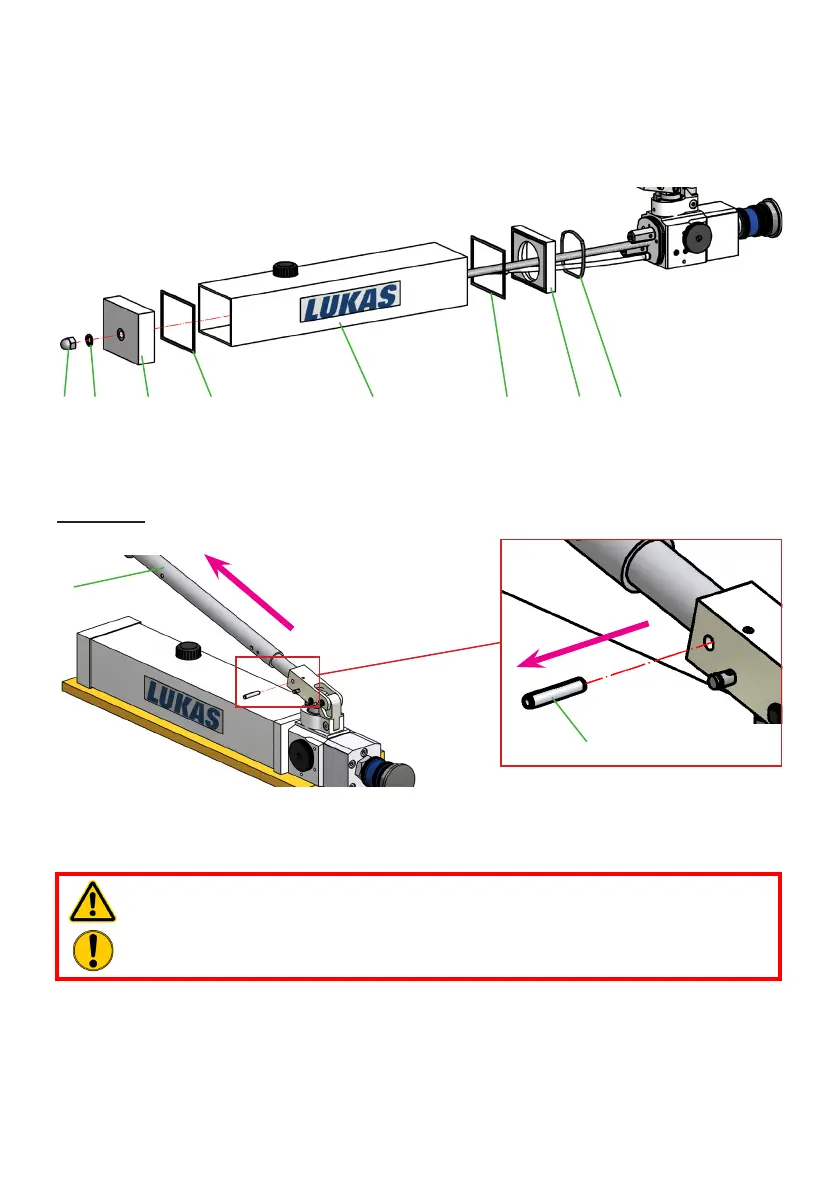
E F G H Tank J K L
3. Remove the nut (item E) and sealing ring situated under it (item F).
4. Remove base plate (item G) and the sealing ring (item H).
5. Remove tank and the seal (item J) as well as the connection plate (item K) and seal
(item L).
6. The assembly is done in reverse order. Replace all damaged parts with new ones.
The tightening torque of the nuts is 40 Nm.
10.5.3 Lever replacement
The lever must be replaced if external damage is present that represents a danger for user
and device upon further use.
Procedure:
1. Drive out dowel pin (item M).
M
N
2. Remove lever (item N) and replace with a new one.
3. Reinsert dowel pin (item M).
10.5.4 Couplings
WARNING / CAUTION / ATTENTION!
Couplings should not be repaired; they should be replaced with original LUKAS
parts!
10.5.4.1 Monocouplings
The monocouplings must be replaced if:
- exterior damage is present,
- the lock does not function,
- in the coupled and/or decoupled state, hydraulic uid continuously escapes.