D) a source button that switches your input source so you can toggle between the image from your
camera to an image on your computer, via VGA output that connects to your projector; playback capability so
you can view captured images in a slideshow format; forward and backward buttons on the base unit allow you
to control slideshow movement
E) image capture capability (in the case of the DC160, it captures 48 JPEG images)
F) USB port that acts as an input and output port, and, with a computer running Lumens’ See-II Deluxe software
enables
o Complete remote control capability of the document camera
o Remote capture of images from the document camera to a computer’s memory (note that there is no
limitation to how many images the camera can capture; capacity is based on amount of storage space
available on the PC)
o Transfer internally stored images from the base unit into the computer
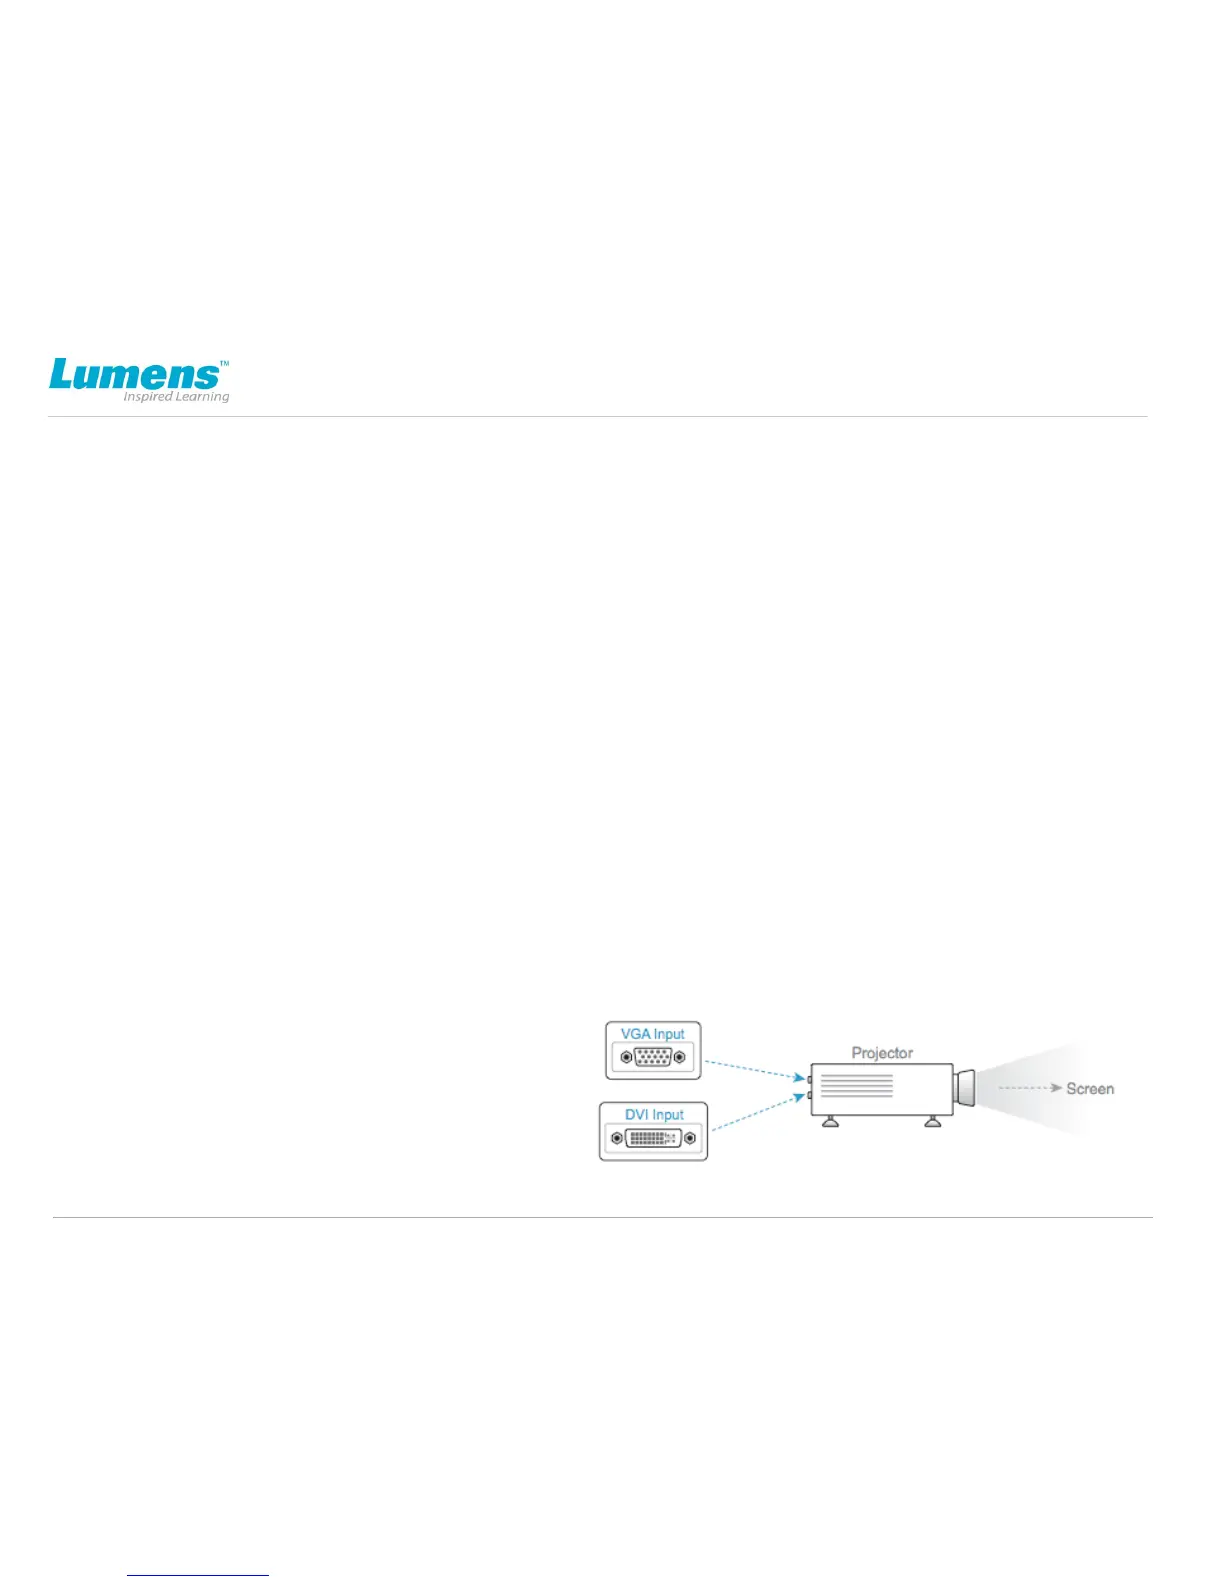
Connecting Your Document Camera with a Projector
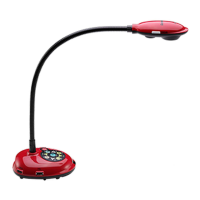
1. Connect the VGA output port from the base unit (A on Image 1.0)
to the projector’s VGA input port (if the projector has a DVI input port,
you may want to use that instead of the VGA input port (E on Image 2.0).
2. Power up the base unit and the
projector. Check the projector source
selection to ensure it is set to the correct
port so that the camera image can be
displayed on the screen.
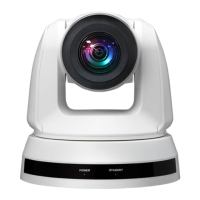
Image 2.0
E
 Loading...