EasyManua.ls Logo

Lumin U1 Mini User Manual

Default Icon
11 pages
To Next Page IconTo Next Page
Page #1 background imageLoading...
Page #1 background image
1
Lumïn Bracket manual
Thank you for purchasing the Sbooster-Lumïn bracket to make the Lumïn D2, U1 Mini or T2 suitable for the
Sbooster BOTW P&P ECO 12-13V external power supply. In just 20 minutes of your DIY-time is needed to take
out the stock SMPS of the Lumïn, install the Sbooster bracket and to enjoy more music………
Please note: taking out the SMPS of the Lumïn and installing the Sbooster bracket is at your own risk.
Caution: Watch-out for Electrostatic Discharge (ESD).
Make sure when you are working on the Lumïn that you are fully discharged to prevent damage to the Lumïn.
You can discharge yourself by touching i.e. your grounded device like an Amplifier, Radiator or Fridge, etc.
Needed tools:
- Screw driver
- Torx screw driver (supplied in connection kit)
- Wrench (mini cross wrench supplied in connection kit)
- 2x screws (supplied in connection kit)
- Pliers

Other manuals for Lumin U1 Mini

Question and Answer IconNeed help?

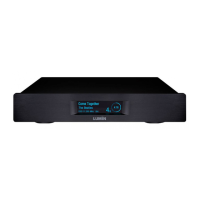
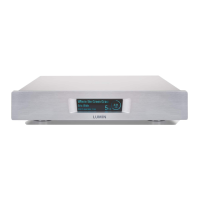
Do you have a question about the Lumin U1 Mini and is the answer not in the manual?

Lumin U1 Mini Specifications

General IconGeneral
BrandLumin
ModelU1 Mini
CategoryRacks & Stands
LanguageEnglish

Summary

Introduction and Safety Precautions

Product Overview and Purpose

Introduction to the Sbooster-Lumïn bracket for Lumïn D2, U1 Mini, T2 devices.

Installation Disclaimer

Warning that installation of the Sbooster bracket is at your own risk.

Electrostatic Discharge (ESD) Warning

Caution to discharge yourself before working on the Lumïn to prevent ESD damage.

Required Tools for Installation

List of tools needed: screwdriver, torx screwdriver, wrench, screws, and pliers.

Installation Steps

Step 1: Remove Enclosure Screws

Remove 14 torx screws from the enclosure, internal power supply, and cover.

Step 2: Open Enclosure

Slide the enclosure cover to the back to open the device.

Step 3: Remove PSU Connector

Press the clip on the PSU connector's top side to remove it.

Step 4: Remove PSU Cover

Move the PSU cover forward and towards the circuit board, then flip it.

Step 5: Unscrew Internal PSU Wires

Unscrew the wires from the internal PSU, leaving them attached to the SMPS.

Step 6: Remove IEC Mains Input

Remove two internal nuts and two black torx screws from the IEC mains input.

Step 7: Install Sbooster DC Input Bracket

Place the Sbooster DC input bracket and fix it with two supplied silver screws.

Step 8: Connect to Lumin Circuit Board

Install the connector to the Lumïn circuit board, ensuring the black wire is positioned correctly.

Step 9: Install Enclosure Cover

Reinstall the enclosure cover, paying extra care to the front panel.

Step 10: Install Enclosure Torx Screws

Install the eight torx screws to secure the enclosure.

Connecting the BOTW P&P ECO 12-13V MKII to the Lumïn Bracket

DC Connector Alignment

Align the 'S' logos on the bracket and female connector for correct pin insertion.

Tight Fit Female DC Connector

Tips to improve the fit of the DC connector if it is very tight.

Safe Power Connection Procedure

Instructions for safely connecting and disconnecting the power supply.

Related product manuals