30
ALWAYS plan your work. Have drawings or a plan on
hand together with any measuring instruments you
may require, such as micrometers / verniers / cailpers
etc.
Select a cutting tool that will procedure the desired cut
and mount in the tool rest, with as little over-hang as
possible, securing it using three hex sockeet head
screws. (Ideally, the overhang should be approx., 6
mm but not more than 8 mm for a straight tool.)
It is IMPORTANT to ensure that the tip of the cutting
tool is on the center line of the work, or very slightly
below it. On no account should it be above the center
line. Where necessary shims should be used beneath
the tool in order to achieve the correct height, or, if the
tip is too high, the only recourse is to select another
tool or grind down the tip.
To check the tip is at the correct height, position the
tool so that the tip is almost touching the point of the
tailstock center. They should coincide. If necessary
make adjustments using shims, grind down the cutting
tip or select another tool.
When satisfied, mount the work, either in the chuck or
on a faceplate, an if necessary, use the tailstock center
for additional support (if the work cannot be adequa-
tely secured by the chuck, or if it is a long piece, or of
small diameter). Additio-nally, “Steady rest” may be
used.
If the tailstock is not to be used, you may remove it
completely by slackening off the securing nut at its
base, and sliding it free of the bed.
Mark the surface of the work at the point where the cut
is to end, i.e. the shoulder, using a scriber or similar
means, and move the saddle so that the cutting tool is
directly opposite the mark, then wind in the cross-slide
so that the tool touches the surface of the work.
Whilst carrying out these manovres, rotate the chuck
by hand to ensure that nothing will come into contact
with if when turning takes place, i.e. there is adequate
clearance between the saddle, cross-slide, tool post or
cutting tool, and the chuck.
When satisfied retract the cutting tool and wind the
saddle away from the headstock, then wind the cutting
tool up to the work, somewhere along the length to be
cut, whilst rotating the work by hand, using the chuck
Continue to advance the cutting tool slowly, until it
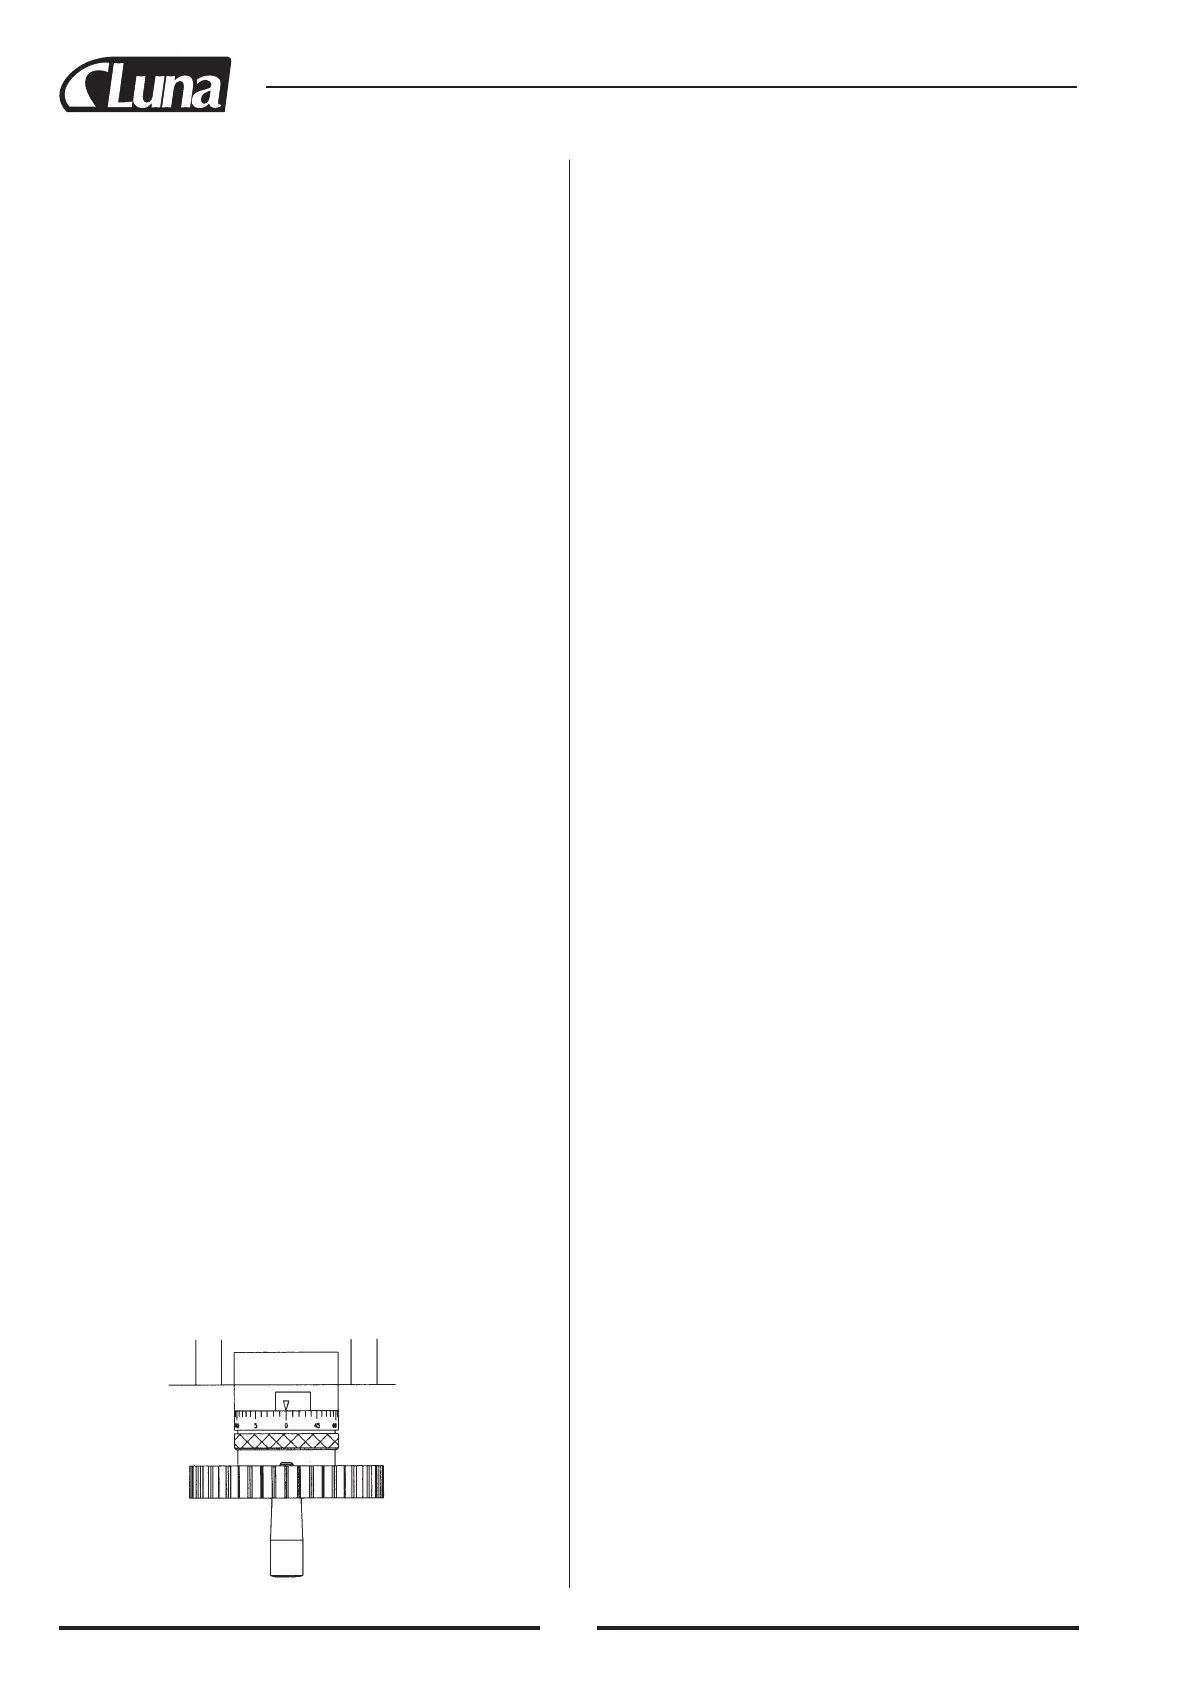
just touches the surface. Record this position by
zeroing the scale on the cross-slide, i.e. turn the move-
able scale until the tool is a short distance from the
right hand edge of the work. Wind in the cross-slide
again one full until the zero marks again coincide.
IMPORTANT: If you go past the zero marks, back
off again at least one half of a turn, then slowly bring
the marks back together. Whenever you use the scale,
as an indicator, to advance the cross-slide or com-
pound slide. ALWAYS use this procedure to alight the
marks. This is to take into. Account backlash and other
clearances in the gearing and slides etc.
Continue to turn the handle an amount equivalent to
your desired depth of cut.
NOTE: We recommended that for rough cutting,
you do not exceed 0.010” (0.25 mm) as your depth
of cut.
The setup is now complete to begin your cutting ope-
ration, but before starting, check the position of the
Clutch for changing the manual & auto feeding set to
left (a hand).
Switch the machine ON as described under “Starting
Procedure” and slowly feed the cutting tool into the
work using the manual feed handle. Proceed until you
reach the previously marked line on the work, then
retract the tool one or two complete turns on the
Cross-slide feed handle. Wind the saddle back to the
beginning then wind the tool the same numer of turns
“in”, plus the depth of desired cut, and proceed to cut
once more.
NOTE: this describes the procedure for general, rough
cutting. For other types of cuts-finishing, cutting
shoulders etc., you should consult a suitable hand-
book.
IMPORTANT: Your left hand should always be free
in order to hit the emergency stop should it become
necessary.
Maintenance
For maximum performance, it is essential that the
lathe is properly maintained.
BEFORE USE
Always inspect before use. Any damage should be
repaired and maladjustments rectified. Damage to
machined surfaces should be repaired with an oil
stone. Test by hand to ensure smoot operation of all
parts before use.
Inject a few drops of oil to the oilways at both lead-
screw bearing each end bracket once outwice during
the day if used continuously. It will be necessary to
remove the gear train covr in order to oil the left hand
bearing.
Inject a few drops also to the compound slide oilway.


 To Next Page
 Loading...