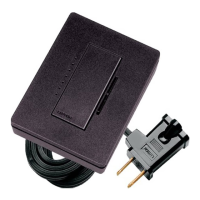
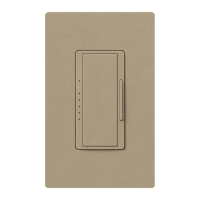
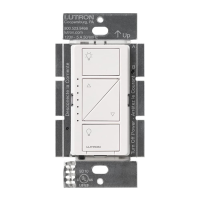
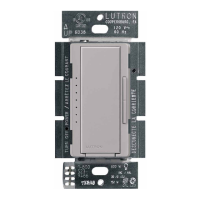
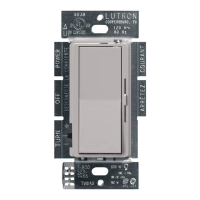
Lamp Dimmer
Installation
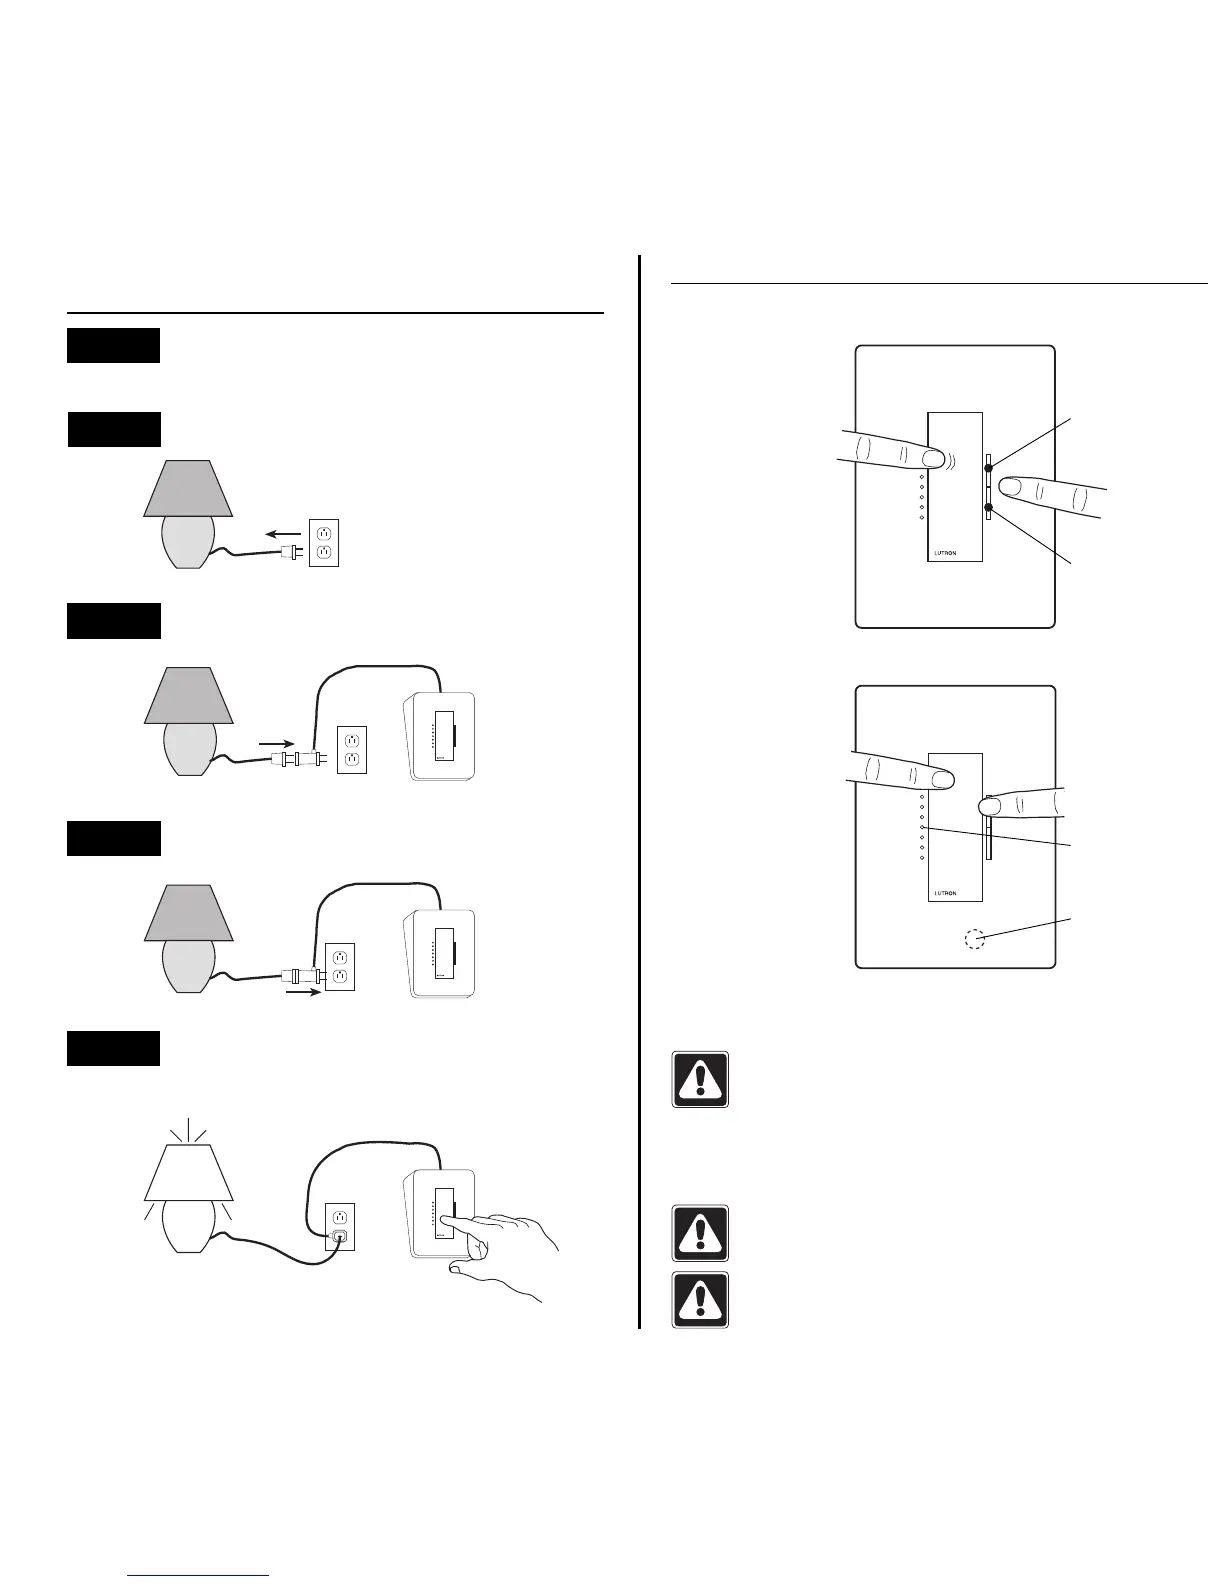
Step 1
Find a suitable location for the Lamp Dimmer. Place
the Lamp Dimmer in a convenient and accessible
location.
Step 2 Turn lamp ON and unplug lamp cord from receptacle.
Step 3 Plug lamp cord into back of the Lamp Dimmer plug.
Step 4 Plug Lamp Dimmer into any standard wall outlet.
Step 5 Operate Lamp Dimmer. Control light from Lamp
Dimmer or with Spacer System
TM infrared hand-held
remote control.
Operation
Basic Operation
NOTE: Unplug Table Lamp Control when changing light
bulbs.
CAUTION: To avoid risk of electrical shock, do not open,
cut cord or rewire device.
CAUTION: This is a POLARIZED cord set.
It has a polarized plug (one blade is wider than the other).
The polarized plug is not intended to be mated with
nonpolarized outlets (having both slots the same size).
A polarized outlet is intended to mate with a polarized plug in
only one way (the longer slot with the wider blade).
Advanced Features
Operation of Infrared Hand-held Remote Control
Point the Infrared Hand-held Remote Control at the Spacer SystemTM
Lamp Dimmer then use the Scene, Off, and Master Raise/Lower
buttons as shown below.
Easy Scene Programming–Just Like a Car Radio
1. Adjust Spacer SystemTM Lamp Dimmer to desired light levels.
2. Point SPS-FSIT at Spacer SystemTM Lamp Dimmer.
3. Press and hold top button until Spacer SystemTM Lamp Dimmer LEDs
flash (approximately 4 seconds). Favorite scene is set.
SPS-FSIT
Favorite SceneTM, Off, and Master Raise/Lower
Press here to brighten
OR
Press once to turn your lights On
to lowest level when dimmer is
Off.
Press here to dim
Press to turn On to
Favorite Scene
TM.
Press to turn Off.
OR
Press and hold to activate
delayed fade to Off. As Off
button is held, LEDs on the
Spacer
SystemTM Lamp
Dimmer will begin to flash.
Each flashing LED
represents 10 seconds of
delay before dimmer fades
to Off (up to 60 seconds).
Easy Scene Programming–Just Like a Car Radio
1. Adjust Spacer SystemTM Lamp Dimmer to desired light levels.
2. Point SPS-4IT at Spacer SystemTM Lamp Dimmer.
3. Press and hold corresponding scene button until Spacer SystemTM Lamp
Dimmer LEDs flash (approximately 4 seconds). Scene is set.
4. Repeat steps 1 through 3 for all scene buttons.
SPS-4IT
4 scenes, Off, and Master Raise/Lower
Press up to brighten or
down to dim lights
OR
Press up once to turn
your lights On to lowest
level when dimmer is Off.
Press to turn Off.
OR
Press and hold to
activate delayed fade to
Off. As Off button is held,
LEDs on the Spacer
System Dimmers will
begin to flash. Each
flashing LED represents
10 seconds of delay
before dimmer fades to
Off (up to 60 seconds).
Press to recall
lighting scenes.
Fade to OFF - Press
and hold to activate delayed
fade to OFF. As tap switch is
held, LEDs will begin to
flash. Each flashing LED
represents 10 seconds of
delay before dimmer fades
to OFF (up to 60 seconds).
Locked-in Preset -
Tap 4 times quickly to set
the current light level as the
“Locked-in” preset (the LEDs
will blink twice indicating the
preset was locked). When
the dimmer is turned ON via
this button it will always go
to this “Locked-in” light level
rather than the previous light
level. To unlock the preset,
tap the switch 4 times
quickly (the LEDs will blink
three times indicating the
preset was unlocked).
ON Low - Press
once to turn your
lights ON to lowest
level when dimmer is
OFF.
LEDs - Indicate
light level or glow
softly as a night light
when dimmer is OFF.
IR Receiver -
Infrared (IR)
receiver is located
withinthe IR
transparent enclosure.
Tap once to turn On.
Tap again to turn Off.
Tap twice to turn On
to full bright.
Press here to
brighten
Press here to
dim


 To Next Page
 Loading...