Do you have a question about the Lux Products P711 and is the answer not in the manual?
| Temperature Range | 45°F to 90°F (7°C to 32°C) |
|---|---|
| Stages | 1 Heat/1 Cool |
| Programmability | Non-Programmable |
| Hold Function | Yes |
| Filter Change Indicator | No |
| Power Source | 24VAC (HVAC system), Battery (AAA x 2) |
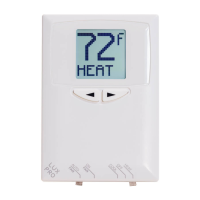
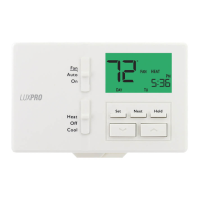
| Display | LCD |
| Compatibility | Single Stage Heating and Cooling Systems |
| Terminal Designations | R, W, Y, G |
| Weight | 0.3 lbs |
Ensure bare wire ends are fully inserted into the terminal block before tightening screws for secure connection.
Wiring diagram for conventional, 1-stage heat only systems using 2, 3, or 4 wires.
Wiring diagram for conventional, 1-stage cool only systems using 3 or 4 wires.
Wiring diagram for conventional, 1-stage heat and cool systems using 4 or 5 wires.
Wiring diagram for conventional, 1-heat/1-cool systems with two transformers.
Wiring diagram for heat pump systems, 1-heat/1-cool, with no auxiliary or emergency heat.
Install two brand new Energizer or Duracell "AA" alkaline batteries in the correct polarity.
Configure jumper for GAS or ELECTRIC fan control based on heating system type for proper operation.
Configure the shared B/O terminal jumper for 'O' (default) or 'B' for heat pump operation.
Choose between 5/2-Day, 7-Day Programming, or Manual Non-Programmable modes.
Configure for Furnace (Fn) or Heat Pump (HP) systems.