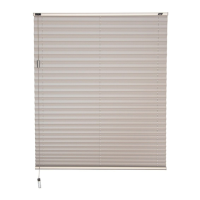
For models with fixed rails, such as Model 116 at the bottom or at the side these brackets are fitted in
the same way, but either sideways or upside down. These types of blind may have tensioned cords,
which means the rail may need to be forced down to reach the brackets.
Install headrails onto brackets as shown below:
Locate headrail onto lip of bracket (A1), push headrail up at rear until it
‘clicks’ into place fully (A2)
Cord Operation:
Pull cords towards centre of blind to
release cord lock
Pull cords towards edge of blind to lock.
Blind Removal:
To release rail, use flat blade screwdriver
to prise back of bracket off rail. Twisting may assist.
Options:
Side Guiding SG1 or Hand control Models:
Install headrail first
Then install mounting plates by screwing inner section to sill then slide cover
onto inner as shown below, tensioning the cords in doing so.
Mounting plates can be face fitted by using wall support brackets
N.B. For MODEL 124 –
There are NO
headrails on this
model, therefore you
will fit mounting
plates in all 4 corners
as above.
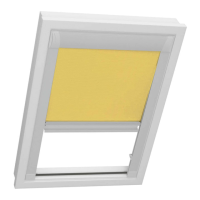
Arched Models:
Positioning the holes to be drilled for
the fastening hook(s)
• Click the pleated blind into place with
the lower rail and unfold it all the way
• Mark the hole positions on the frame,
in line with the eyes in the fabric. (Not
on Duette
®
)
• Remove the pleated blind, drill the
holes, install the screw hooks. With
Duette
®
you will receive arch support
clips, locate back of pleat between
the two ‘fingers’ to support fabric
• Install the rails and the blind as
shown in diagram
free hanging instructions june 09.qxd:Layout 3 10/8/09 16:15 Page 5

 Loading...