NO.
Corrective Action
Tweeter defect
2 Woofer defect
1
Woofer replacing Steps:
1-Disassemble the faceplate same as
photo 1/2
2-Disassemble the screws and get out
the woofers as photo4
3-put new woofer on
4-fix back the screws and faceplate
LED defect
LED replacing Steps:
1-disassemble the faceplate as
Photo1/2
2-Disassemble the screws and get out
the woofer as photo4
3-cut the cable tie,disconnect the
tweeter cable as photo5
4-disassemble the screws on the amp
as photo6
5-get out the defect LED cable as photo
7/8
6-replace new LED cable and glue
it,then fix the amp
7-connect the tweeter cables,cable tie
and assemble the woofer
4
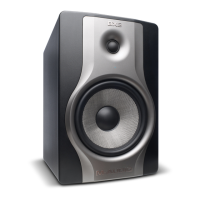
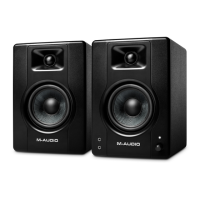
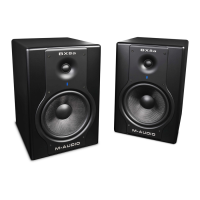
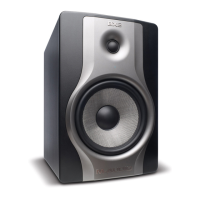
Service Instructions: BX Carbon Series & BX D2 Series (with IC TDA7294)
Photos
Tweeter replacing Steps:
1-disassemble the faceplate and the
tweeter cable,refer to photo1/2
2-remove the screw to get out the
tweeter
3-put new tweeter on and fix on the
faceplate
4-connect the tweeter cable and put
back the faceplate
Amplifier replacing Steps:
1-disassemble the faceplate as
Photo1/2
2-Disassemble the screws and get out
the woofer as photo4
3-cut the cable tie,disconnect the
tweeter cable as photo5
4-disassemble the screws on the amp
as photo6
5-pull out the defect amp
6-connect the LED cable and glue
it,then assemble the amp
7-connect the tweeter cable/cable
tie/assemble the woofer/connect the
tweeter cable and fix the faceplate;
Amp defect3
Issue
Photo4:Remove the screws,get out
the defect woofer and replace new
woofer;
Photo3:Get out the screws
and get out the defect
tweeter to replace new
tweeter;
Photo5:cut the cable tie,and
disconnect the tweeter cable
in whie
Photo7:put some speaker
clean liquid on it to soften
the yellow glue,then pull out
the lED cable.
Photo8:use glue gun to melt the
hot melt glue on it;
Photo2:To remove the faceplate
from upside to downside by
removing the pillars on it,and
then pull out the tweeter cable;
Photo1: Put blade or
screwdriver into the gap
between the faceplate and
the cabinet to remove the
faceplate;
Photo6:disassemble the
screws on the backside;
 Loading...