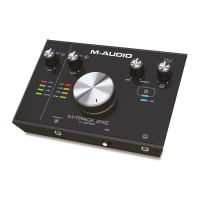
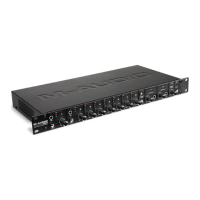
Fast Track C600 User Guide36
• For a stereo keyboard, plug the cable com-
ing from the left output of your instrument
to the Mic/Line input connector for chan-
nel 1 on the back panel of Fast Track C600,
and the right output of your keyboard to
the Mic/Line input connector for channel
2.
• Connect your microphone to the Mic/Line
input for the channel(s) you had chosen in
step two.
If your microphone requires phantom power,
make sure the microphone is connected, then
press the corresponding Phantom Power switch
(labeled 48V) for the Input channel you micro-
phone is connected to. Each switch sends 48V to
both mic inputs for its respective input pair. The
corresponding 48V LED on the front of the Fast
Track C600 will light when phantom power is
being supplied.
4 Sing, or play your instrument at the loudest
level you expect to reach during your recording
while slowly turn the appropriate gain knob(s)
clockwise, until the input level meters are peak-
ing within the yellow band of LEDs. The red
“Clip” LED (at the top of the meters) should not
illuminate as that means your signals have over-
loaded the converters.
At this point, you have set optimum gain levels
and can begin recording.
5 Create an audio track in your recording soft-
ware. You will need to use a a mono audio track
for instruments or microphones, or a stereo
track for stereo sources such as a keyboard or
mixer.
6 Select the appropriate input from the Input se-
lection options for the track.
If you are using Input 1 on your Fast Track C600,
then you should select Input 1 for the track in
your software.
7 Press the record enable button for that chan-
nel.
8 Press the Multi button on the top panel of
your Fast Track C600 to begin recording.
If you have assigned the Record button on your
interface to the record function in your soft-
ware, pressing it will start the recording.
9 When you have finished, press the Multi but-
ton to stop recording.
Press the Stop button on your interface, if you
have assigned it to this function.
10 Press the Multi button a third time to save
your work.
11 Press the Multi button twice more to go back
to bar 1, and play back what you’ve recorded.
Although phantom power can be used
safely with most microphones, some ribbon
microphones may be damaged if phantom
power is applied to them. Always turn off
phantom power, and wait at least ten sec-
onds before connecting a ribbon micro-
phone.
Refer to the documentation for your micro-
phone for more information about its power
requirements.
Refer to your software documentation for in-
formation about creating, record enabling
(record arming) track, and track input selec-
tion.
Steps 8 through 12 will only work if you
have configured the Multi button as de-
scribed in “Configuring the Multi Button
(Building a Macro)” on page 33.
 Loading...