2 « Quick Start Guide
About this Guide
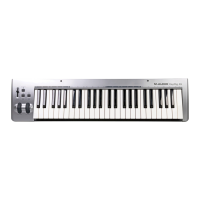
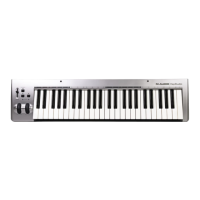
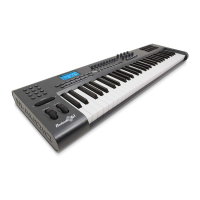
ThisQuickStartGuidecoversthebasicsetupstepsrequiredforboth,theKeyRig
49 keyboard and the Key Rig virtual instrument software.
As you become more familiar with the KeyRig 49 keyboard, you may wish to take
advantage of this product’s additional professional features such as: using your
new keyboard with more than one application at the same time (multi-client) or
sendingadvancedMIDImessagesusingtheKeyRig49keyboard’sEditmode.
When using Windows XP, some of these features can only be accessed after
installing the optional drivers for the KeyRig 49 keyboard. No additional drivers
arerequiredforMacOSX.TheoptionalPCdriversandthecompleteUserGuide
(covering optional driver installation and all advanced features), are found on the
KeyRig49CD-ROMincludedwiththispackage.
Connecting KeyRig 49
1. Use the provided USB cable to connect
KeyRig 49 to an available USB port on
yourcomputer.TheUSBcablenotonly
powers the keyboard but also transmits
MIDIdatatoyourcomputer.
2. Make sure that the power switch on the
back of the keyboard is in the “on” position
(I).KeyRig49isnowreadytobeused
–noadditionalinstallationstepsare
required.
Installation of Key Rig Virtual Instrument
Software for Windows
1. InserttheKeyRig49CD-ROMintoyourcomputer’sCD-ROMdrive.
2. Thecomputerwillautomaticallydisplaytheinteractiveinstallscreen.Ifyour
computer fails to launch the installer, manually start it by clicking on Start >
My Computer > KeyRig 49.
3. Choose Key Rig virtual instrument from the pull down menu and click
“Install.”
4. Follow the installer’s on-screen direction prompts.
5. Duringsetup,theinstallerwillaskyoutospecifytwodirectoriesonyour
computer.TherstisfortheKeyRigDataDirectoryandthesecondisfor
yourVSTPlug-inDirectory.Theinstallerallowsyoutochoosealocationfor
theKeyRigData(approximately350MB)andforyourVSTplug-infolder.
You may specify a custom folder, or leave the default setting.
6. Whentheinstallernishesinstallingthesoftware,click“Finish.”
7. M-Audio Key Rig is now installed on your computer. You will need to certify
your copy of the software before you begin making music—please see
“Certication”belowforthesedirections.
 Loading...