EN
23
In
more
detail...
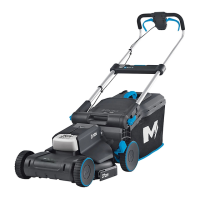
MLM1841
by MacAllister
WARNING!
Never use your hands or feet to remove grass clippings
from the rear discharge chute (19) !
Product functions
3. Remove the grass clippings from the rear discharge chute (19) into the grass
catcher (7). Use a proper tool such as a brush.
4. Remove the grass catcher by its carry handle (7a).
5. Empty the grass clippings onto a compost heap.
6. Re-t the grass catcher (7) to the product.
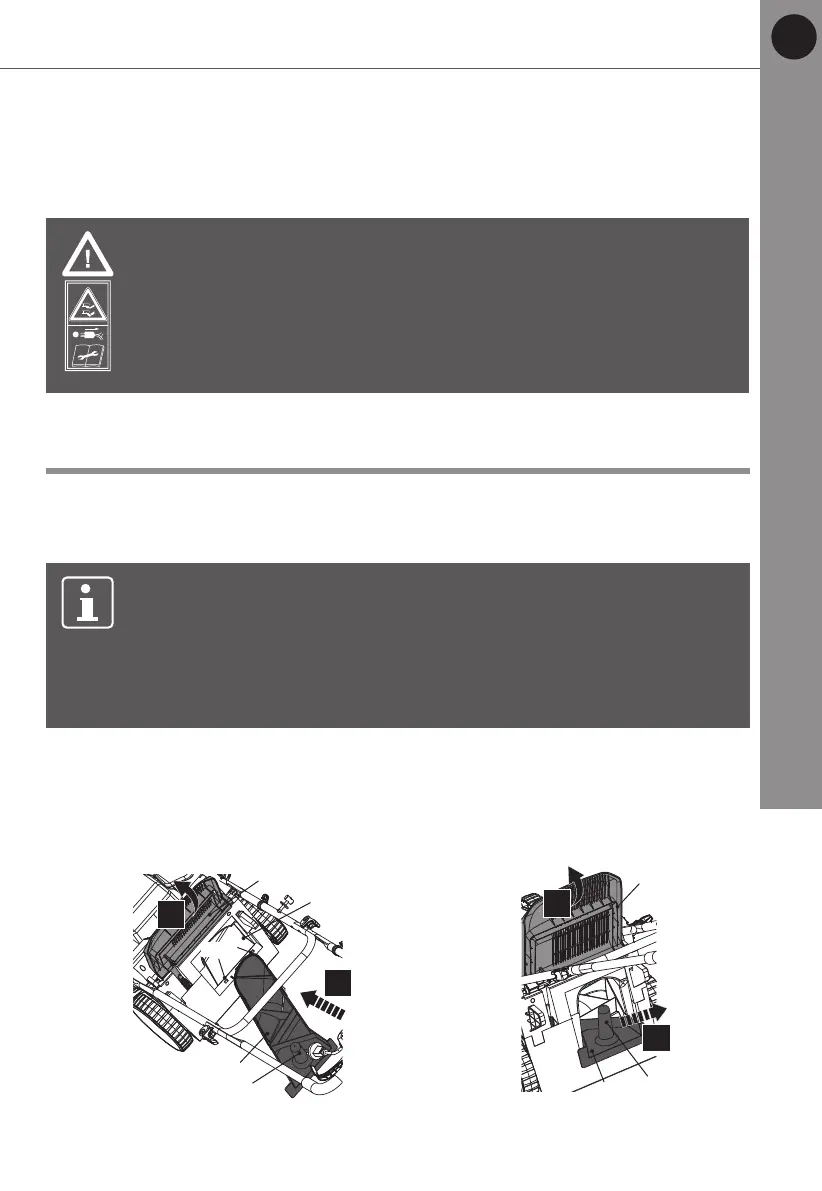
1. Open the deector guard (16), hold the handle (20a) in position and insert the
mulching insert (20) into the rear discharge chute (19) (Fig. 14). Ensure the
spigots (20b) snap into the rear discharge chute slots (19b).
2. Lift the handle (20a) to disengage the mulching insert (20) from the rear
discharge chute slots (19b), then remove the mulching insert (20) (Fig. 15).
Mulching insert
NOTE:
Mulching means cutting and returning the grass clippings to
the lawn in one step: the grass clippings are cut very ne and then
distributed evenly back onto the lawn. Under normal conditions, the
mulched grass will biodegrade quickly to provide nutrients to the lawn.
Do not attach the grass catcher (7) and the mulching insert (20) at the
same time.
The mulching insert prevents grass from being collected by blocking the rear
discharge chute (19).
This allows the grass clippings to be deposited back on the lawn during cutting.
16
19
19b
20
20a
1.
2.
Fig. 14
16
20a
20
1.
2.
Fig. 15
Fig. 15Fig. 14