Do you have a question about the Mainstays 9509CHWM and is the answer not in the manual?
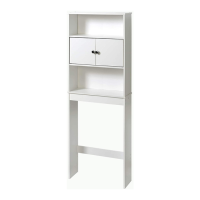
Provides initial setup guidance, including parts identification and preparation before assembly.
Lists the tools required for assembly that are not included with the product.
Details different leg extension options (A & B) and their impact on unit height.
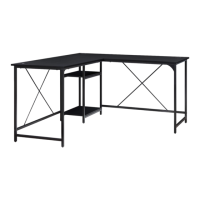
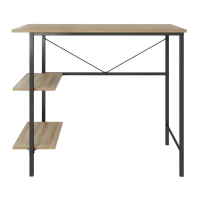
Catalog of all furniture components with their respective labels and quantities.
Catalog of all hardware items, including screws, cams, and other fasteners.
Lists the specific hardware included for securely mounting the unit to a wall.
Fastens one support rail to the bottom side panels.
Installs the second support rail to the bottom assembly.
Guidance on selecting the installation location for the doors (middle or top).
Assembles the cabinet for the middle door installation option.
Assembles the cabinet for the top door installation option.
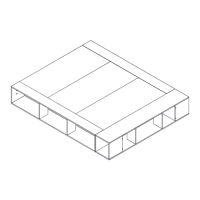
Attaches the bottom panel to the assembled cabinet structure.
Installs cambolts for securing different parts of the unit.
Secures the back panel to the unit using nails.
Connects the assembled top cabinet section to the bottom structure.
Attaches hinges to the cabinet doors and frame.
Installs the magnetic catch mechanism for the doors.
Mounts the doors onto the cabinet using the installed hinges.
Covers exposed screws with decorative caps and applies stickers.
Attaches the mounting bracket to the unit's top panel.
Details drilling, anchor insertion, and final screw tightening for wall attachment.
| Brand | Mainstays |
|---|---|
| Model | 9509CHWM |
| Category | Indoor Furnishing |
| Language | English |