8
Basic Operation
Instrucons Guide
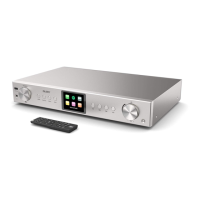
Please note that the instructions within this manual will refer to the
system button number e.g (Ref.*X*) in accordance to the diagrams on
pages 2-3 or the remote (Rem.*X*) on pages 4-5.
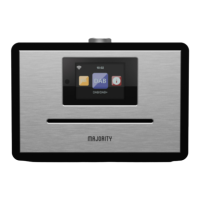
Starting up your radio
Plug the adaptor connector into the back of the system labelled
‘DC in’ (Ref.) and turn the power on from the mains. The
system will begin to power up and display a ‘MAJORITY’ screen.
Ensure that the WLAN antenna and DAB/FM antennas are
screwed onto the unit via the WLAN port (Ref.) and DAB/FM
port (Ref.)
After this, a ‘Setup Wizard’ will display with information. Press
down the ‘Navigation/OK’ dial (Ref.) or the OK button on the
remote (Rem.18) to conrm you have read the information.
Once conrmed, the screen will display “Start now?” Followed
by “Yes” or “No”. Highlight “Yes” with the Navigation dial or the
remote, and conrm start by pressing down the dial or the OK
button on the remote.
After this, conrm whether you would like the clock display
to be 12 or 24 hours. Highlight your chosen option with the
Navigation dial or the remote, and conrm choice by pressing
down the dial or the OK button on the remote.
Auto Update options will now display. This will give you the
choice for the clock to update through one of the available
modes: DAB, FM and Network, or no update. Highlight your
chosen option with the Navigation dial or the remote, and
conrm choice by pressing down the dial or the OK button on
the remote.
 Loading...