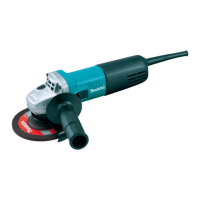
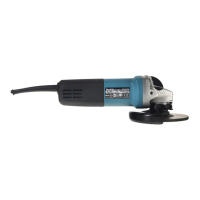
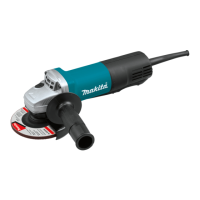
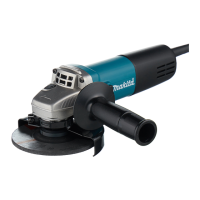
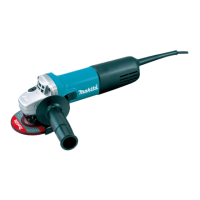
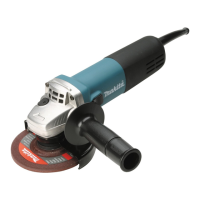
This document provides an instruction manual for the Makita Angle Grinder models 9553NB, 9554NB, and 9555NB. It emphasizes safety, proper use, and maintenance to ensure personal safety and prolong the tool's lifespan.
The angle grinder is designed for various operations, including grinding, sanding, and using wire brushes. It features a robust design with double insulation for enhanced electrical safety. The tool is equipped with a shaft lock mechanism, which prevents spindle rotation, facilitating the secure installation and removal of accessories. This feature is crucial for maintaining control and preventing damage to the tool or injury to the operator.
The grinder incorporates a slide switch for activation. To start the tool, the slide switch is moved to the "I (ON)" position. For continuous operation, the front of the slide switch can be pressed to lock it in the "ON" position, offering operator comfort during extended use. To stop the tool, the rear of the slide switch is pressed, and then it is slid to the "O (OFF)" position. It is important to always ensure the switch actuates properly and returns to the "OFF" position when depressed at the rear.
Usage Features:
When operating the angle grinder, several key features and practices ensure safe and effective use:
- Side Grip (Handle) Installation: The side grip must be securely screwed into position on the tool before operation. This provides a stable and firm grasp, essential for control during grinding and sanding.
- Wheel Guard Installation: The wheel guard is a critical safety component. When using depressed center grinding wheels, multi-discs, flex wheels, wire wheel brushes, or cut-off wheels, the guard must be fitted so that its closed side always points toward the operator. The wheel guard has a protrusion that aligns with a notch on the bearing box, allowing it to be rotated around 180 degrees and then securely tightened with a screw. This protects the operator from broken wheel fragments and flying debris.
- Accessory Installation (Depressed Center Grinding Wheel/Multi-disc): To install these accessories, the inner flange is mounted onto the spindle, followed by the wheel/disc. The lock nut is then screwed onto the spindle. To tighten, the shaft lock is pressed firmly to prevent spindle rotation, and the lock nut wrench is used to tighten clockwise. Always use the supplied guard with these accessories to reduce the risk of personal injury from shattering wheels.
- Accessory Installation (Flex Wheel - Optional): Similar to grinding wheels, flex wheels require the use of the supplied guard. The assembly involves mounting the inner flange, then the flex wheel, followed by a plastic pad, and finally the lock nut. The shaft lock and lock nut wrench are used for secure tightening.
- Accessory Installation (Abrasive Disc - Optional): For abrasive discs, the rubber pad is mounted onto the spindle, the disc is fitted onto the rubber pad, and the lock nut is screwed on. The shaft lock and lock nut wrench are used for tightening. Only sander accessories specified in the manual should be used, and they must be purchased separately.
- Accessory Installation (Wire Cup Brush/Wire Wheel Brush - Optional): These brushes are threaded directly onto the spindle and tightened with a supplied wrench. Before use, it's crucial to check the brush for damage or imbalance and run the tool at no load to ensure no one is in front of or in line with the brush. For wire wheel brushes, always use a guard that accommodates the wheel's diameter.
- Abrasive Cut-off Wheel (Optional): When using an abrasive cut-off wheel, a special wheel guard designed for cut-off wheels must be used. It is explicitly warned not to use cut-off wheels for side grinding, as this can cause the wheel to crack, break, and lead to serious personal injury. During cutting operations, the angle of the wheel should never be changed.
- Grinding and Sanding Operation: The tool should always be held firmly with one hand on the housing and the other on the side handle. The wheel or disc should be applied to the workpiece at an angle of about 15 degrees. During the break-in period with a new wheel, avoid working in the "B" direction (as illustrated in the manual) to prevent cutting into the workpiece. Once the wheel's edge is rounded, it can be worked in both "A" and "B" directions.
- General Operation Safety: Never force the tool; its weight provides adequate pressure. Replace a wheel if the tool is dropped while grinding. Avoid banging or hitting the grinding disc/wheel onto the work. Prevent bouncing and snagging the wheel, especially around corners or sharp edges, as this can cause loss of control and kickback. Crucially, never use the tool with wood cutting blades or other sawblades, as these can kick and cause severe personal injury. After operation, always switch off the tool and wait for the wheel to come to a complete stop before putting it down.
Maintenance Features:
Proper maintenance is essential for the tool's safety and reliability:
- Pre-Maintenance Safety: Always ensure the tool is switched off and unplugged from the power source before performing any inspection, adjustment, or maintenance. This prevents accidental starting and potential injury.
- Cleaning Air Vents: The tool's air vents must be kept clean. Regular cleaning of the exhaust and inhalation vents is necessary, or whenever they become obstructed, to prevent overheating and maintain optimal performance.
- Repairs and Replacement Parts: To maintain product safety and reliability, all repairs, carbon brush inspection and replacement, and any other maintenance or adjustments should be performed by Makita Authorized or Factory Service Centers. Only genuine Makita replacement parts should be used. Using unauthorized parts or failing to follow maintenance instructions can create a risk of electric shock or injury.
- Cord Care: The power cord should not be abused. Never use it to carry the tool or pull the plug from an outlet. Keep the cord away from heat, oil, sharp edges, or moving parts. Damaged cords should be replaced immediately, as they increase the risk of electric shock.
- Tool Storage: Idle tools should be stored out of reach of children and other untrained persons, as they can be dangerous in untrained hands.
- Tool Condition Check: Regularly check the tool for misalignment or binding of moving parts, breakage of parts, and any other condition that may affect its operation. If damaged, the tool should be serviced before use. Poorly maintained tools are a common cause of accidents.
- Wheel Inspection: Before operation, carefully check the grinding wheel for cracks or damage. Replace any cracked or damaged wheels immediately. Run the tool with the guard at no load for about a minute, holding it away from others; if the wheel is flawed, it will likely separate during this test.
- Flange and Lock Nut Care: Be careful not to damage the spindle, the flange (especially the installing surface), or the lock nut, as damage to these parts can result in wheel breakage.
By adhering to these instructions, users can ensure the safe and efficient operation of their Makita Angle Grinder, minimizing risks and maximizing the tool's performance and longevity.