6 ENGLISH
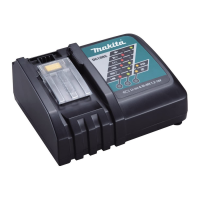
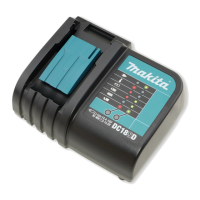
Charging
Fig.2
2. Insert the battery cartridge into charger until it stops adjusting to the guide of charger.
The terminal cover of the charger can be opened with inserting and closed with pulling out the battery cartridge.
3. When the battery cartridge is inserted, the charging light color will change from green to red and charging will
begin. The charging light will keep lighting up steadily during charging. One red charging light indicates charged
condition in 0–80% and red and green ones indicate 80–100%. The 80% indication mentioned above is approx-
5. Charging time varies by temperature (10°C (50°F)–40°C (104°F)) that battery cartridge is charged at and con-
ditions of the battery cartridge, such as a battery cartridge which is new or has not been used for a long period
of time.
6. After charging, remove the battery cartridge from charger and unplug the charger.
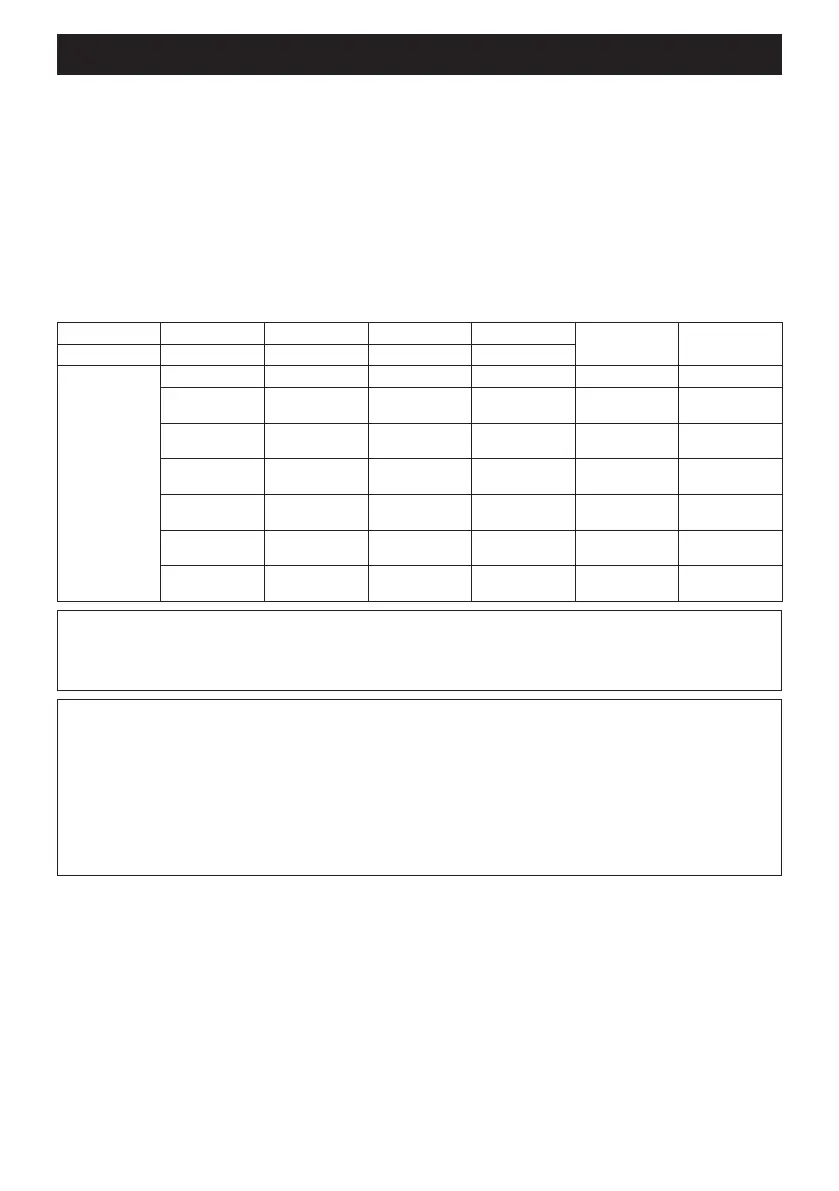
Voltage 14.4 V 18 V 14.4 V 18 V
Capacity Charging time
Number of cells 4 5 8 10
Li-ion battery
cartridge
BL1415 BL1815 – – 1.3 Ah 40 minutes
BL1415N /
BL1415NA
BL1815N – – 1.5 Ah 40 minutes
–
BL1820 /
BL1820B
– – 2.0 Ah 55 minutes
– –
BL1430 /
BL1430B
BL1830 /
BL1830B
3.0 Ah 80 minutes
– – BL1440
BL1840 /
BL1840B
4.0 Ah 110 minutes
– – BL1450
BL1850 /
BL1850B
5.0 Ah 135 minutes
– –
BL1460A /
BL1460B
BL1860B 6.0 Ah 160 minutes
NOTICE:
NOTICE:
NOTE: Some of the battery cartridges listed above may not be available depending on your region of residence.
NOTE:
sunlight for a long time.
When the battery cartridge is too hot, charging does not begin until the battery cartridge temperature reaches the
degree at which charging is possible.
NOTE:
the charger or battery cartridge are clogged with dust or the battery cartridge is worn out or damaged.

 Loading...