►1. Reversing switch lever
CAUTION: Always check the direction of
rotation before operation.
CAUTION: Use the reversing switch only after
the tool comes to a complete stop. Changing the
direction of rotation before the tool stops may dam-
age the tool.
CAUTION: When not operating the tool,
always set the reversing switch lever to the neu-
tral position.
Thistoolhasareversingswitchtochangethedirection
of rotation. Depress the reversing switch lever from the
AsideforclockwiserotationorfromtheBsideforcoun-
terclockwise rotation.
When the reversing switch lever is in the neutral posi-
tion, the switch trigger cannot be pulled.
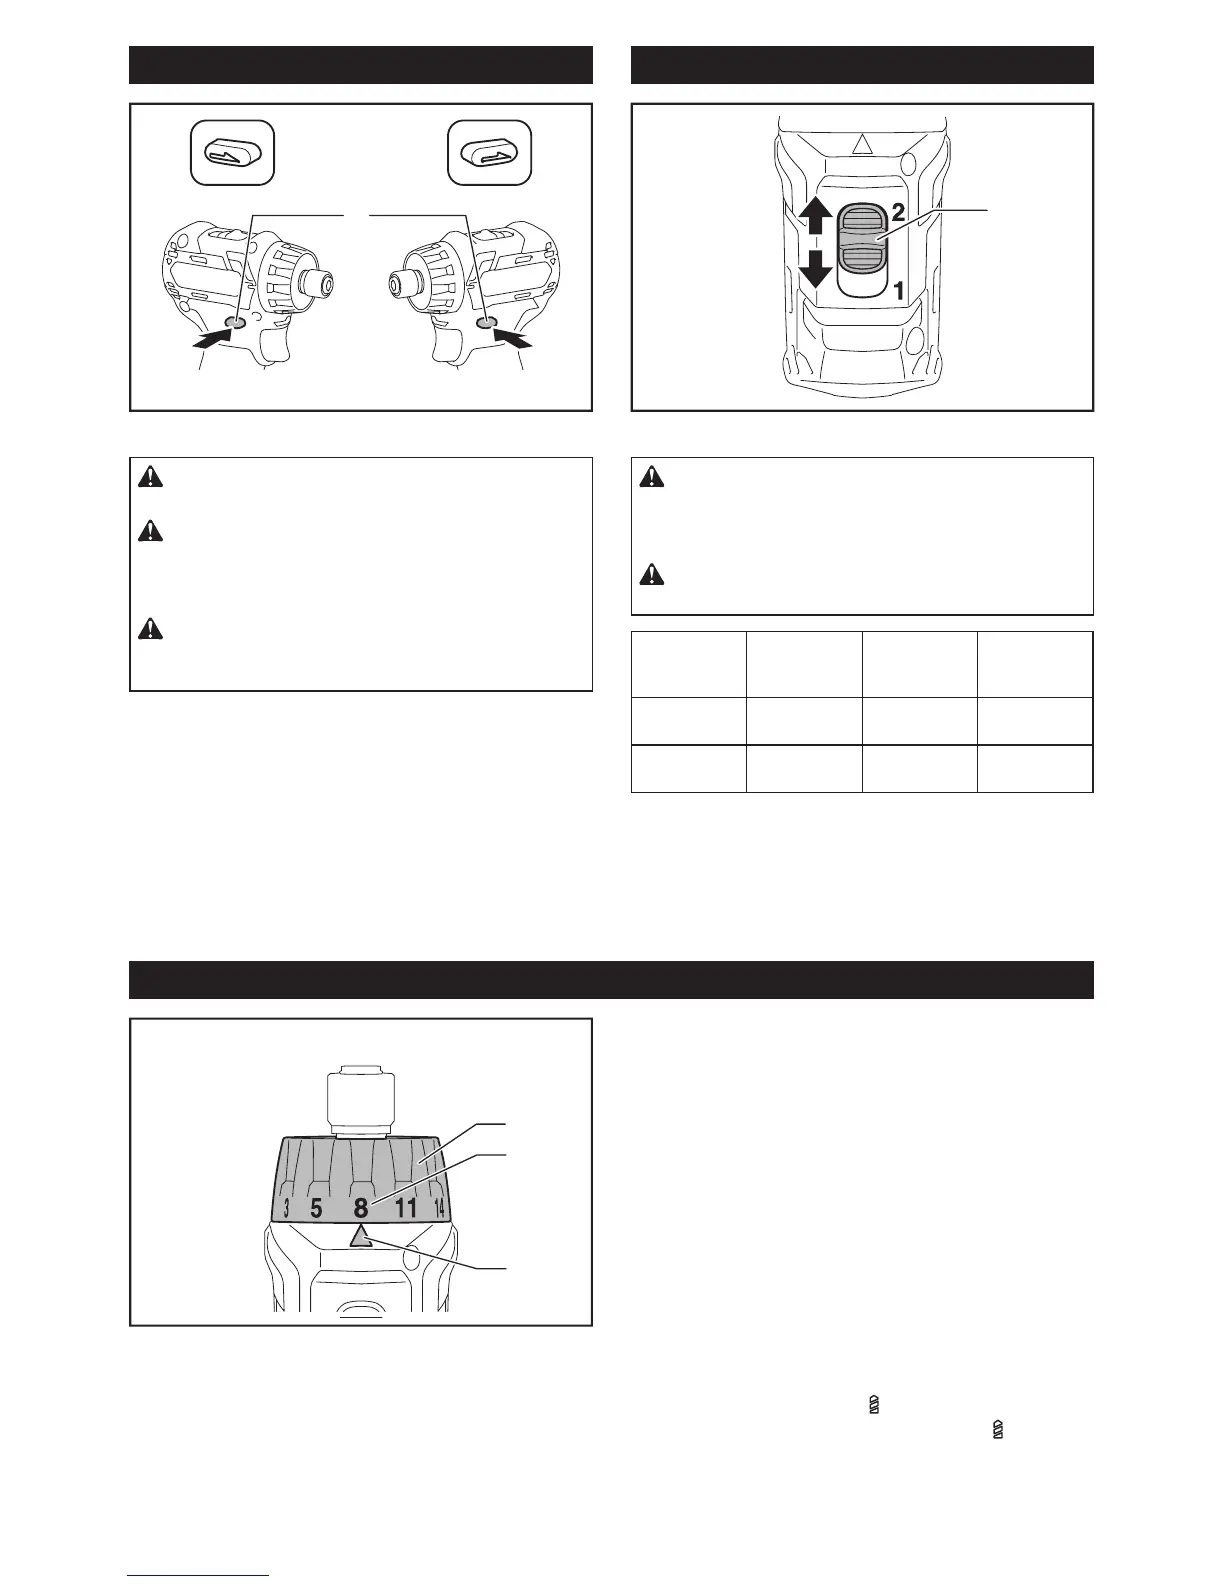
Speed change
1
►1. Speed change lever
CAUTION:
Always set the speed change lever
fully to the correct position. If you operate the tool with
the speed change lever positioned halfway between the
"1"sideand"2"side,thetoolmaybedamaged.
CAUTION: Do not use the speed change lever
while the tool is running.Thetoolmaybedamaged.
Position of
speed
change lever
Speed Torque Applicable
operation
1 Low High Heavy load-
ing operation
2 High Low Light loading
operation
Tochangethespeed,switchoffthetoolrst.Select
the"2"sideforhighspeedor"1"forlowspeedbuthigh
torque.Besurethatthespeedchangeleverissettothe
correct position before operation.
If the tool speed is coming down extremely during the
operationwith"2",slidethelevertothe"1"andrestart
the operation.
Adjusting the fastening torque
1
2
3
►1.Adjustingring2. Graduation 3.Arrow
Thefasteningtorquecanbeadjustedin21stepsbyturningtheadjustingring.Alignthegraduationswiththearrow
onthetoolbody.Youcangettheminimumfasteningtorqueat1andmaximumtorqueat
marking.
Theclutchwillslipatvarioustorquelevelswhensetatthenumber1to20.Theclutchdoesnotworkatthe marking.
Before actual operation, drive a trial screw into your material or a piece of duplicate material to determine which
torquelevelisrequiredforaparticularapplication.
Thefollowingshowstheroughguideoftherelationshipbetweenthescrewsizeandgraduation.

 Loading...