7 ENGLISH
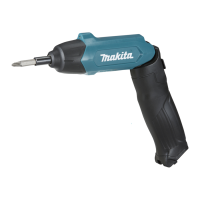
Reversing switch action
1
►1. Reversing switch lever
CAUTION: Always check the direction of
rotation before operation.
CAUTION: Use the reversing switch only after
the tool comes to a complete stop. Changing the
direction of rotation before the tool stops may dam-
age the tool.
CAUTION: When not operating the tool,
always set the reversing switch lever to the neu-
tral position.
This tool has a reversing switch to change the direction
of rotation. Depress the reversing switch lever from the
A side for clockwise rotation or from the B side for coun-
terclockwise rotation.
When the reversing switch lever is in the neutral posi-
tion, the switch trigger cannot be pulled.
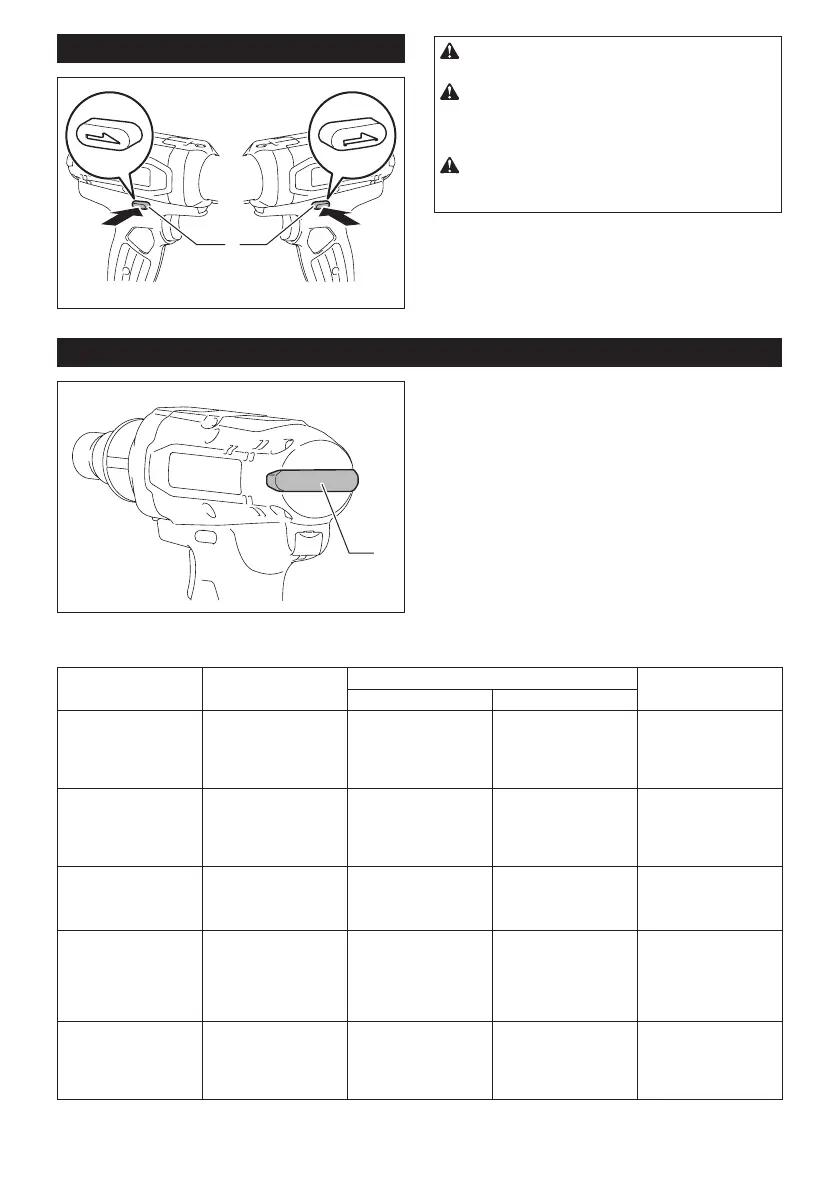
LED indicator / Beeper
1
►1. LED indicator
LED indicator / Beeper on the tool shows the following functions.
Function Status of the tool Status of the LED indicator/beeper Action to be taken
LED indicator Beeper
Check of the LED indi-
cator, light and beeper
operation
When the battery
cartridge is installed,
the tool checks for its
LED indicator, light and
beeper.
Lightsuprstingreen,
next red.
(And then the light
comes on.)
A series of very short
beeps
–
Detection of switch
trigger operation when
installing battery
When the battery car-
tridge is installed with
the switch trigger pulled,
the tool stops to avoid
unintentional start.
Flickers in red and green
alternatively.
A series of short beeps Release the switch
trigger.
Auto-stop with fastening
completion
The preset fasten-
ing torque has been
achieved and the tool
has stopped.
Lights up in green for
approximately one
second.
– –
Alarmagainstinsu-
cient fastening
The preset fastening
torque has not been
achieved, because
the switch trigger has
released before complet-
ing the fastening.
Lights up in red. A long beep Retighten the screw.
Double-hitting detection When the operator
starts to re-fasten an
already-fastened screw,
the tool detect it and
stops.
Lights up in red. A long beep –
 Loading...