Do you have a question about the Makita DLS714 and is the answer not in the manual?
Detailed specifications including model, blade size, cutting capacities, battery compatibility, and voltage.
Explanation of symbols used in the manual and on the equipment for safe operation.
Declares noise emission levels and recommends ear protection measures.
Declares vibration emission levels and outlines necessary safety measures for users.
Statement of conformity to relevant European directives for products sold in the EU.
Essential safety precautions applicable to all power tools for preventing accidents.
Advice on staying alert, using Personal Protective Equipment (PPE), and preventing unintentional starting.
Guidelines for correct operation, maintenance, and safe handling of battery cartridges.
Instructions for tool servicing, battery pack service, and lubrication of moving parts.
Critical safety rules for workpiece support, clamping, and general cutting techniques.
Further safety instructions for blade use, guards, accessories, and general operation.
Safety warnings related to laser radiation and precautions for viewing.
Precautions for preventing battery short circuits, leaks, and damage.
Guidance on battery short circuits, temperature limits, disposal, and optimal charging practices.
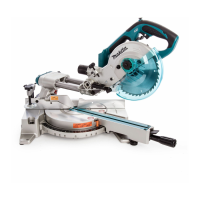
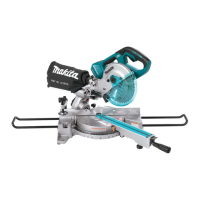
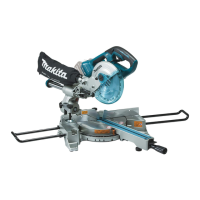
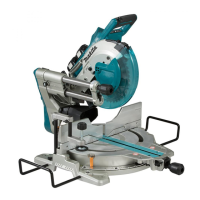
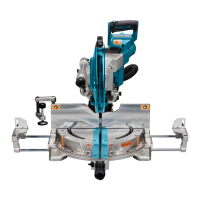
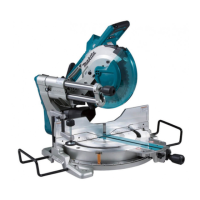
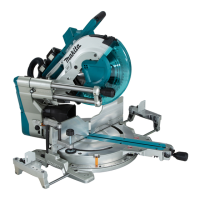
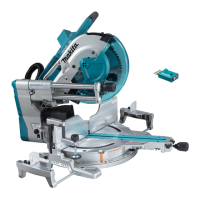
Identification and labeling of all parts of the miter saw.
Instructions for securely mounting the miter saw to a workbench.
Steps for installing holder assemblies to support workpieces horizontally.
Procedures for safely installing and removing the battery cartridge from the tool.
Explains overload, overheat, and overdischarge protection systems for tool and battery longevity.
How to check the remaining battery capacity using indicator lamps on the cartridge.
Details on the tool's automatic speed change function and mode indicators.
Importance of blade guard integrity and how to operate the stopper pin.
Instructions for cleaning the transparent blade guard without damaging it.
Steps to adjust kerf boards to minimize workpiece tear-out on cut exit.
Procedure to check and adjust the blade's lower limit for maximum cutting capacity.
How to adjust the stopper arm to set the blade's lower limit position.
Guidance on positioning the sub-fence, especially for left bevel cuts.
Step-by-step instructions for adjusting and securing the miter angle.
Step-by-step instructions for adjusting and securing the bevel angle.
How to adjust the lever's position for better tightening capability.
Instructions on switch trigger function, lock-off button, and safety warnings.
Information on storing the hex wrench in its holder for easy access.
Detailed steps for safely removing and installing the saw blade using provided tools.
Guidance on correctly installing the inner flange based on blade arbor hole size.
Instructions on connecting a vacuum cleaner for dust collection during cuts.
How to attach, use, and empty the dust bag for cleaner operation.
Safety and operational instructions for using vertical and horizontal vises to secure workpieces.
How to operate the horizontal vise and install holder assemblies for workpiece support.
General operation guidelines and specific practices for press cutting small workpieces.
Detailed steps for safely performing press cuts on small workpieces.
Instructions and warnings for performing slide cuts on wide workpieces.
Safety precautions for bevel cuts and sub-fence usage for left bevel cuts.
Explanation and angle table for performing compound cuts with miter and bevel angles.
Methods for cutting crown and cove moldings using miter and bevel angles.
Proper methods for securing aluminum extrusions and using cutting lubricant.
Instructions for attaching wood facing to the guide fence for better cut quality.
How to use the set plate accessory for cutting multiple pieces of the same length.
Steps for performing groove cuts using slide cutting and adjusting blade depth.
Instructions on securing moving parts and preparing the tool for carrying.
Importance of blade sharpness and general maintenance for tool performance and safety.
Procedures for adjusting the miter angle scale and guide fence perpendicularity.
Steps to adjust the bevel angle mechanism to the 0° position accurately.
Procedure to adjust and set the bevel angle to 45 degrees.
Routine cleaning, lubrication, and proper storage methods for the tool.
Listing of recommended accessories and safety advice for their use.
| Blade Diameter | 190 mm |
|---|---|
| Max Cutting Capacity at 90° | 52 x 300 mm |
| Max Cutting Capacity at 45° | 52 x 212 mm |
| Power Source | Corded Electric |
| Bore Diameter | 20 mm |
| Voltage | 240 V |
| Maximum cutting depth at 90° | 52 mm |
| Maximum cutting depth at 45° | 52 mm |
| Bevel Capacity | 45° left and right |