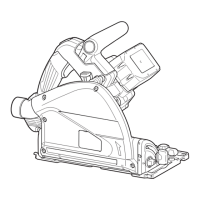
15 ENGLISH
1
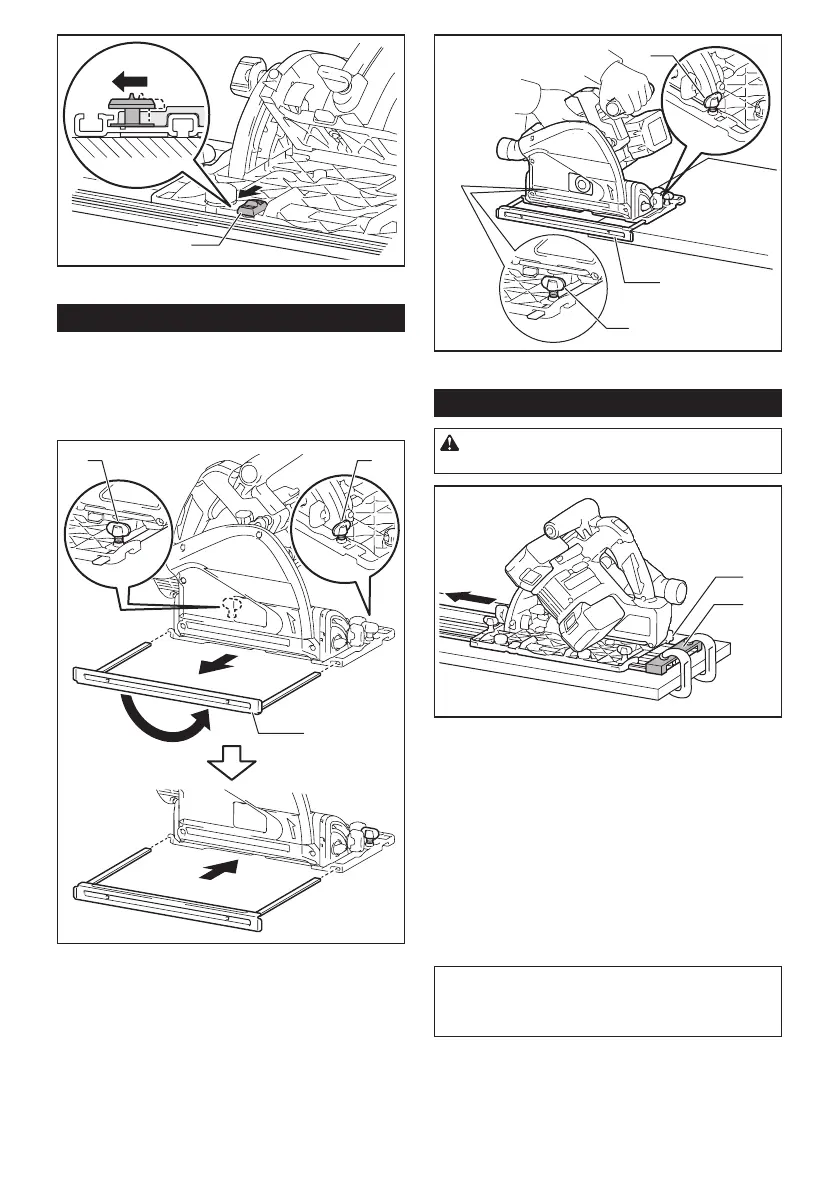
►1. Slide lever
Sub base (Guide rule)
Optional accessory
By using the sub base as a guide rule, you can perform
extra-accurate straight cuts. Loosen the clamping
screws and slide the sub base out from the tool then
insert it upside down.
1 1
2
►1. Clamping screw 2. Sub base
Simply slide the fence of the sub base snugly against
the side of the workpiece and secure it in position with
the clamping screws. It also makes repeated cuts of
uniform width possible.
1
1
2
►1. Clamping screw 2. Sub base
Plunge cutting (Cutting-out)
WARNING: To avoid a kickback, be sure to
observe the following instructions.
1
2
►1. Rear edge of tool base 2. Fixed stop
When using the tool without guide rail, place the tool on
the workpiece with the rear edge of tool base against a
xedstoporequivalentwhichisdevisedbyanoperator.
When using the tool with guide rail, place the tool on the
guiderailwiththerearedgeoftoolbaseagainstaxed
stoporequivalentwhichisclampedontheguiderail.
Holdthetoolrmlywithonehandonthefrontgripand
theotheronthetoolhandle.Thenpushinthelock-off
button and turn the tool on and wait until the blade
attains full speed. Now press down the saw head slowly
to the preset depth of cut and simply move the tool
forward to the desired plunge position.
NOTE:Themarkingsonthesideofthebladeguard
show the front and rear cutting points of the saw
blade at the maximum cutting depth when using the
guide rail.

 Loading...