7
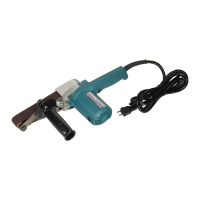
Installing or removing sponge pad
1
2
004422
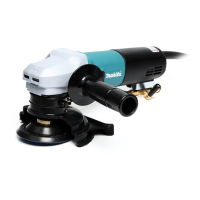
To i ns tal l t he s p on g e pa d, f i r s t re m o ve a ll d irt o r f or eig n
matter from the pad. Install the sponge pad to the pad.
To r em o ve t he p a d , p u l l i t o ff fr o m t h e pa d sl o wl y.
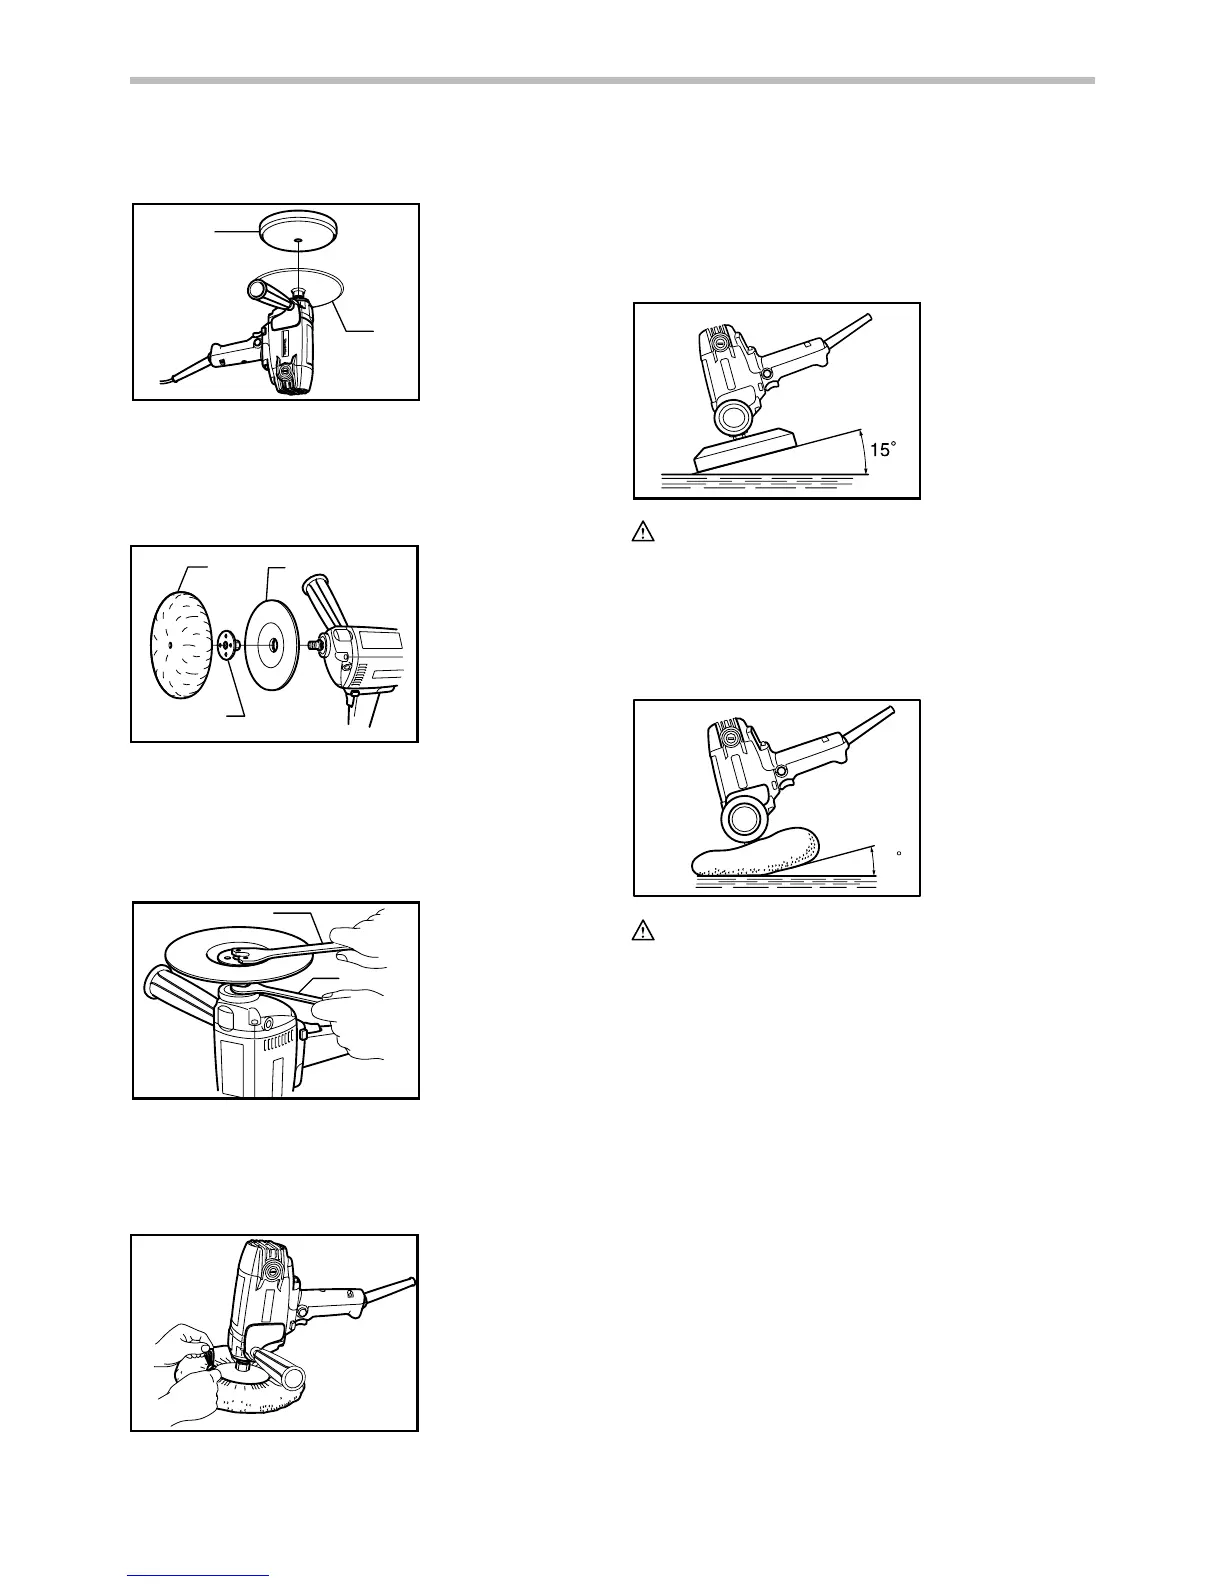
Installing or removing the wool bonnet
1
2
3
004424
Mount the rubber pad onto the spindle. Screw the lock
nut onto the spindle.
To t i g h te n t h e lo c k n ut , ho ld t h e s pi n d le wit h t h e w r en c h
so that it cannot revolve, then use the lock nut wrench
and securely tighten clockwise.
1
2
004425
Fit the wool bonnet completely over the rubber pad and
pull the string tight. Tie a bow knot and tuck the knot
and any loose strings between the wool bonnet and the
rubber pad.
004426
To r em o v e t h e wo o l b on n et , f o l lo w th e ins t a l la t i on
procedure in reverse.
OPERATION
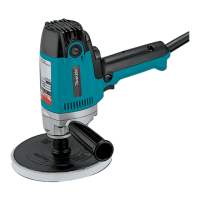
Polishing operation by sponge pad
003479
CAUTION:
• Always wear safety glasses or a face shield during
operation.
In general, keep the sponge pad at an angle of about 15
degrees to the workpiece surface.
Polishing operation by wool bonnet
15
003480
CAUTION:
• Always wear safety glasses or a face shield during
operation.
Hold the tool firmly. Turn the tool on and then apply the
wool bonnet to the workpiece.
In general, keep the wool bonnet at an angle of about
15 degrees to the workpiece surface.
Apply slight pressure only. Excessive pressure will
result in poor performance and premature wear to wool
bonnet.
1. Lock nut
wrench
2. Wrench
1. Wool bonnet
2. Lock nut
3. Rubber pad
1. Sponge pad
2. Pad

 Loading...