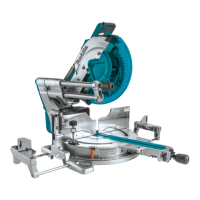
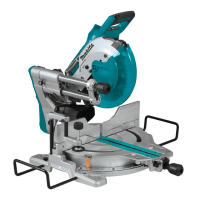
11ENGLISH
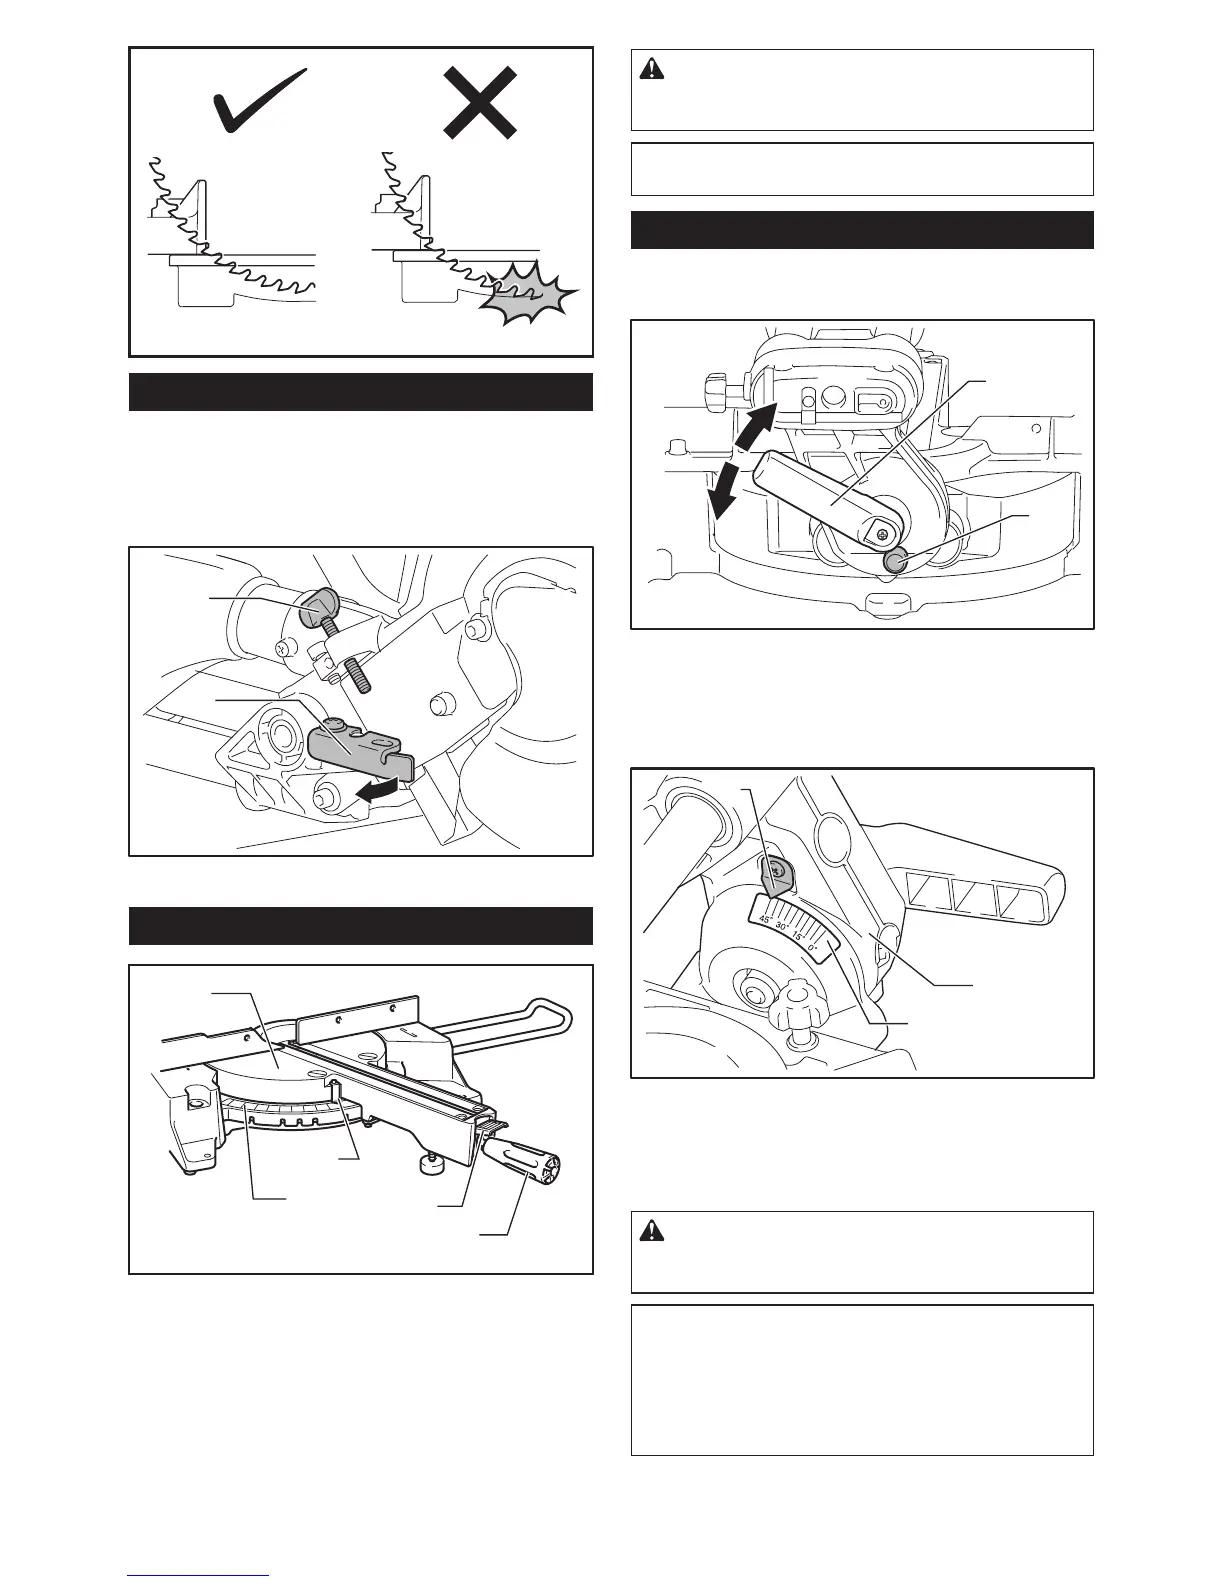
Stopper arm
The lower limit position of the blade can be easily
adjustedwiththestopperarm.Toadjustit,movethe
stopper arm in the direction of the arrow as shown in
thegure.Turntheadjustingscrewandpressdownthe
handle fully to check the result.
1
2
1.Adjustingscrew 2.Stopperarm
Adjusting the miter angle
1
2
3
4
5
1. Turn base 2. Pointer 3. Miter scale 4. Lock
lever 5. Grip
1. Loosen the grip counterclockwise.
2. Pressdownandholdthelocklever,andadjustthe
angle of the turn base. Use the pointer and the miter
scale as a guide.
3. Tightenthegripclockwisermly.
CAUTION: After changing the miter angle,
always secure the turn base by tightening the grip
rmly.
NOTICE: When turning the turn base, be sure to
raise the handle fully.
Adjusting the bevel angle
Toadjustthebevelangle,loosentheleverattherearof
the tool counterclockwise.
1
2
1. Lever 2. Release button
To tilt the blade to the left, hold the handle and tilt the
carriage. Use the bevel scale and the pointer as a
guide.Thentightentheleverclockwisermlytosecure
the arm.
1
2
3
1. Pointer 2. Bevel scale 3. Arm
To tilt the blade to the right, hold the handle and tilt the
carriage to the left slightly, and push the release button.
With the release button pressed, tilt the saw blade to
the right. Then tighten the lever.
CAUTION: After changing the bevel angle,
always secure the arm by tightening the lever
clockwise.
NOTICE: When tilting the saw blade be sure the
handle is fully raised.
NOTICE: When changing bevel angles, be
sure to position the kerf boards appropriately
as explained in the "Positioning kerf boards"
section.
 Loading...