7
Front flush cuts
1
2
3
011287
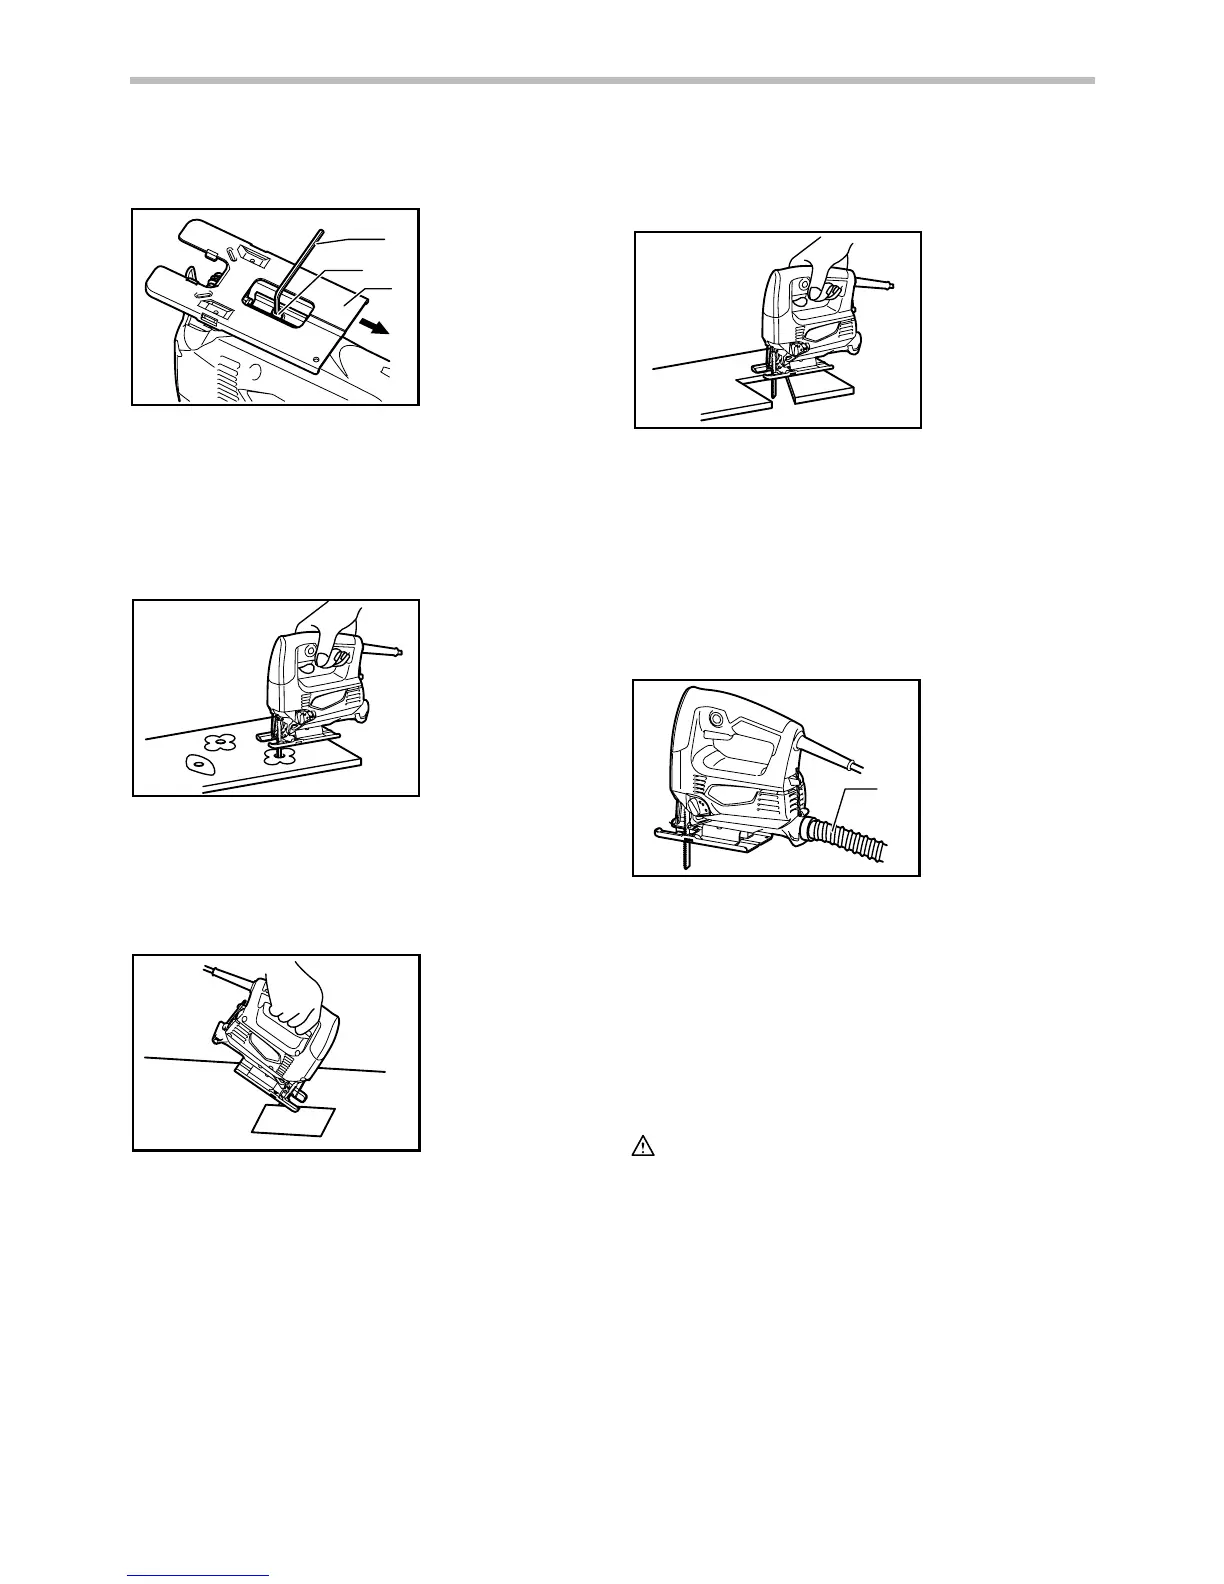
Loosen the bolt on the back of the base with the hex
wrench and slide the base all the way back. Then tighten
the bolt to secure the base.
Cutouts
Cutouts can be made with either of two methods A or B.
A) Boring a starting hole
011288
For internal cutouts without a lead-in cut from an
edge, pre-drill a starting hole 12 mm or more in
diameter. Insert the blade into this hole to start your
cut.
B) Plunge cutting
011289
You ne e d n o t b ore a start i ng hole or make a l ead-i n
cut if you carefully do as follows.
(1) Tilt the tool up on the front edge of the base
with the blade point positioned just above the
workpiece surface.
(2) Apply pressure to the tool so that the front
edge of the base will not move when you
switch on the tool and gently lower the back
end of the tool slowly.
(3) As the blade pierces the workpiece, slowly
lower the base of the tool down onto the
workpiece surface.
(4) Complete the cut in the normal manner.
Finishing edges
011290
To tr i m e dg es o r ma ke di m e ns io n a l adj u s tme nt s , ru n th e
blade lightly along the cut edges.
Metal cutting
Always use a suitable coolant (cutting oil) when cutting
metal. Failure to do so will cause significant blade wear.
The underside of the workpiece can be greased instead
of using a coolant.
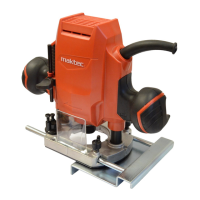
Dust extraction
1
011291
Clean cutting operations can be performed by
connecting this tool to a Makita vacuum cleaner. Insert
the hose of the vacuum cleaner into the hole at the rear
of the tool.
NOTE:
• Dust extraction cannot be performed when making
bevel cuts.
Rip fence (optional accessory)
CAUTION:
• Always be sure that the tool is switched off and
unplugged before installing or removing
accessories.
1. Hose
1. Hex wrench
2. Bolt
3. Base