4
22
22
20
0
5
ft
m
B
A
C
D
C
S
M.UP
L
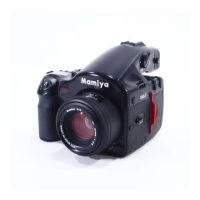
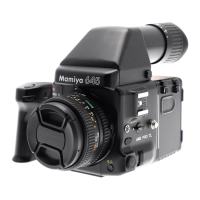
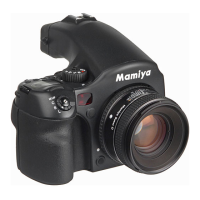
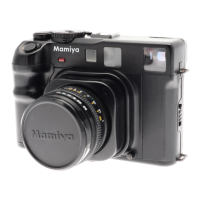
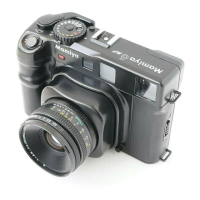
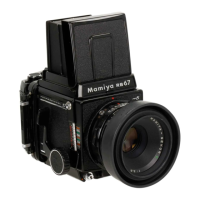
Attaching a Lens and Digital Back
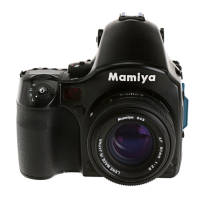
Attaching a lens
Line up the lens mount alignment mark with
mark on the camera to fit the lens in place,
then rotate it in the direction of the arrow until it
clicks into place.
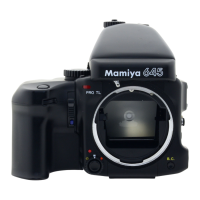
1. When detaching the digital back, pull back
the detachment lever (found on the right side on
ZD backs) or press the release button (found on
the left side of M series backs) and pull away
from the camera body.
Attaching a digital back
2. When detaching the digital back from the
camera body, the shutter will automatically fire,
the mirror will go to the upper position and the
shutter curtain will open, leaving the camera
locked.
Taking Photos in the Fully Automatic Mode
The drive dial has an “S” (single-frame advance
mode) setting and a “C” (continuous advance
mode) setting. (See page 42.)
When set to “L,” the power is turned off.
When set to “M.UP”, the mirror moves into the
set postion.
There are three focus modes: “S” (single focus
mode), “C” (continuous focus mode) and “M”
(manual focus mode).
1.
Set the drive dial to “S” (single-frame advance mode).
2. Set the focus mode selector lever to “S” (single
focus mode).
Focus mode Focusing
Half-press the shutter release button to focus. When the focus mark
lights, the focus is fixed and the shutter can be released.
(See page 33.)
The camera keeps focusing continuously while the shutter release
button is half-pressed. The shutter can be released regardless of
whether or not the focus mark is lit. (See page 33.)
Focus manually. (See page 35.)
S
C
M
Single focus
mode
Continuous
focus mode
Manual focus
mode

 Loading...