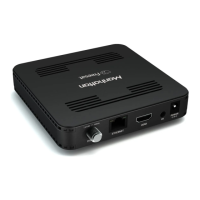
Connect Up
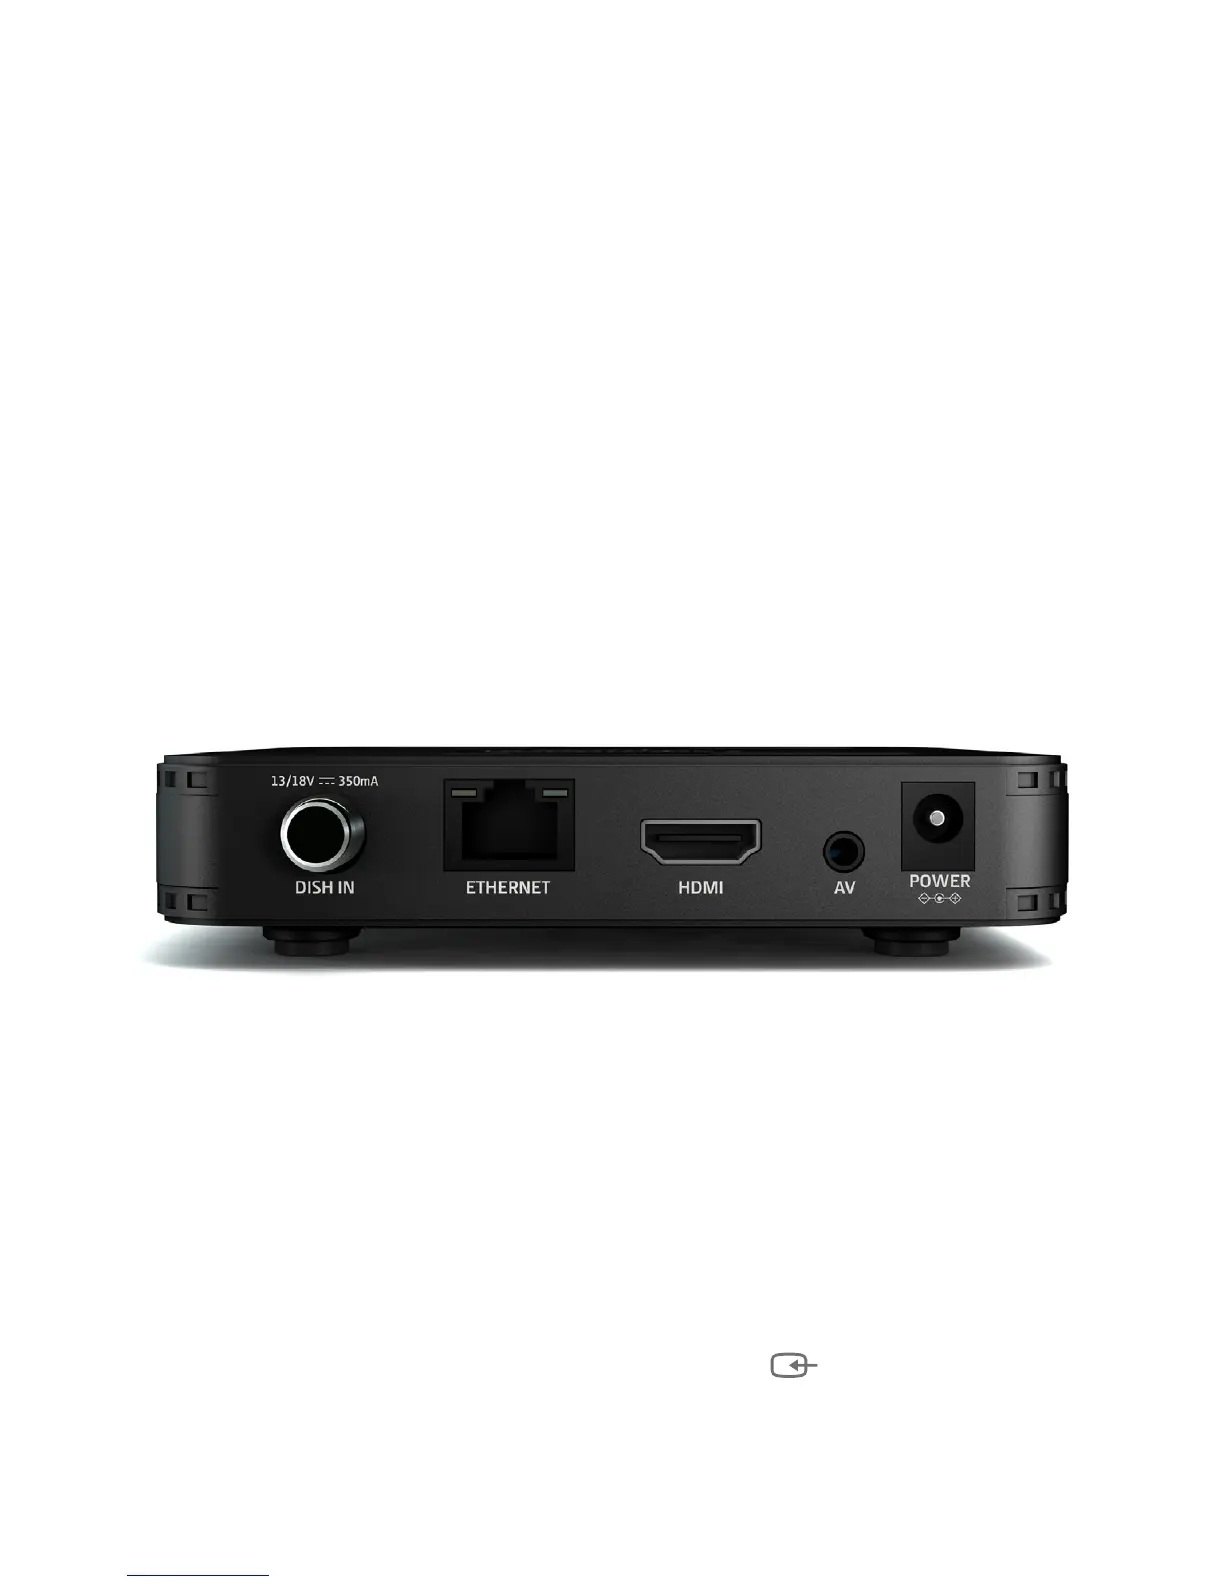
• Connect the satellite TV cable from your satellite wall socket to SX’s ‘DISH IN’ socket.
• To connect to an HD or HD Ready TV, use the HDMI lead.
• To connect to an older, analogue TV:
• Connect the single yellow minijack at one end of the AV lead to the SX’s ‘AV’ socket.
• If your TV has yellow/white/red RCA inputs, connect the corresponding RCA
connectors at the other end of the AV lead directly to your TV.
• If your TV has a SCART socket, connect the corresponding RCA connectors to the
included SCART adapter, then connect the SCART adapter to your TV.
• To receive software updates over the internet, connect the SX to your router using an
Ethernet cable. Alternatively, you can connect using Wi-Fi during the initial setup.
• Finally, plug the AC power adapter into a wall socket that is turned o, then connect the
other end to the SX.
Switch On
• Open the battery compartment cover on the back of the remote by pushing the catch.
Onsert the batteries, matching the + and – symbols to what is marked on the inside of
the compartment. Replace the cover.
• Turn on the wall socket you connected the Manhattan SX to and it will switch on.
• Turn on your TV set and choose the input you connected your Manhattan SX to. Most TV
remotes use a button labelled ‘AV’, ‘SOURCE’, ‘INPUT’ or , with each press cycling
through your inputs.
• Follow the on-screen instructions to set up your SX.