16
once the pressure regulator is set and the appliance is switched on the pressure settings should not be changed
till the cooking is over and the internal pressure completely released.
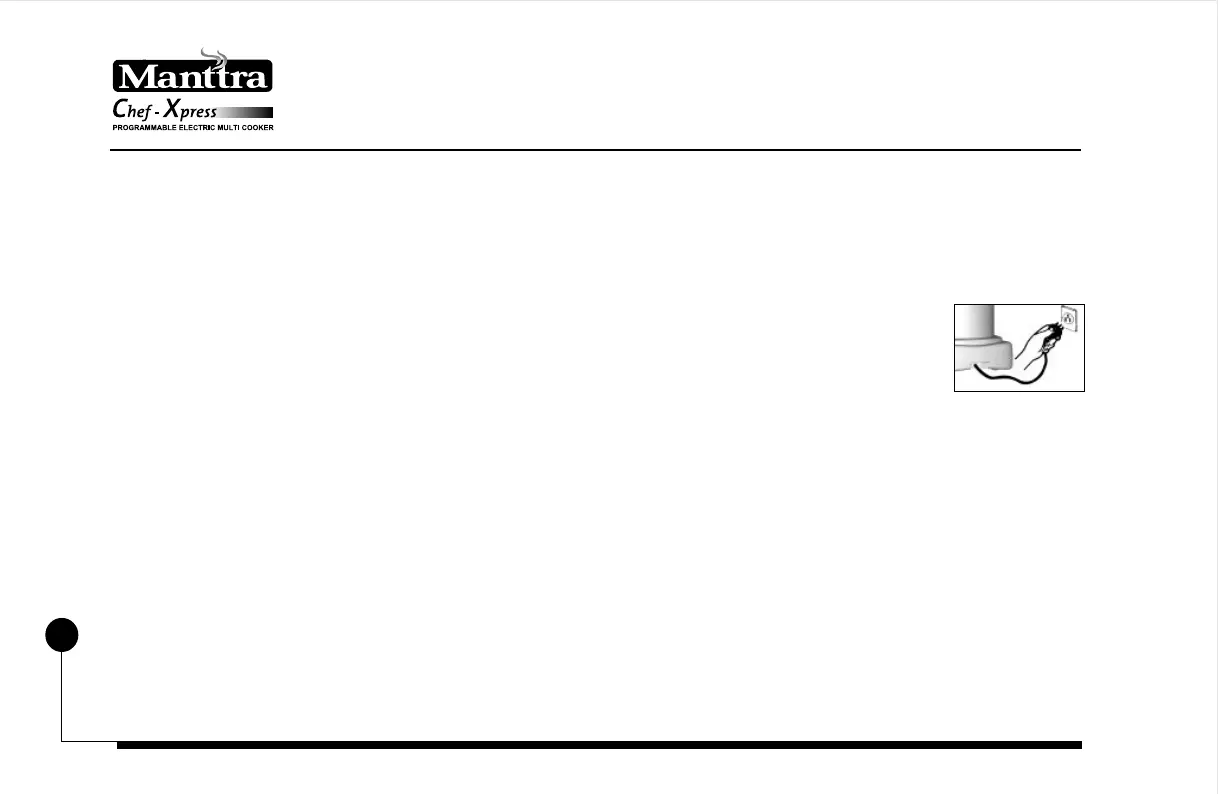
7. Insert the plug of the cord securely into the socket (wall outlet) and switch on . This plug will
fit into an electrical outlet only in one way. Do not modify plug in any way. Please read the
information given on page no. 4.
8. The 2 digits LED indicator on the control console will glow and indicate “ 00 “ as time. Now set the time by
pressing the “SET” button (first button from the top) once. Now the LED indicator will show “ 04 “ minutes.
Keep pressing till you get the required time on the display and leave it.
9. Once the required time is achieved press “START” button ( second from the top). Only on activation of this
button, the cooking cycle will start. The decimal point at the lower right extreme of the LED display starts
blinking.
10. After pressing the “START” button the “POWER ON” LED will light up. If it does not, then contact has not
been made. Shake the cooker a little bit and the “POWER ON” LED will light up.
11. Once the pressure starts building up inside the cooker, the VPI will rise above the top of the safety button
console. In the unlikely event of the steam continuing for a long time and the VPI not rising, tap the lid lightly
with the tip of a knife/fork. Even after tapping, if the VPI does not rise, the reason could be due to one of the
following:
 Loading...