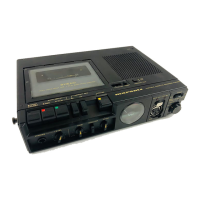
ECM
Stands for
a
built-in electret
condenser microphone. Use
this
microphone with the
INPUT SELECTOR set to
MIC/TEL.
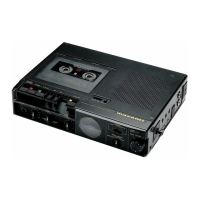
SHOULDER STRAP
BATTERY COMPARTMENT
Accepts three "D" size batteries
or
the Marantz
Rechargeable
Battery Pack
(RB430).
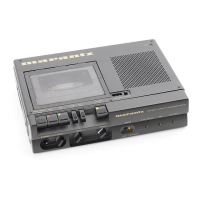
AC
POWER
The
AC adaptor accessory makes it possible
to
operate the
recorder
on AC power. Before plugging the
adaptor
into
an
AC outlet, check the outlet voltage and
set
the
AC adaptor
for that
voltage. After wards, insert the AC adaptor's
output
plug
into the 4.5 V DC jack in the recorder.
NOTE:
The
RB430 Battery Pack
is
automatically
recharged, and
the
batteries disconnected, when the power cord
is connected
to the AC receptacle.
POWER SOURCES
Your
Cassette Recorder
may
be operated using any of three
power sources:
BATTERY OPERATION {BATTERIES NOT INCLUDED)
•
Open
the
Battery
Compartment cover
by
depressing
the
finger grip and pulling
out (See
Figure
2 on Page15
).
• Install
three "D" size batteries.
IMPORTANT:
Each
battery should be installed
observing the correct
polar-
ity
as shown in Figure
2 on page
15.
• Close
the battery compartment cover.
NOTE:
When
the LOW battery indicator lights
with the
power sup-
plied, replace
all the batteries.
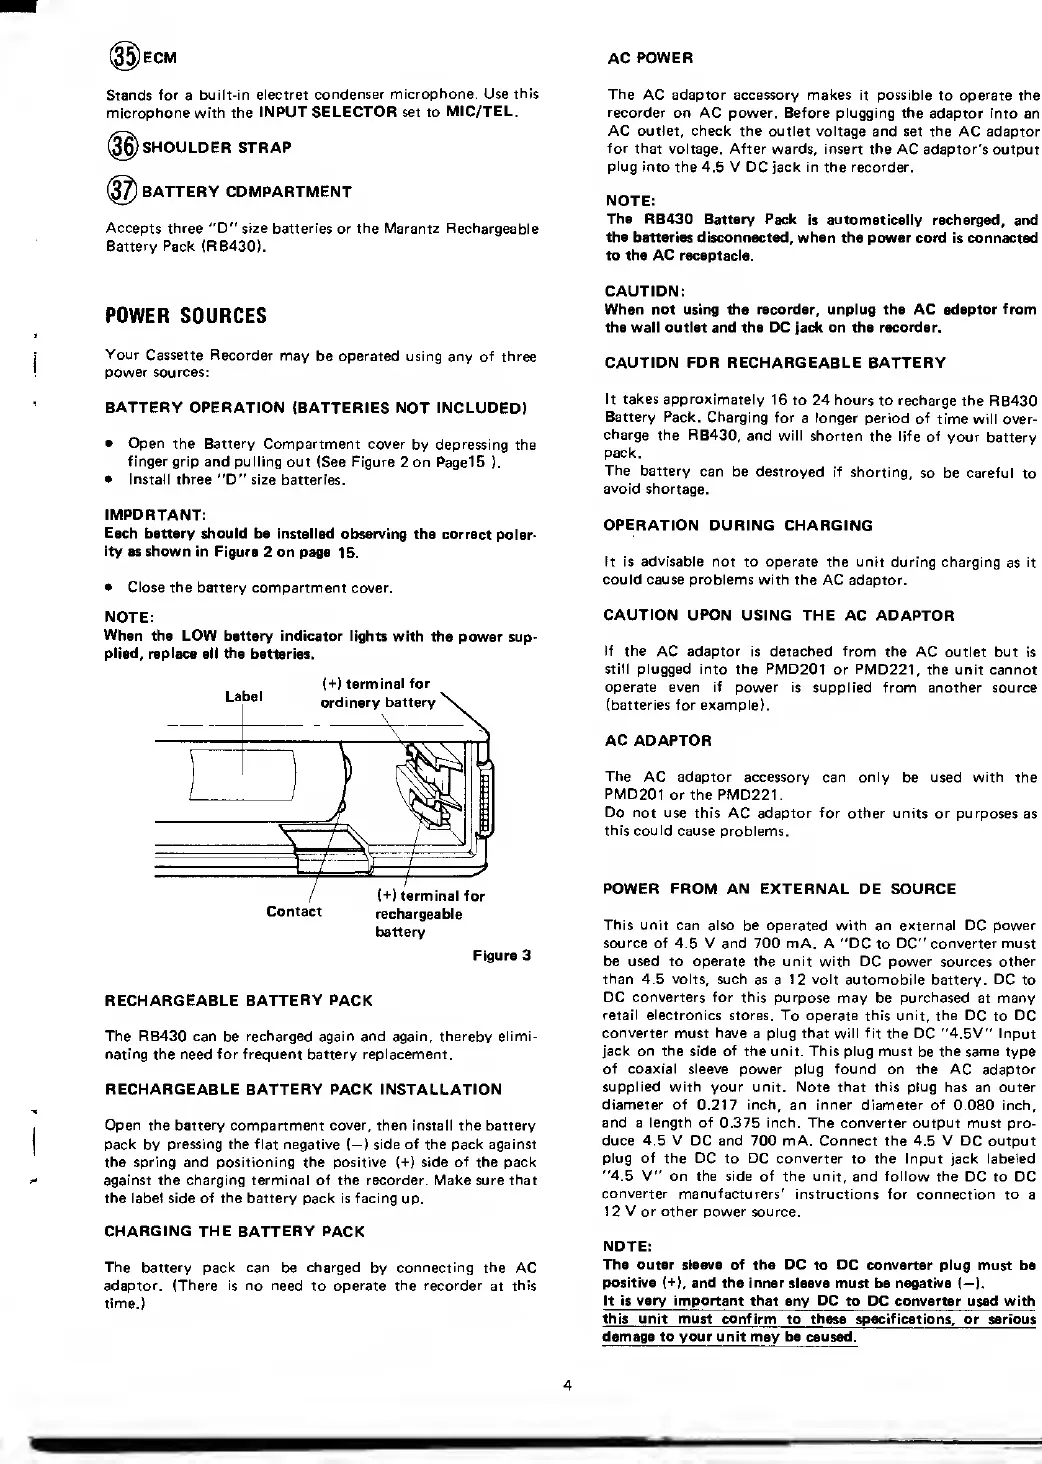
Label
(+)
terminal for
ordinary battery
\
(+) terminal for
Contact
rechargeable
battery
Figure 3
RECHARGEABLE
BATTERY PACK
The RB430 can
be
recharged again and again, thereby elimi-
nating the need for frequent battery replacement.
RECHARGEABLE BATTERY PACK INSTALLATION
Open the battery
compartment
cover,
then install the battery
pack
by
pressing the flat negative (—
)
side of the pack against
the spring and positioning the positive (+) side
of
the pack
against the charging terminal of the recorder. Make sure
that
the label side of
the
battery pack is facing
up.
CHARGING THE BATTERY PACK
The battery pack can
be
charged
by
connecting the
AC
adaptor. (There is no need
to
operate the recorder
at
this
time.)
CAUTION:
When not using the recorder, unplug the AC adaptor
from
the wall outlet and the DC jack on the recorder.
CAUTION FOR RECHARGEABLE BATTERY
It takes approximately
16
to 24 hours to recharge
the RB430
Battery Pack. Charging
for
a
longer
period of
time will over-
charge the RB430,
and will
shorten the life of
your
battery
pack.
The
battery
can be destroyed if
shorting,
so be careful
to
avoid
shortage.
OPERATION
DURING CHARGING
It is
advisable
not to operate the unit
during charging
as
it
could cause problems with the
AC adaptor.
CAUTION
UPON USING THE AC ADAPTOR
If the
AC
adaptor
is detached
from
the AC outlet
but is
still plugged into the PMD201
or
PMD221,
the unit cannot
operate even if power is
supplied from another source
(batteries for example).
AC ADAPTOR
The
AC adaptor accessory can only
be used
with
the
PMD201
or the PMD221.
Do not
use this AC adaptor for other units or purposes
as
this could
cause problems.
POWER FROM AN
EXTERNAL DE SOURCE
This
unit can also be operated with an external DC power
source
of 4.5 V and 700 mA. A "DC
to
DC" converter must
be used to operate the unit with DC power sources other
than
4.5
volts,
such as
a
12 volt automobile
battery.
DC
to
DC converters for this purpose
may be
purchased
at many
retail electronics
stores. To operate this unit, the DC
to
DC
converter
must
have
a plug that will fit the DC "4.5V" Input
jack on the
side
of
the unit. This plug must
be
the same
type
of coaxial sleeve
power plug
found
on
the
AC adaptor
supplied with your unit. Note that this
plug has an outer
diameter of
0.217
inch, an inner diameter of
0.080 inch,
and a length of 0.375 inch. The converter
output must pro-
duce
4.5 V
DC and 700 mA. Connect the 4.5 V DC output
plug of the DC
to
DC converter
to the Input jack labeled
"4.5
V" on the side of the unit, and follow the
DC to DC
converter manufacturers'
instructions for connection to
a
1 2 V or other power
source.
NOTE:
The outer sleeve of the DC
to
DC converter
plug must be
positive
(+),
and the inner sleeve
must be negative (—
).
It is very important that
any
DC
to PC converter used with
this unit must confirm
to
these specifica
t ions, or serious
damage to your unit may be caused.
4
 Loading...