EN
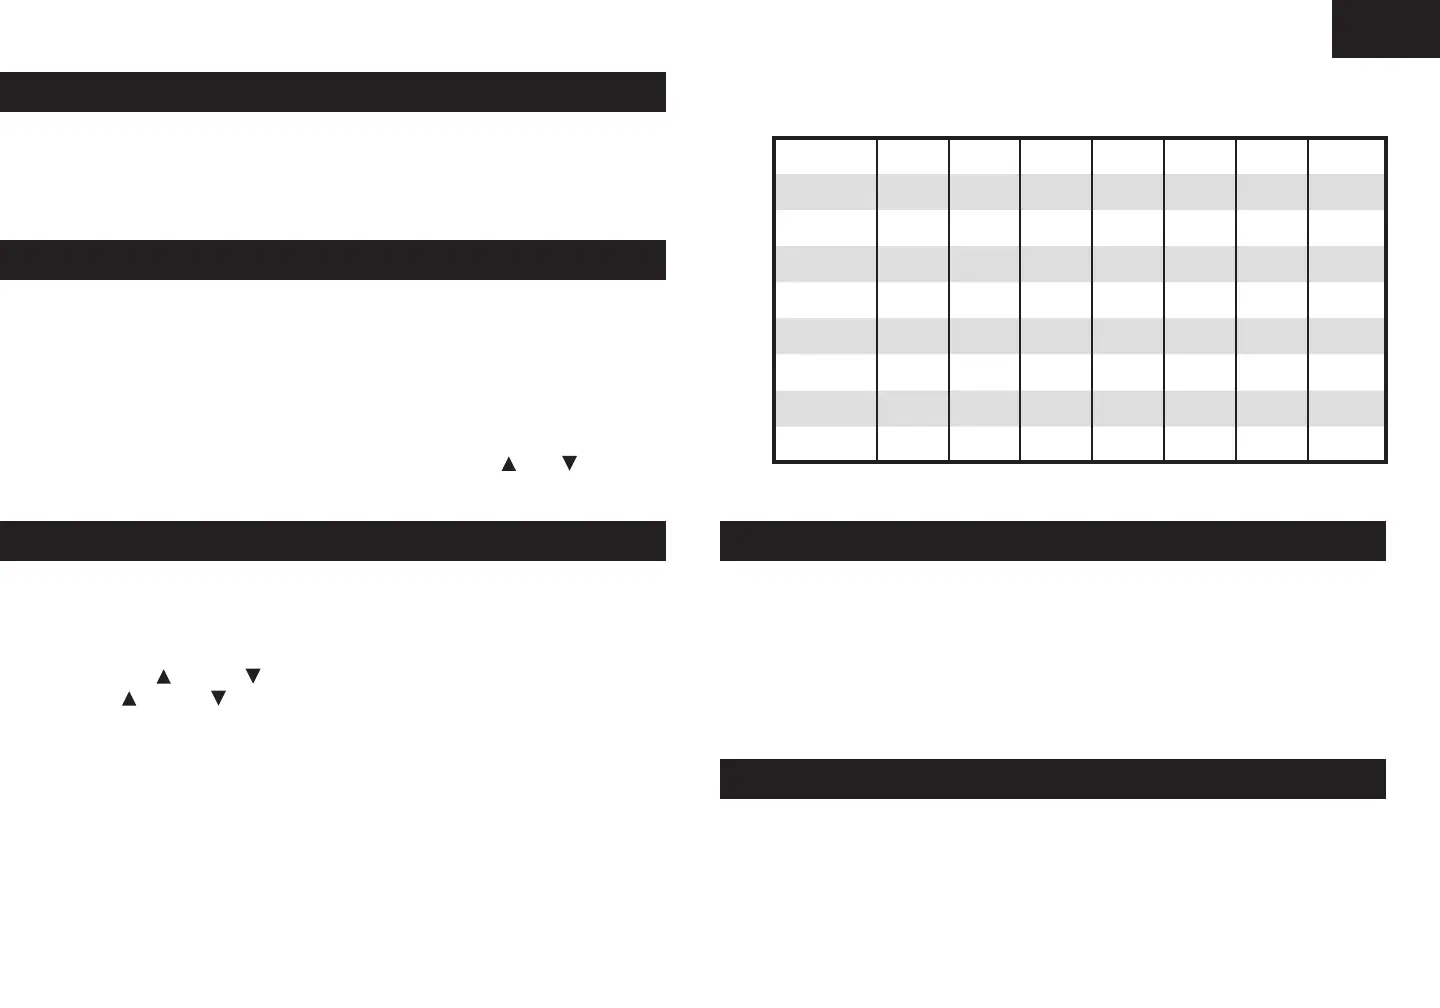
7. The languages and their selected abbreviations for each day of the week
are shown in the following table.
NOTE: Second adjusted to zero only.
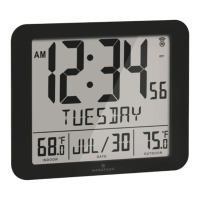
TEMPERATURE
•
After powering on, the clock will automatically measure the
current temperature.
•
Temperature range: -9.9°C to 50°C
•
If the temperature is higher than 50°C, “HH.H” will appear on the display.
•
If the temperature is lower than -9.9°C, “LL.L” will appear on the display.
NOTE: If the unit displays an incorrect temperature, reset it by pressing the
RESET (B4) button with a metal pin.
IMPORTANT
•
Do not expose the unit to extreme temperatures, water, or severe shock.
•
Avoid cleaning the unit with any corrosive materials, such as perfume,
alcohol, or cleaning agents.
Language
German, GER
English, ENG
Danish, DAN
Dutch, DUT
Italian, ITA
Spanish, SPA
French, FRE
Russian, RUS
Sunday
SON
SUN
SON
ZON
DOM
DOM
DIM
BC
Tuesday
DIE
TUE
TIR
DIN
MAR
MAR
MAR
BT
Thursday
DON
THU
TOR
DON
GIO
JUE
JEU
YT
Monday
MON
MON
MAN
MAA
LUN
LUN
LUN
NH
Wednesday
MIT
WED
ONS
WOE
MER
MIE
MER
CP
Friday
FRE
FIR
FRE
VRI
VEN
VIE
VEN
NT
Saturday
SAM
SAT
LOR
ZAT
SAB
SAB
SAM
CY
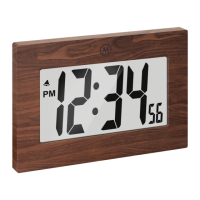
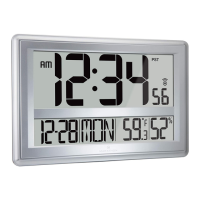
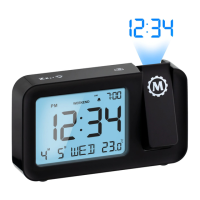
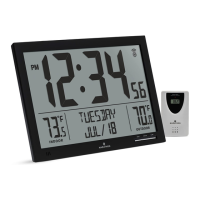
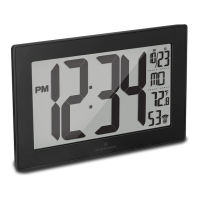
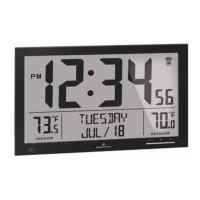
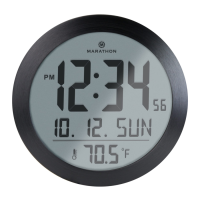
FEATURES
•
Perpetual calendar to year 2099
•
Temperature measurable range from -9.9 °C to 50 °C.
•
Day of Week displayed in one of eight languages: German, Russian, Danish,
Spanish, Italian, French, Dutch, and English
GETTING STARTED
1. Open the battery door (C3) cover.
2. Insert (3) AA batteries according to the polarity (+) and (-) marks inside
the compartment.
3. Close the battery door (C3) cover.
4. The clock can be easily wall mounted using the hanging hole (C1) located
atthebackoftheunit.Theclockcanalsobeplacedontoanyatsurface
using the stand (C2) located on the back of the unit.
5. Pull open the stand (C2) to access the TIME SET (B2),
(B1), (B3) and
RESET (B4) buttons.
SETTING THE TIME AND DATE
1. Press and hold the TIME SET (B2) button for three seconds to enter time
setting mode.
2. Setting order: 12/24 hour format > Hour > Minute > Second (can only be
reset to 0) > Year > Month > Day > Temperature Unit > Language > Exit
3. Press the
(B1) and (B3) buttons to adjust each value. Press and
hold
(B1) and (B3) buttons to advance through the values rapidly.
4. Press the TIME SET (B2) buttontoconrmthecurrentsettingandmoveon
to the next one.
5. If no buttons are pressed for 15 seconds, all the settings will be saved and
the clock will automatically return to the normal display mode.
6. 8 languages can be selected for Day of Week (A3), they are: German,
Russian, Danish, Spanish, Italian, French, Dutch, and English .