7
3.3 Motor connection data
with radio (433 MHz):
U = 230 V ~ / 240 W, 50 Hz, I = 1,00 A
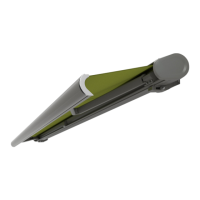
markilux 6000 motor drive: 2 folding arms
without radio:
U = 230 V ~ / 240 W, 50 Hz, I = 1,10 A
with radio (433 MHz):
U = 230 V ~ / 290 W, 50 Hz, I = 1,25 A
markilux 6000 motor drive: 3 - 4 folding arms
without radio:
U = 230 V ~ / 350 W, 50 Hz, I = 1,50 A
4. Setting the pitch angle
4.1
With awning extended, first loosen the side
clamping screws (SW 19) of the fixtures.
4.2
Raise arm and relieve the load. By turning the
front-face socket head cap screw (SW 8), adjust the
pitch angle.
4.3
Firmly retighten the clamping screws (SW 19) of
the fixture.
5. Arm position with awning retracted
5.1
If with awning retracted, one arm is
positioned too high or too low and because of this
the front profile does not close correctly, then the
arm position is to be corrected.
5.2
Loosen socket head cap screws SW 10 (2) and
SW 4 (1) on the inner bracket.