7
1 Reading the instructions
Read the operating instructions and all documents pertaining to the product (handover protocol, important notes etc.)
carefully and in their entirety before using the product.
STOP
2 Awning with motorised operation
Protection against overheating:
Multiple extension and retraction of the awning in rapid succession
results in an automatic motor switch-o to preserve it from
overheating. Aer cooling down the motor switches itself on again in
operating readiness.
In partially extended position and flat pitches (less than 14°) there is the increase risk of water collecting on the cover
surface. The optimum cover tension is achieved when the awning is extended.
3 Modification or retrofitting
The following modifications can be carried out retrospectively on your awning by your markilux specialist.
• Replacement of the awning cover
• Retrofitting an automatic control system. In principle a motor drive must be available. Ask your specialist dealer about sun
and wind sensors, remote control, Vibrabox etc.
4 What you should also know
Due to the compact awning construction and depending on the width and the projection, contact between cover and folding
arms may occur during extension and retraction. This has no detrimental eect on the functionality and / or operating life of
the awning.
Extend the awning by pressing the buttons button for extension /
retraction. With radio-controlled operation, your markilux specialist
must exactly explain the functions on the radio remote control to
you, since, depending on the equipment, he can set these for you
individually.
Observe here the separate operating instructions of the motor
and, if available, of the controller manufacturer. The end stop for
extension / retraction of the awning is limited. The end stop for the
extension direction will be set by your specialist dealer.
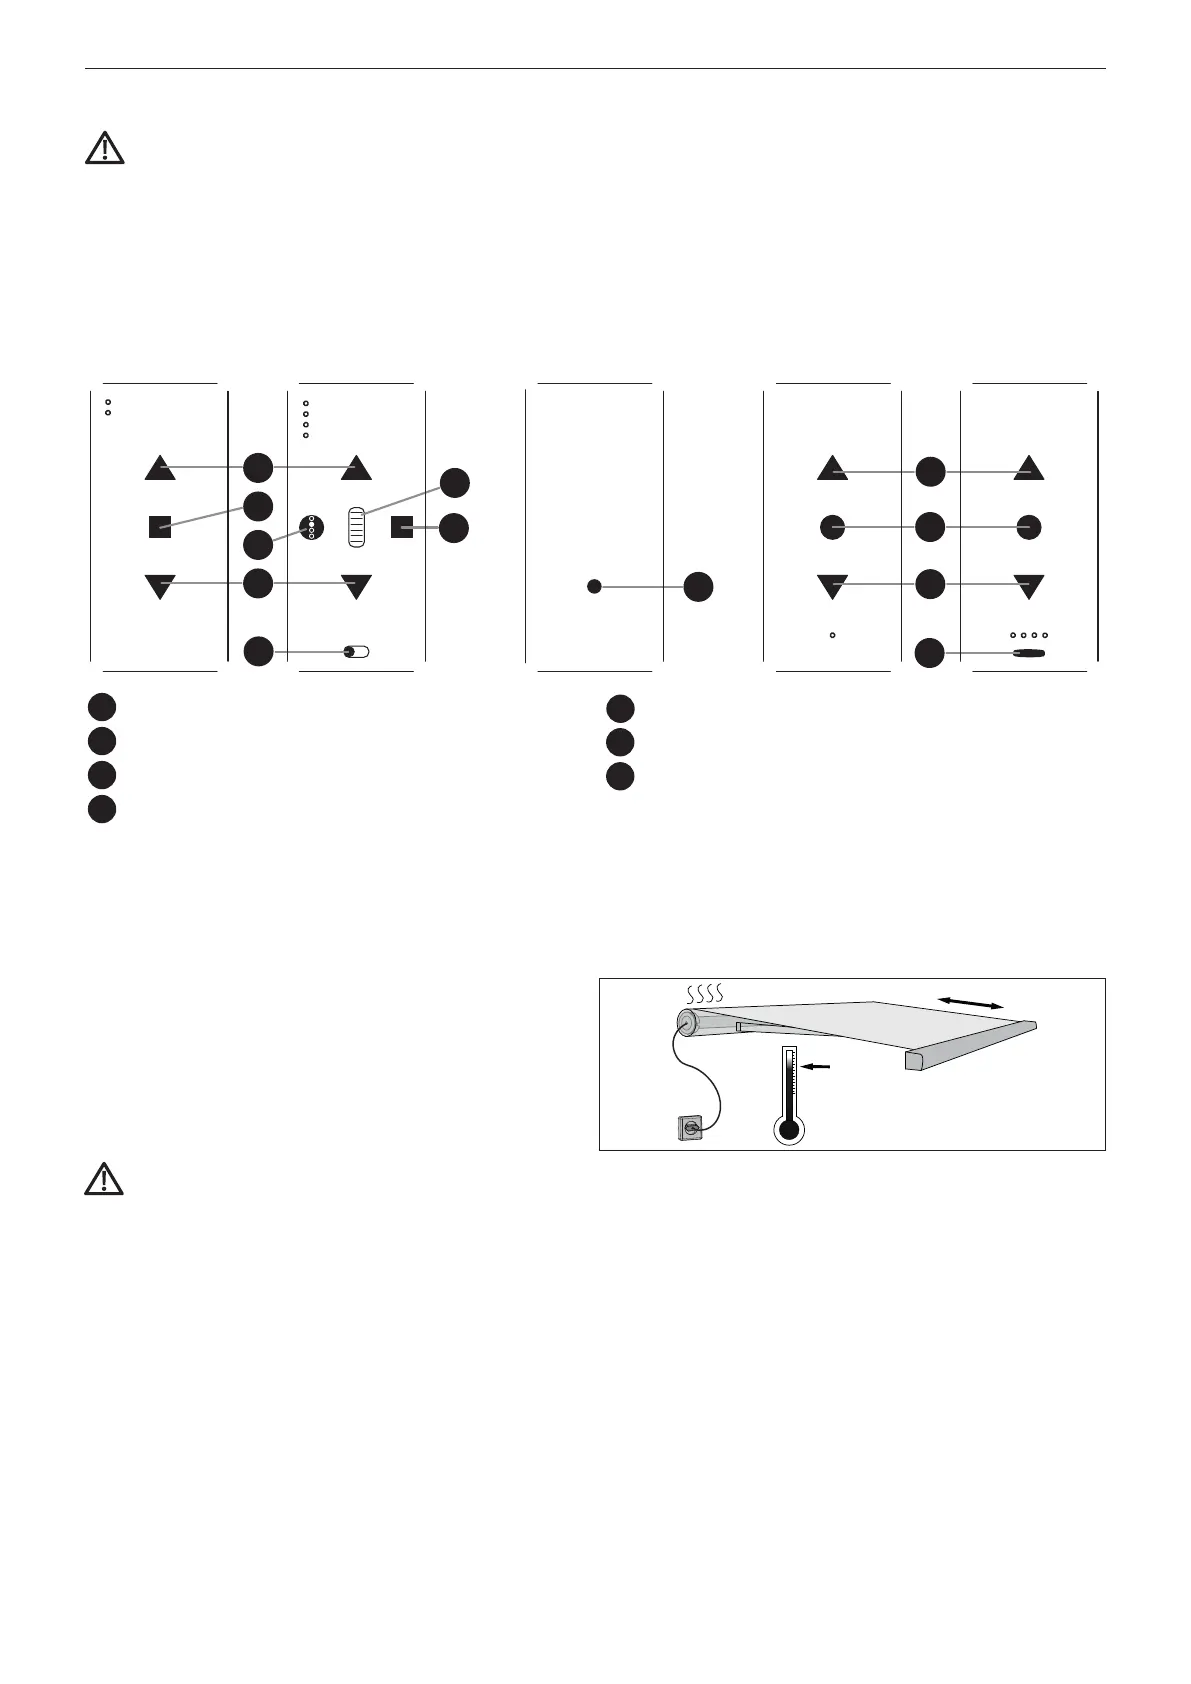
markilux hand-held remote control io (868
MHz)
markilux hand-held remote control RTS
(433 MHz)
io 1-channel io 5-channel io / RTS
back
RTS 1-channel RTS 4-channel
2
1
3
2
5
4
6
7
5
2
1
3
2
1
= UP- button
2
= STOP- button
3
= DOWN- button
4
= Scroll wheel
5
= Channel selection button
6
= AUTO / MANU- switch
7
= PROG- button
markilux MX-1 compactOperation manual
markilux.com