Alarm Feature Programming (Part 3)
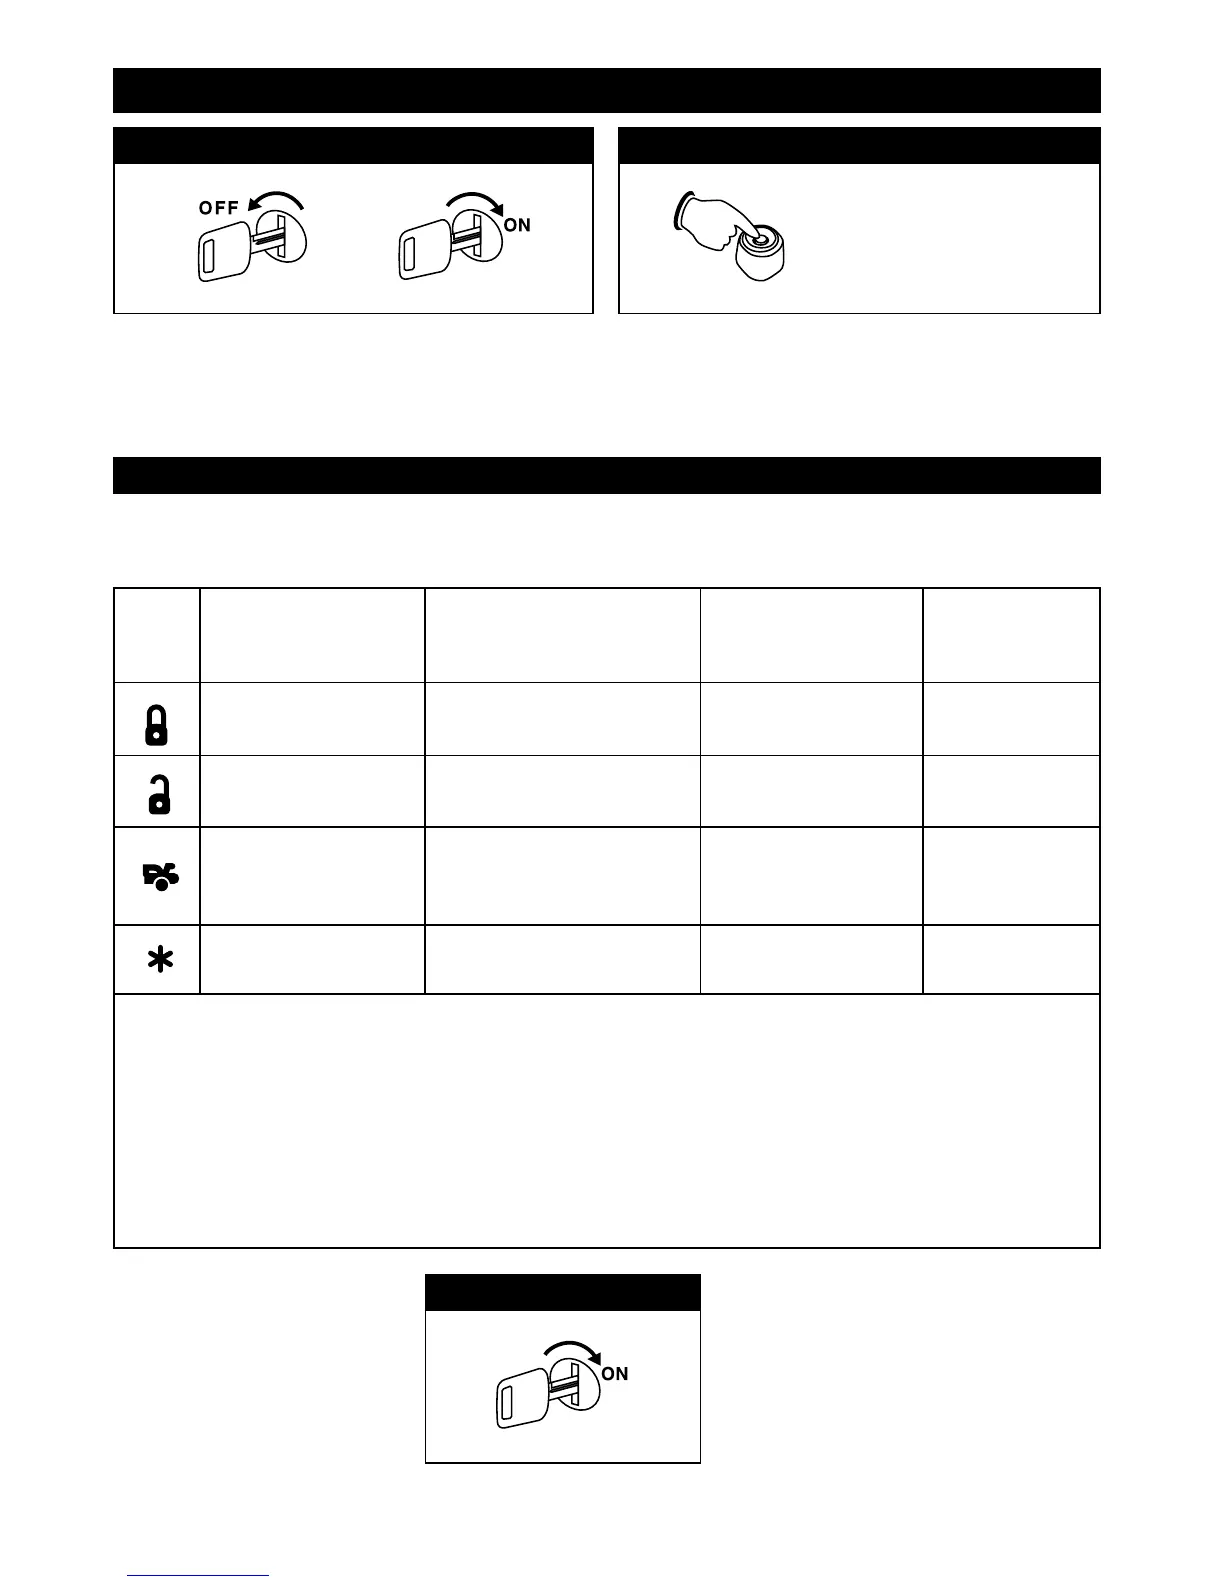
Turn the ignition switch from the OFF position to the
ON position 3 times leaving it in the OFF position the
third time.
Before 15 seconds has passed, push and release the
valet switch 5 times then push the valet switch a sixth
time and hold it down until 3 short chirp/beeps + 1 long
chirp/beep is heard then release it. You are now in part
3 programming mode.
Step 1 Step 2
3X
5X + 1X (Hold)
One Chirp Two Chirps Three Chirps Four Chirps
Button LED One Pulse LED Two Pulse LED Three Pulse LED 4 Pulse
(Factory Default Setting)
Step 3
Remote Feature Programming
Use the transmitter buttons as illustrated to adjust the features required. Keep re-pressing the transmitter button that
relates to the feature you want to adjust until the correct amount of chirp/beeps is heard. Move on to the next feature.
Harness 3: White Wire
Dome Light Output
Without Shock Sensor
Test Mode off
Harness 2: Brown Wire
Horn Output
Harness 2: Brown Wire
Siren Output
Harness 3: White Wire
Horn Output
Harness 3: White Wire
Factory Security Rearm
Signal Output
Harness 3: Pink Wire
2-Step Door Unlock
Output
Harness 3: Pink Wire Factory
Security Disarm Signal Output
Harness 3: Pink Wire Start
Status (Shock Sensor By
Pass Control) Output
With Shock Sensor
Test Mode On
Follow Steps 1 and 2 above to get into remote feature programming. Press the (
*
) button to get 2 Chirps/Beep
confirmation. Adjust the sensor with a small flat blade screwdriver to gently turn the sensitivity screw in the
“+” or “–” direction to achieve the desired sensitivity of both zones.
Note 1: Light impacts to the vehicle will activate the “warn-away” stage of the shock sensor. Each time the
warn-away stage is activated, you will hear a short chirp/beep.
Note 2: A more forceful impact will activate the “alarm trigger” stage of the shock sensor. Each time the alarm
trigger stage is activated, you will hear a long chirp/beep.
Note 3: The shock sensor can be adjusted at any time by entering “Alarm Feature Programming” Part 3 and
following the above directions.
Turn On the Ignition
3 long chirps and 3 flashes of the parking
lights will confirm exit of the programming
mode.
Note: Waiting 15 seconds after the last
command will also cause the system to
automatically exit the programming mode.
Step 4
Ground Output
During Start (Crank)
Ground Output During Start
(Crank) = This wire will provide a
200 mA ground output while the
starter output of the remote start
unit is active. This output can be
used to activate the Crank
Low/Bulb Test wire found in
some GM vehicles. This wire is
also referred to as the ECM wake
up wire in some vehicles.
16
M7A-IM 6/22/06 4:53 PM Page 16


 To Next Page