EN
46
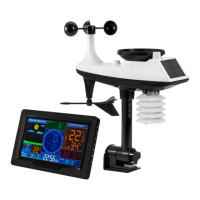
14. Drain openings for precipitation sensor
15. North marking
16. Turn marking for precipitation funnel
17. Nut to fasten brace on base.
FIG. 3
FIG. 4
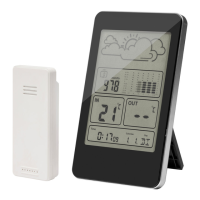
1. Mounting hole
2. LCD
3. Status light
4. Grille sensor for temperature/humidity
5. Battery compartment
6. Button TX for manual signal transmission
7. Channel selector 1, 2 or 3
8. Reset button
FIG. 5
INSTALLATION
PREPARATIONS
The following is available for installation and
use at Jula department stores or at
www.jula.com
• Phillips screwdriver and hex key.
• Batteries
– 2 alkaline or lithium AA batteries for
weather station:
– 3 alkaline or lithium AA batteries for
multifunctional wireless remote
sensor.
– 2 alkaline or lithium battery sensors
for temperature/humidity (optional)
For best results
• Take the product and sensor units out of
the packaging and place them on a
suitable workspace.
Breeze
Temperature/humidity increasing
Temperature/humidity decreasing
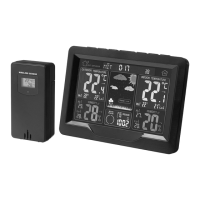
BUTTONS AND FUNCTIONS
A.
B. and
C.
D.
E.
F.
G.
H.
I. Mounting hole
J. Battery compartment
K. USB port for charging
L. Jack for power supply
M. Stand
FIG. 2
PRODUCT PARTS
1. Solar panel
2. Precipitation funnel
3. Anemometer
4. Spirit bubble
5. Induction box temperature/humidity
6. Wind direction indicator
7. Reset button
8. Status light
9. Button for manual signal transmission
10. Battery compartment
11. Brace
12. Base
13. Hex screws