Wipe dry all parts and set them proper way.
Before first use pour 3,5 l of water into the multicooker pot and start program “/ / Steam/Boil” for 30 minutes with closed lid and closed steam relief valve.
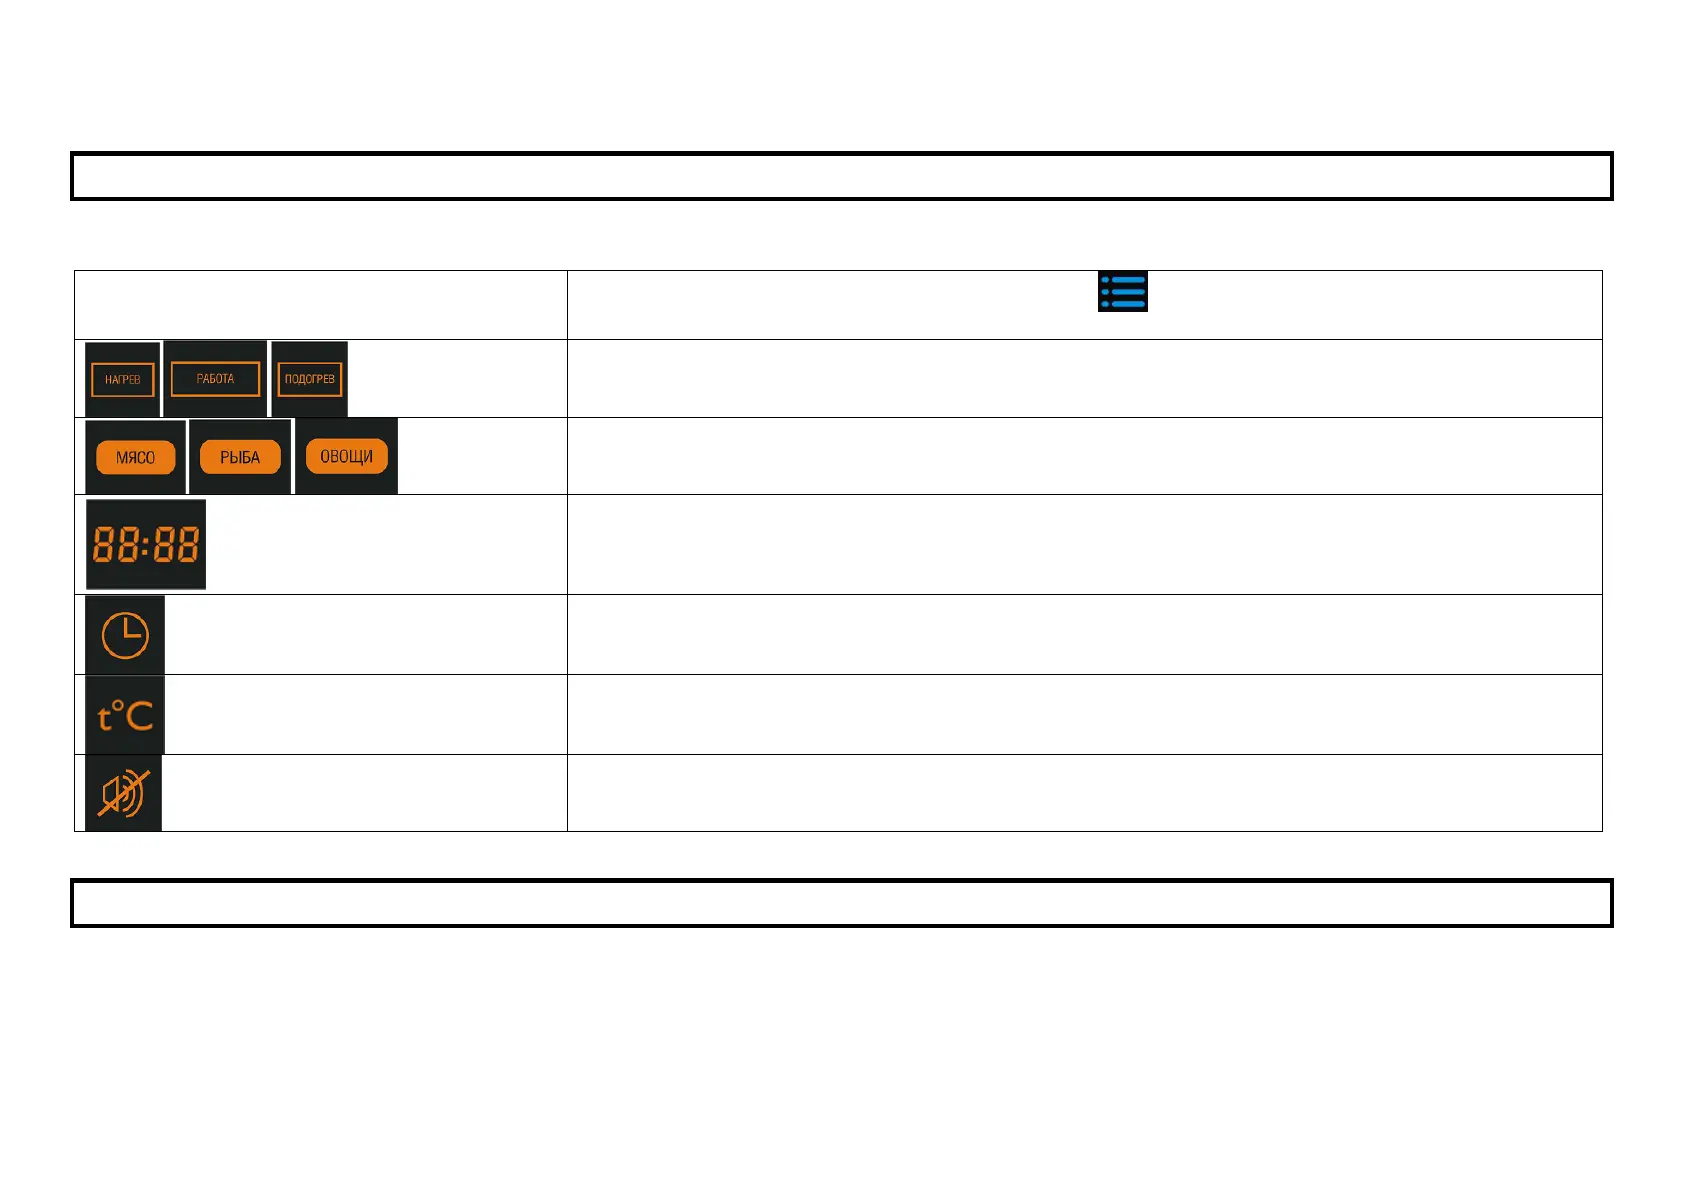
DISPLAY
Display has orange color. You could see next indication on the display:
Cooking program indication
Indication is on when you choose cooking program with “MНЦЭ” button . In cooking program running mode indication of current
cooking program is on.
Indication informs about stages of cooking – heating / cooking / keep warm
Indication informs about product selection in cooking programs where « / Product ЫНФНЛЬСЧЦ» is available
(«/Stew», «//Steam/Boil», «/Broth»)
Cooking time and temperature indication. Time indication in « / Start delay» function. In cooking program running
mode you see cooking time countdown. Time countdown starts in most programs when system reaches operational temperature or
pressure. In «/Multicook», «/Cake», «//Yoghurt/Dough», «//Jam» programs time
countdown starts with program start.
Cooking time adjustment indication. Indication is flashing when you adjust time in cooking program (including «/Multicook»
and «/Chef» programs) and when you set time in « »/ «Start delay» function. Indication is on in «
/ Start delay» function.
Cooking temperature adjustment indication. Indication is flashing when you adjust temperature in cooking programs without pressure.
(«/Multicook», «/Fry», «/Cake», «/Slow stew», «//Jam»,
«//Yoghurt/Dough»).
Indication informs that sound signals are switched off.
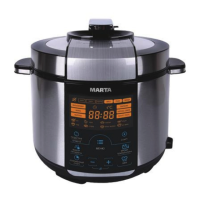
USING THE MULTICOOKER
For opening the lid take the lid handle and turn it clockwise till open position. Then lift the lid (pic 1, 2)