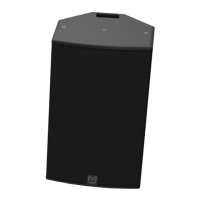
AQFB
Flying Bracket – allows AQ8, AQ10, AQ12 to be flown at a choice of vertical angles depending on
which pair of pick-up holes are used
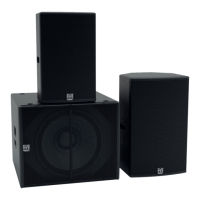
6. Installing with AQ Series brackets
Consult a qualified structural engineer with a full knowledge of the building, its load ratings
and your intended loudspeaker installation plans before commencing any installation.
All AQ Series wall and ceiling brackets are mounted and adjusted in a similar manner. The
brackets are designed for 1
st
& 2
nd
fit installation.
1
st
fit: Wall bracket or ceiling bracket
2
nd
fit: Speaker bracket if the system is to be wall mounted or ceiling mounted on an AQCB6
–or-
Speaker bracket/tube assembly if the system is to be ceiling mounted using AQCS or
AQCL.
Important note:
To avoid excessive leverage, ceiling brackets should never be used for wall mounting!
1
st
Fit the fixed wall or ceiling bracket before loudspeakers are brought to site. Cables
(not shown) may be pulled and terminated at this stage. Loudspeaker/bracket/tube
assemblies may be fitted later.
Wall bracket Ceiling bracket
2
nd
Fit the loudspeaker brackets to the loudspeakers (not shown).
If the loudspeakers are to be ceiling mounted, attach the tube to the
loudspeaker/bracket assembly. Vertical loudspeaker angles may be preset at this
stage if required.
All material © 2007. Martin Audio Ltd. Subject to change without notice.
 Loading...