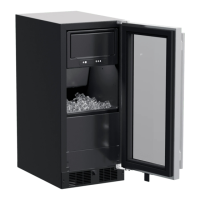
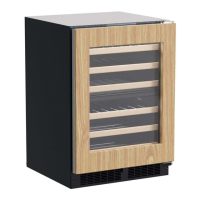
This document is a "Getting Started Quick Reference Guide" for Marvel Undercounter Refrigeration units. It covers various models including MLBV215, MLBV124, MLBV224, MLRE215, MLRE024, MLRE124, MLRE224, MLDR224, MLKR224, MLWC124, MLWC224, MLWC324, and MLWC215. The guide provides essential information for installation, operation, and maintenance of these appliances.
Function Description:
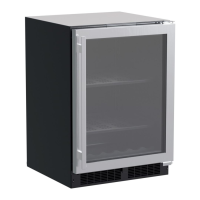
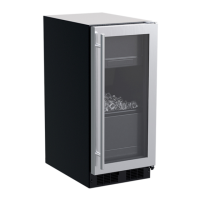
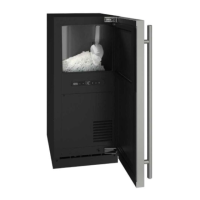
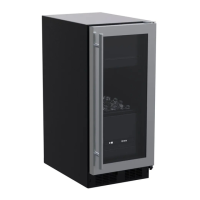
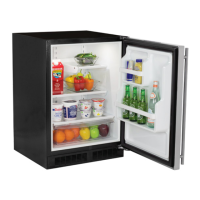
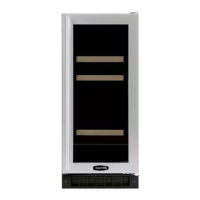
The Marvel Undercounter Refrigeration units are designed for residential use, providing refrigerated storage. These appliances are built in America by "The Original Refrigeration Experts Since 1892." They feature electronic controls for temperature adjustment, interior lighting, and specialized modes like Sabbath Mode and Showroom Mode. The units are intended for built-in applications, requiring specific cabinet clearances and proper ventilation through a front grille. Some models may include wine racks, which are removable and reversible.
Important Technical Specifications:
- Electrical Connection: A grounded 115 volt, 15 amp dedicated circuit is required. The product is factory-equipped with a three-pronged, grounded plug. It must be plugged into a mating grounding type receptacle in accordance with the National Electrical Code and applicable local codes and ordinances. The use of extension cords or adapters is prohibited. Ground Fault Circuit Interrupters (GFCI) are generally not recommended for these circuits due to nuisance tripping, unless required by local codes.
- Refrigerant: The unit contains R600a (Isobutane), a flammable hydrocarbon.
- Installation Temperature Range: The recommended installation location temperature range is from 55 to 100°F (13 to 38°C) to ensure optimal performance.
- Leveling Legs: Adjustable legs are located at the front and rear corners to ensure the unit is firmly positioned and level.
- Anti-Tip Device: An anti-tip bracket is included and must be installed, especially if the appliance is not located under a countertop (free-standing), to prevent tipping and potential injury or damage.
- Lighting: All models use an LED to illuminate the interior.
Usage Features:
- Electronic Control: The control panel (Figure 13) allows users to:
- ON/OFF: Press and hold for 5 seconds to turn the unit on or off.
- Leave Interior Light On: Press and release to keep the interior light on for 3 hours; press again to deactivate. After 12 hours, the factory default (light turns on when the door is open) is restored.
- Adjust Temperature: When the display is flashing, press the up or down arrows to adjust the set point temperature. The displayed temperature is the actual temperature inside the unit.
- Toggle Between °F / °C: Hold the up and down arrows for 5 seconds to change temperature units.
- Enable Sabbath Mode: Press the light bulb icon and hold for 5 seconds and release. The °F / °C symbol will flash briefly after 5 seconds, and the interior light and display will go dark, remaining so until the user resets the mode. The unit continues to operate in this mode.
- Disable Sabbath Mode: Press the light bulb icon and hold for 5 seconds and release to return the display and interior light to normal operation.
- Showroom Mode: Hold the light bulb icon and the up arrow for 5 seconds. The display will show "SH" for 2 seconds. The interior light and display function normally, but the compressor and fans will not be energized. Repeat the command to return to normal operation, displaying "EH" for 2 seconds.
- Temperature Display: The displayed temperature reflects the actual temperature inside the unit. If it differs from the selected temperature, the unit is actively working towards the set point. Marvel recommends allowing the unit to reach set points before loading.
- Door Reversal: Instructions are provided for reversing the door swing, requiring a 1/8" Hex Key, 5/32" Hex Key, and a Phillips Screwdriver. This involves removing and reattaching hinge components and the toe kick to the opposite side.
- Wine Rack Installation (for relevant models): Instructions are provided for removing and inserting wine racks, as well as reversing the shim pattern for the glides.
Maintenance Features:
- Front Grille: The front grille must remain unobstructed and clean to allow proper airflow for the condenser heat exchanger. It should be brushed or vacuumed at least once or twice a year. Custom-made grilles are not recommended as they may restrict airflow.
- Cabinet: The painted cabinet can be cleaned with a mild soap and water and thoroughly rinsed. Abrasive scouring cleaners should never be used.
- Interior: The interior compartment should be washed with mild soap and water. Abrasive cleaners, solvents, polish cleaners, or undiluted detergents should not be used.
- General Care:
- Avoid leaning on the door to prevent bending hinges or tipping the appliance.
- Exercise caution when sweeping, vacuuming, or mopping near the front of the appliance to avoid damaging the grille.
- Periodically clean the interior and check/clean the front grille as needed.
- Power Failure: In the event of a power failure, minimize door openings to maintain the appliance's temperature.
- Minimizing Operating Costs:
- Avoid installing the appliance near heat sources or in direct sunlight.
- Ensure the front grille vents are clean and unobstructed.
- Plug the appliance into a dedicated power circuit.
- Minimize door openings, especially after initially loading or adding large quantities of warm contents.
- Maintain a relatively full storage compartment.
- Ensure door closing is not obstructed.
- Allow hot items to reach room temperature before placing them in the product.
- Use the warmest temperature control setting that meets personal preference.
- When on vacation or away for extended periods, set the appliance to the warmest acceptable temperature.
- Set the control to "off" if cleaning requires the door to be open for an extended period.
- For wine storage products, set the compartment temperature to 13°C / 55°F when serving temperatures are not required.
- LED Replacement: If the LED interior light fails, contact a qualified service technician for replacement.