12
OPERATING INSTRUCTIONS
NOTE: Before using the tool, read the instruction book carefully.
BEFORE USING HEAT GUN
Before starting the job it is advisable to test the workpiece for the ideal temperature to use. The description below
gives an indication of the likely heat settings required but always start with the low heat setting.
The distance between the nozzle and the workpiece will vary according to the material being worked on but this should
always be at least 2’’ (5 cm) or more on any heat setting.
All applications, with the exception of removing paint from the window frames, can be performed without using a
nozzle; however for best results nozzles are recommended.
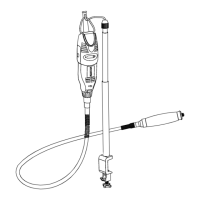
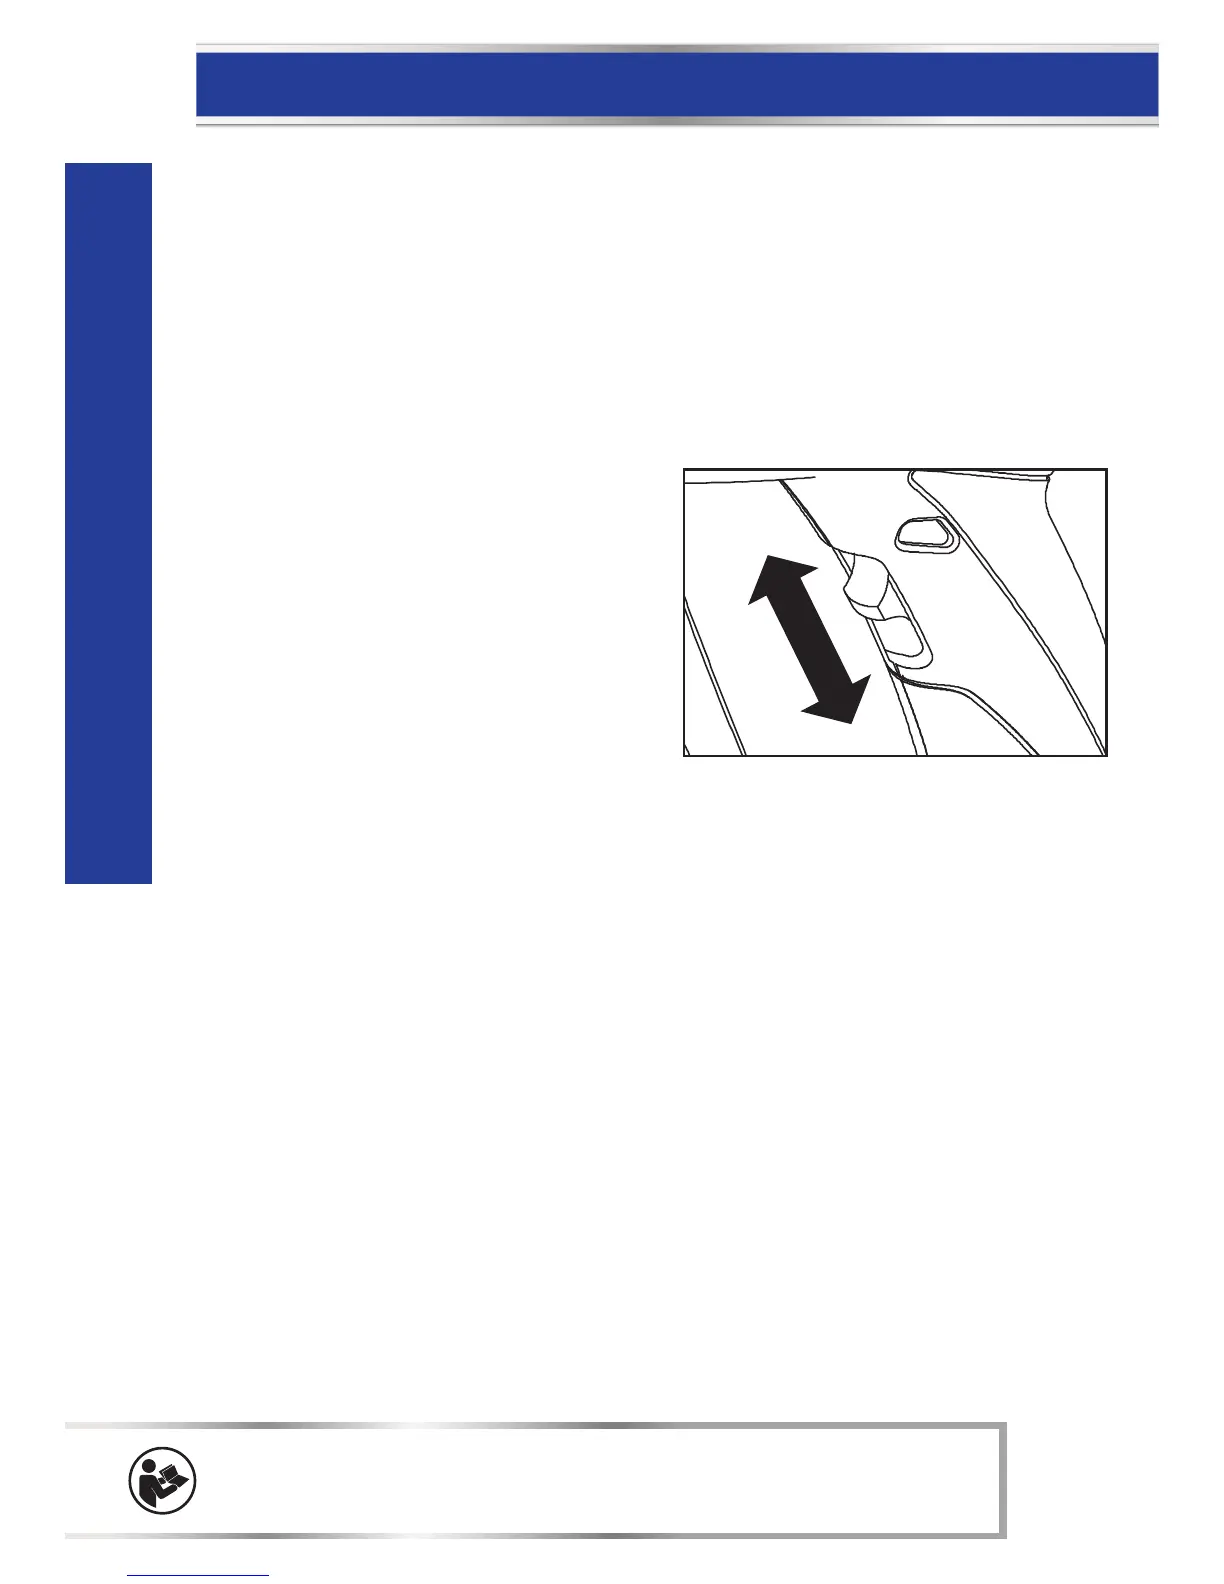
PUTTING INTO OPERATION (See Fig. A)
1. Switching on/off
Switching on:
To put into operation, slide the switch (5) to position 1, 2 or 3.
Switching off:
To switch off, slide the on/off switch (5) to the stop at
position 0.
After working for a longer time with high temperature, allow
the unit to cool by running in position 1 before switching off.
2. Thermal protection
When the temperature is overloaded (e.g. as a result of restricted airflow), the heat gun will switch off automatically,
however, the blower continues to run. Once the heat gun has cooled to operating temperature, the heat gun can be
operated again.
3. Setting the airflow and temperature
The switch (5) can be set to three blower steps. Suitable airflow and temperature combinations can be selected
according to the applications.
Position 1: 25ºC (77ºF), 150 L/min
Position 2: 250ºC (662ºF), 300 L/min
Position 3: 550ºC (1022ºF), 500 L/min
The position 1 is suitable for cooling a warmed workpiece or for the drying of paint. It is also suitable for cooling the
unit before placing down or the changing of nozzles.
The position 2 is suitable for bending plastic and heating shrinking plastic.
The position 3 is suitable for stripping paint and defrosting pipes.
Fig. A