20 21
model no. 055-6745-2 | contact us 1-800-689-9928
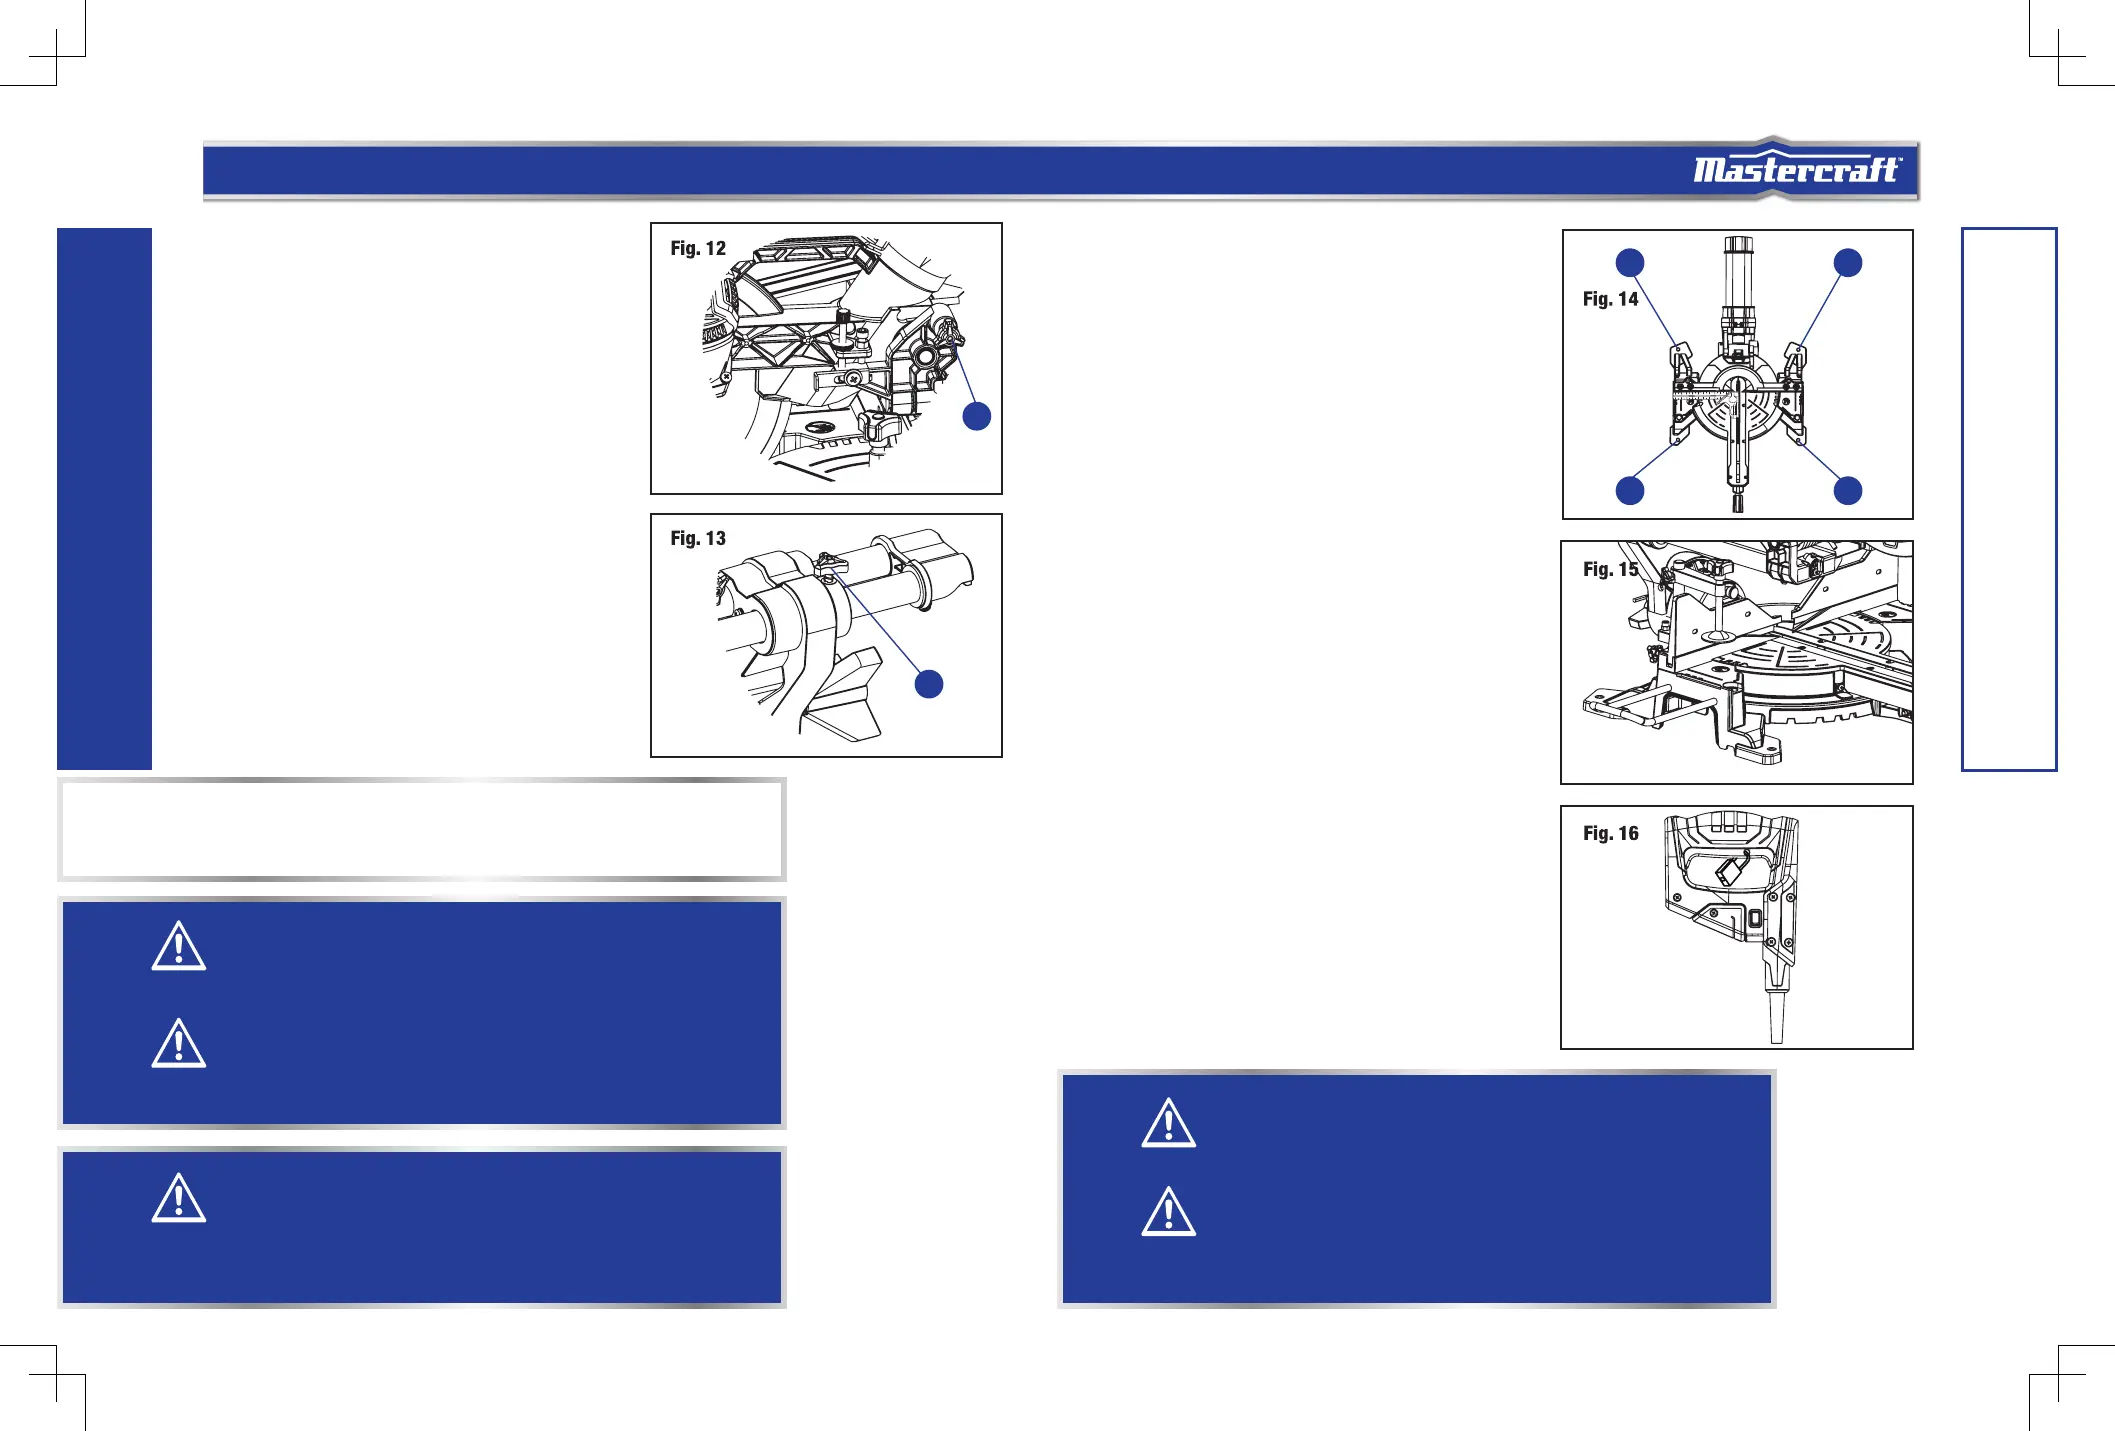
BENCH MOUNTING
This tool should be bolted with four bolts to a level and
stable surface using the bolt holes (1) provided in the tool’s
base. This will help prevent tipping and possible injury.
INSTALLING THE WORK CLAMP
There are two mounting holes for the work clamp. These
are located just behind the fence on the left and right side
of the base.
•
Loosen the locking screw with a Phillips screwdriver.
• Place the work clamp in the desired mounting hole.
• Tighten the screw to hold the work clamp.
ON/OFF TRIGGER SWITCH
To turn the saw on, depress the trigger switch. To turn the
tool off, release the switch. There is no provision for locking
the switch on. To lock the saw off, place a padlock in the
hole provided in the trigger switch.
When the trigger switch is released, the blade will be
stopped within 10 seconds.
HOW TO USE THE LASER LINE
Your mitre saw comes with a laser guide, which can
guarantee better performance.
• Use a pencil to mark a line where you want to cut the
workpiece.
• Put the workpiece on the table.
• Turn on the laser switch in the switch handle and
adjust the pencil line to align with the laser line.
OPERATING INSTRUCTIONS
UNLOCKING AND LOCKING THE CUTTING
HEAD
Press and lightly hold down the cutting head.
Pull out the lock-down pin (1) to release the cutting head.
The cutting head should freely move up.
Place the cutting head at the lowest position.
Secure the position and push the stop lock pin into the
locking position. Please note, if there is any cutting depth
setting, the lock in may not work. Release the cutting
depth limitation, and then lock the cutting head in.
UNLOCKING THE SLIDE CARRIAGE
After removing the saw from the carton, loosen the slide
carriage lock knob (1). When transporting or storing the
mitre saw, the slide carriage should always be locked in
position. The slide carriage lock knob is located on the
upper side of the slide carriage.
IMPORTANT:
To avoid damage, never carry the mitre saw by the switch handle, the cutting arm or the mitre table handle.
ALWAYS use the handholds for transportation.
CAUTION!
To avoid injury and damage to the saw, transport and store the mitre saw with the cutting head
locked in the down position. Never use the stop pin to hold the cutting head in a down position for
cutting operations.
CAUTION!
Always make sure that the spindle lock button is released so the blade can rotate freely. MAKE
SURE that the locking pin is loose and the cutting head moves freely up and down. ENSURE that
all clamps and locks are tightly in place, and that there is no excessive play in any parts.
WARNING!
Before each use, verify that the blade is free of cracks, loose teeth, missing teeth, or any other
damage. Do not use if damage is observed or suspected.
Always wait for the blade to stop completely, and unplug the tool before changing accessories or
making adjustments.
OPERATING INSTRUCTIONS
WARNING!
Ensure that the tool will not move on the supporting surface. Movement of the mitre saw on the
supporting surface while cutting may result in loss of control and serious personal injury.
WARNING!
• To avoid injury, after completing a cut and releasing the trigger switch, wait and conrm that
the blade has stopped before raising the cutting head.
。• To avoid injury, check and tighten the blade bolt periodically.
1
1 1
1 1
1
 Loading...